A First Scene with Cycles 4D: adding materials
Cycles 4D Materials
In Cycles 4D all materials are node-based, which is a different concept to Cinema 4D's standard materials. Although very different to use, once you get the hang of the node editor, they are easy to use.
Adding a material to the sphere
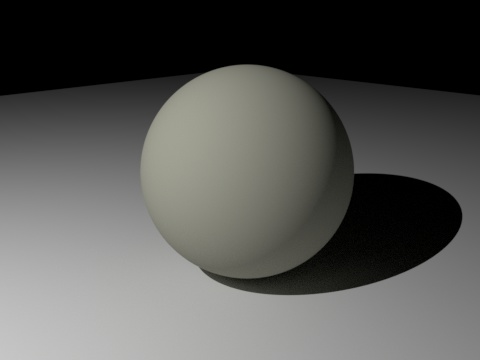
Cycles 4D has three basic types of material (plus a number of presets you can load from the material manager in Cinema 4D) but for attaching to an object we need an Object Material. In the material manager, go to the Create menu->Cycles 4D and click 'Object Material'. A new, light-gray material will be created. If you apply this to the sphere, and render the scene, you won't see anything different. To change it we need to edit the material, so double-click it and the Cycles 4D material editor will open.
You should see this (you may need to pan the node editor until you see the nodes):
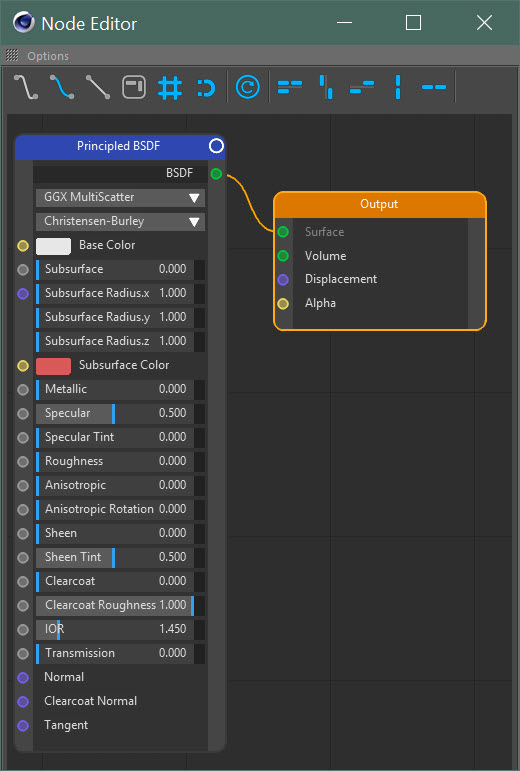
As you can see, there are two nodes, one labelled 'Output' and one 'Principled BSDF'. Once you select the Principled BSDF node, you can edit its settings. You can do that in Cinema 4D's attribute manager or in the node itself.
For the moment don't bother with all the settings in this material. We're going to add a bitmap texture to the sphere but we can't do that from either of these nodes; we need to add another node to the material.
Adding an Image Texture node
Right-click anywhere in the node editor window and a menu will appear. Go to the Texture sub-menu and click 'Image Texture'. An Image Texture node will be added to the node list. Link the Color output of this node to the Base Color input of the Principled BSDF node, to get the colour from the bitmap to output in the scene.
As soon as you do this, the sphere will go bright magenta to indicate a missing texture - which is because there is no bitmap in the Image Texture node yet. Now we can add a bitmap.
Editing the Image Texture node
Click the node to select it then click on 'Node Settings' in the attribute manager. You will see this:
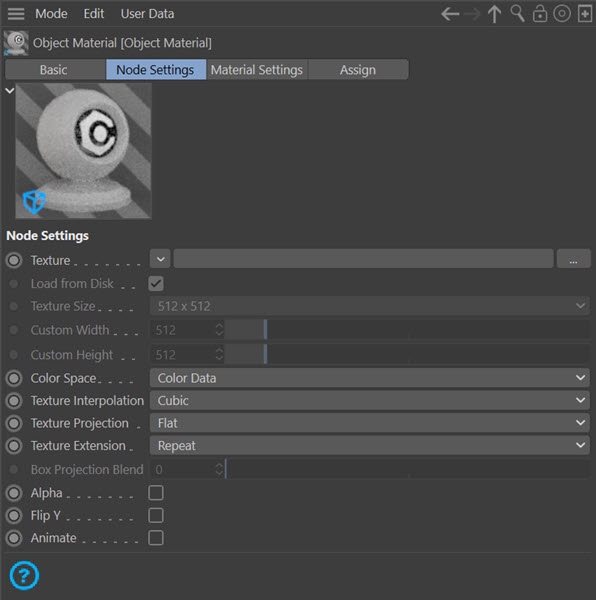
To add a bitmap, do it as you would anywhere else in Cinema by clicking the little button with three dots next to the 'Texture' setting. Make sure that the Texture Extension menu is set to Repeat, NOT Clip (this is important).
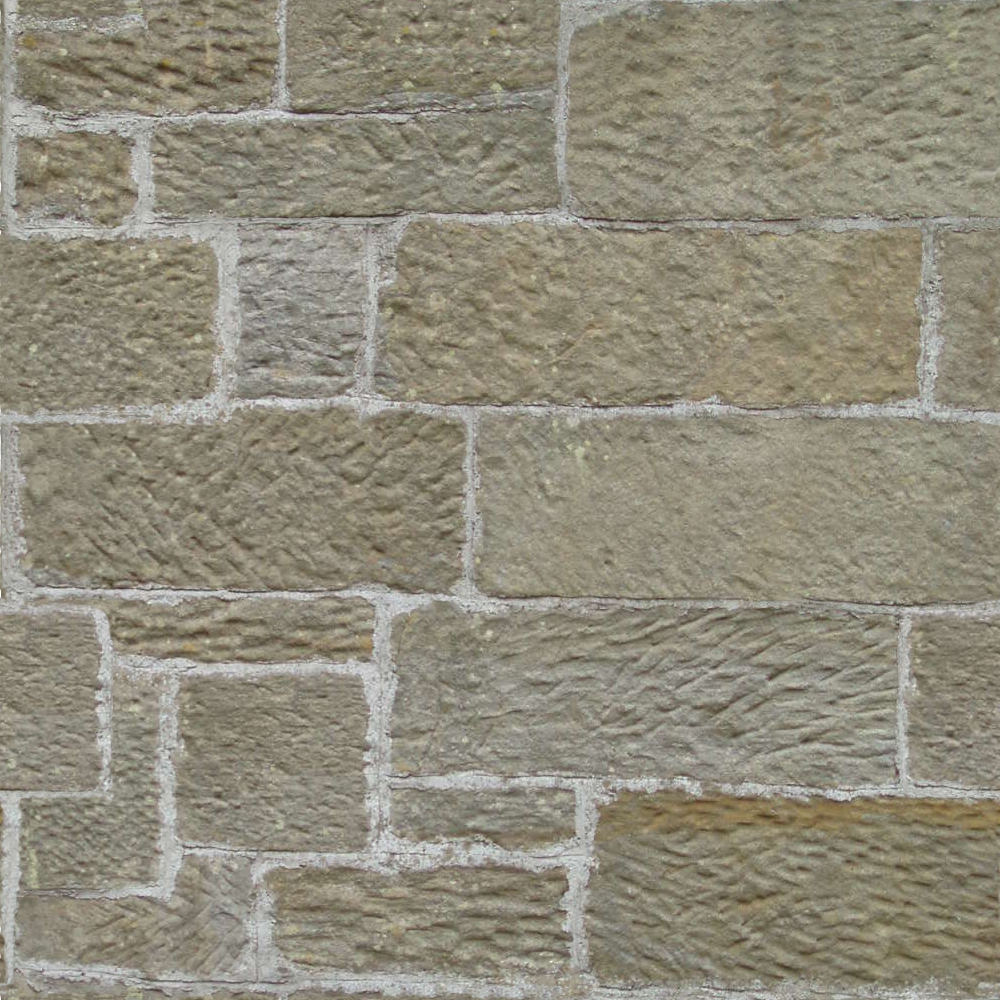
The bitmap we're using is an image of a stone wall. You are welcome to use it, which you can do by downloading it here.
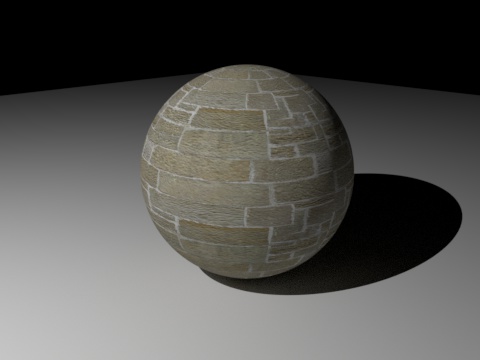
If you render the scene now, you see it looks rather dark. This is because there is less indirect light in the scene now that the sphere has its texture, so increase the light intensity in the scene to 1000 and then you get this:
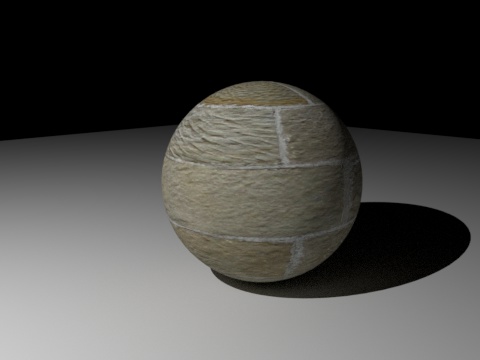
Well...okay, but the scale of the texture is clearly far too large. In Cinema you would change this in the Texture tag, but in Cycles 4D it's all done by the node editor.
Altering the scale
In the node editor, right-click and from the Vector sub-menu add a Mapping node. A large node appears:
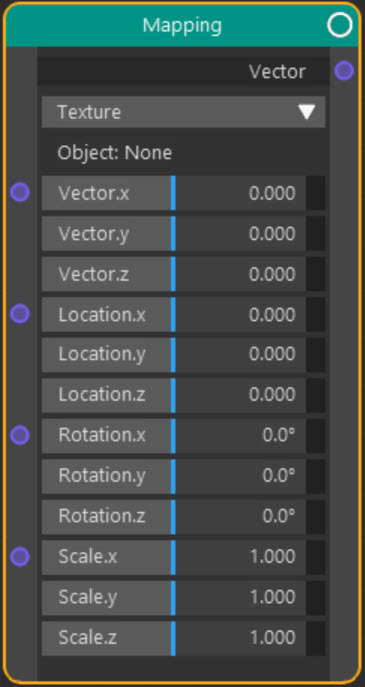
First, change the Type drop-down menu to Texture, if it isn't already.
This node lets us offset, scale, and rotate the bitmap. Decreasing the scale values when the Type is set to Texture works as it does in Cinema 4D, but in Point mode it will decrease the number of tiles used enlarging the texture, which is the reason for changing to Texture mode.
Decrease each Scale value (Scale.x, Scale.y, Scale.z) from 1 to 0.3. Then link the Vector output of the node to the Vector input of the Image Texture node. If you render now, you see this:
Well, that's not right at all. The problem is that by adding the Mapping node we have affected the texture projection. It's easy to fix though. Add a Texture Coordinates node (right-click in the node editor, go to the Input sub-menu and click 'Texture Coordinates'). The node has a number of different outputs but in this case link the UV output of the Texture Coordinates node to the Vector input of the Mapping node. If you render now you will see this:
You can see that the texture is stretched in some areas. This is because Cycles uses UV mapping for the textures but the sphere is not correctly mapped to fit this texture. You would see the exact same result in Cinema's inbuilt renderer if you applied this bitmap to a sphere.
Adding bump
One problem is that there is no bump. We can add this very easily by adding a Bump node and connecting up the colour output from the bitmap to its Height input. We also need to invert the bitmap in the Bump node (click the 'Invert' switch to do that) because if that isn't done it will cause the lighter areas (the mortar in the stone blocks) to be raised, which is not correct.
But how do you actually get the bump? The bump node works by distorting the normals of the object, so having given it the bump a height by adding the colour from the bitmap, we connect the Normal output of the bump node to the Normal input of the Principled BSDF node.
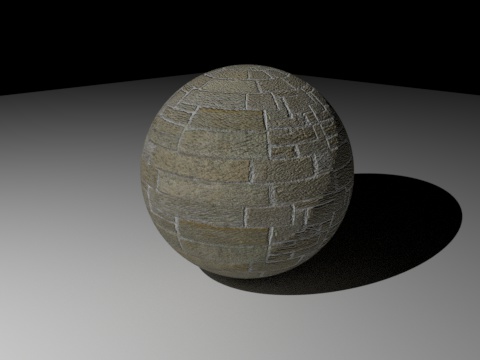
A render shows we now have some bump:
There is far more you can do with Cycles 4D materials than this simple demonstration, but it should get you familiar with adding nodes, changing values, and linking outputs to inputs.
For reference here is what the final node tree would look like:
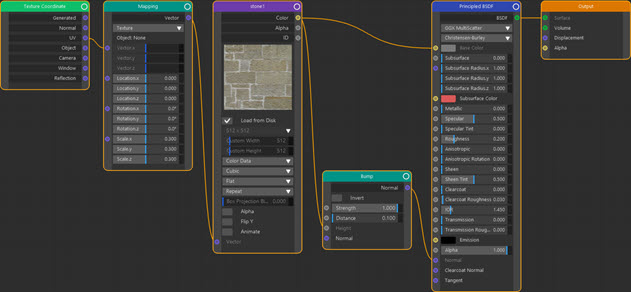
Click to enlarge image
For the final part of this tutorial we will change the lighting to use a mesh light instead of a Light object. In general this will give better (i.e. more physically accurate) results than the Light object, but it takes a little more effort to set up.
