Attribute Tag
This tag allows you to add 'attributes' to an object - items of data which are not otherwise used or accessible from the material nodes. It is used in conjunction with the Attribute input node.
For a detailed description of how to use this tag and the node, please see the Attribute node page and the detailed example page. There is a separate example for using user data with this tag.
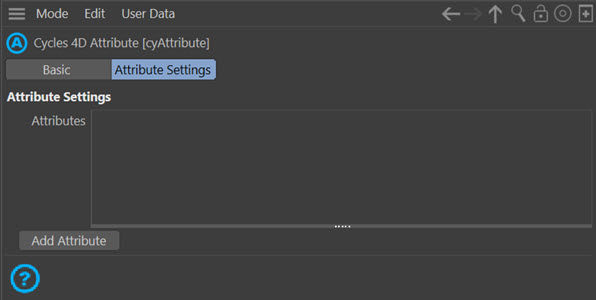
Attributes
This is a list of the attributes added to this tag. Once you have added an attribute by clicking the 'Add Attribute' button, you can select the attribute and the tag then looks like this:
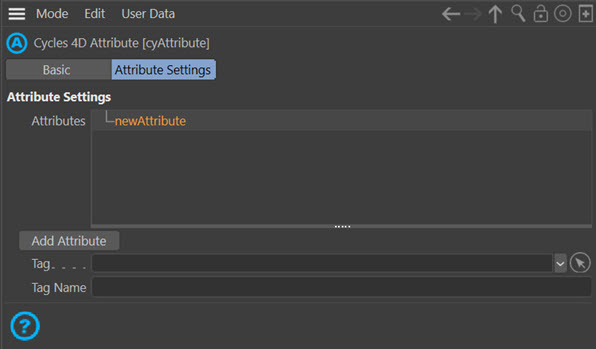
You can right-click on an attribute to copy or delete it, or double-click it to rename the attribute.
What is an 'Attribute'?
It is simply an item of data from another source. A polygon selection is one example, as shown below. But you can also use custom data from the 'User Data' in an object. See the separate example page for details on how to use user data as an attribute.
Adding a tag
At this point you have two choices: you can drag and drop the tag to use into the 'Tag' field, or you can enter the tag's name.
Why enter a tag's name when you can drag and drop it? There are some tags which are hidden in Cinema 4D but which contain data you might want to use. For example, the Extrude object has several hidden selections, including one for the front cap and one for the rear cap, and these are named C1 and C2. You never see these tags unless the object is made editable; it also has two more selection tags named R1 and R2 if you select the fillet cap option in the Extrude object, these are polygon selections for the rounding part of the fillet cap.
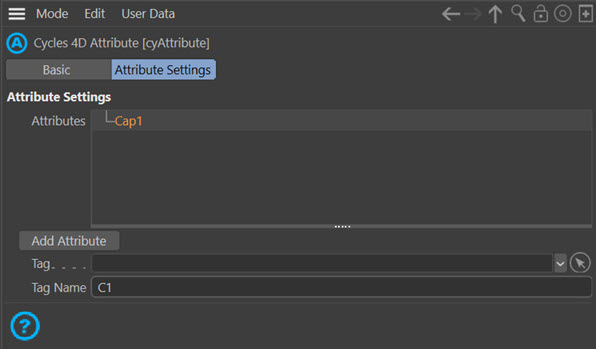
You cannot use these tags by dragging them into the cyAttribute tag but you can use them as named tags. In this example, an Extrude object has a cyAttribute tag assigned and an attribute added named Cap1 (the name could be anything, of course). Since the tag is not visible, the tag name for the front cap selection (C1) has been used instead:
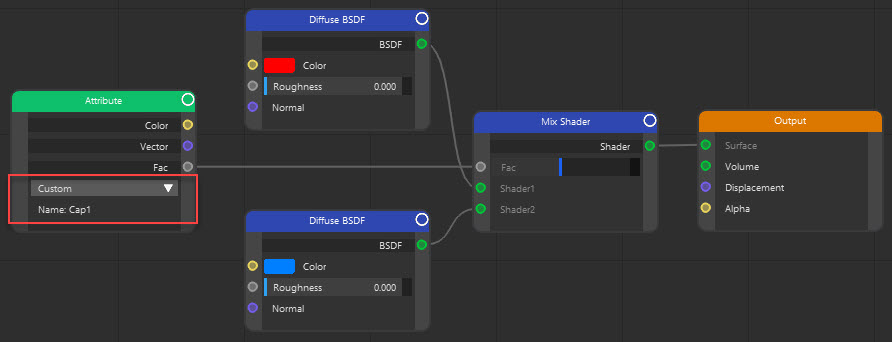
In the material editor, the attribute node is used to assign the colour red to every polygon that isn't in the C1 selection, and blue to all polygons in that selection. Note that the attribute name ('Cap1') is important as it is used to tell the attribute node which attribute to use:
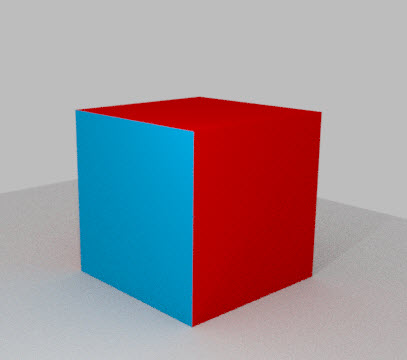
And the result looks like this, showing a red body and blue cap. If you rotate that object you can see that the other cap would still be red, only the front cap is affected:
 You should note that some tags are visible in the Object Manager but don't contain any data if the tag is dragged into the 'Tag' field. This is true for the Voronoi Fracture object in Cinema 4D R18, for example. In that object's 'Selections' tab you can choose to add selection tags for a variety of polygon selections, but if you drag one of these tags into the 'Tag' field in the cyAttribute node, it has no effect. Instead, use the tag's name, which will then work as expected.
Tag
This is a link field into which you drop the tag which contains the data you want to use.
Note that it is not possible due to a current limitation to use Alembic vertex map or vertex colour tags in this field.
Tag Name
The name of the tag you want to use. This field is not available if you have dragged a tag into the 'Tag' field.
Add Attribute
Click this button to add a new attribute.