Output: AOV
The AOV (Arbitrary Output Variable) node allows you to make a separate render pass for the output of any colour or numeric value from a node.
Node Interface
Overview
| Function | Generates a render pass from a numeric or colour output value |
| Nearest C4D equivalent | None |
Settings
Note: a * symbol next to the name indicates the parameter also has an input port. A # symbol indicates that the parameter can only be changed with an input node, not in the node itself.
Color *
The colour, usually the output of another node, that a render pass is required for.
Value *
The numeric value, usually the output of another node, that a render pass is required for.
Output
No output ports. The output of this node is a render pass.
Using the AOV node
Using this node is straightforward but requires certain steps to be followed.
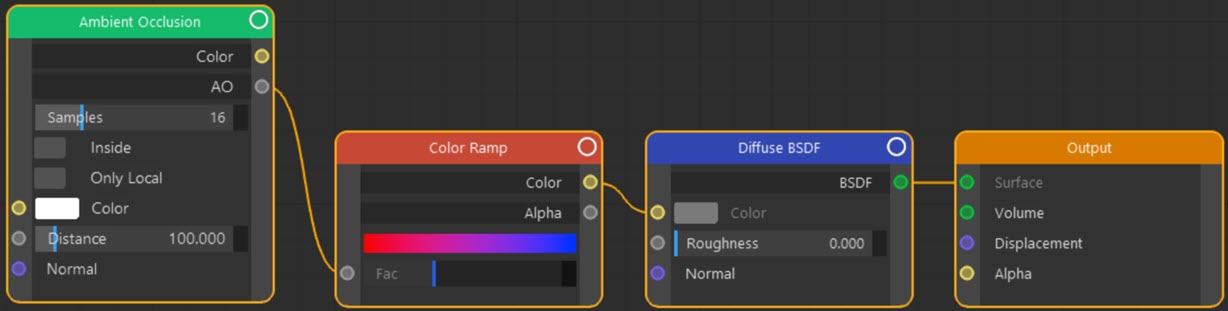
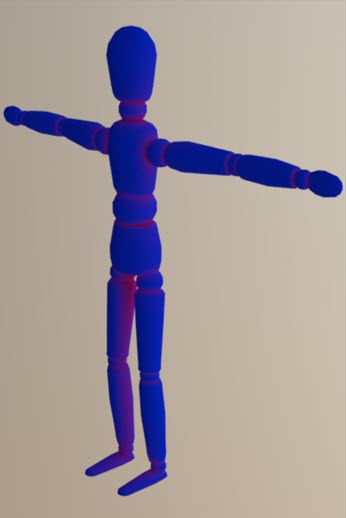
In this example, we will generate a render pass for the 'AO' output of an Ambient Occlusion node. The initial node tree looks like this:
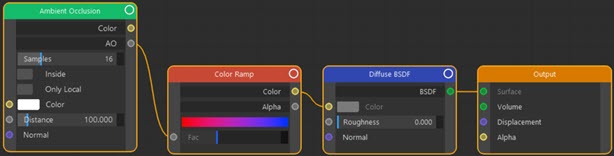
Click to enlarge image
As you see, the object will be coloured with a Color Ramp using the Ambient Occlusion node to drive the 'Fac' value. The result looks as you would expect:
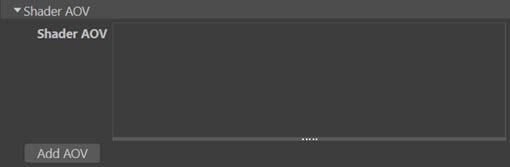
How do we get a separate render pass just for the ambient occlusion? The first thing to do is add the AOV to the render settings. This is done in the Cycles 4D render settings, 'Render Elements' tab:
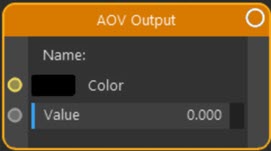
To add an AOV, click the 'Add AOV' button. The result is this:
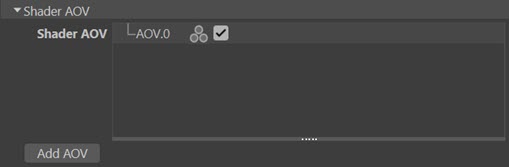
The new AOV will have a unique name but it's not very descriptive and if we had a lot of AOVs, we need to know which is which. Double-click the name to rename it. You can call it whatever you like but we'll just rename it to 'AmbientOcclusion':
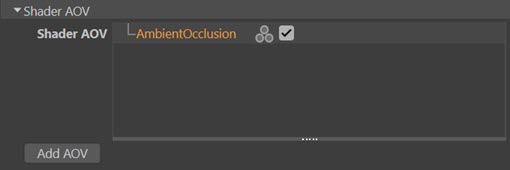
We can leave the icon as the greyscale icon because we are using a greyscale value, the 'AO' output of the Ambient Occlusion node. If we were using a colour, we would need to click the icon to change it to the RGB version.
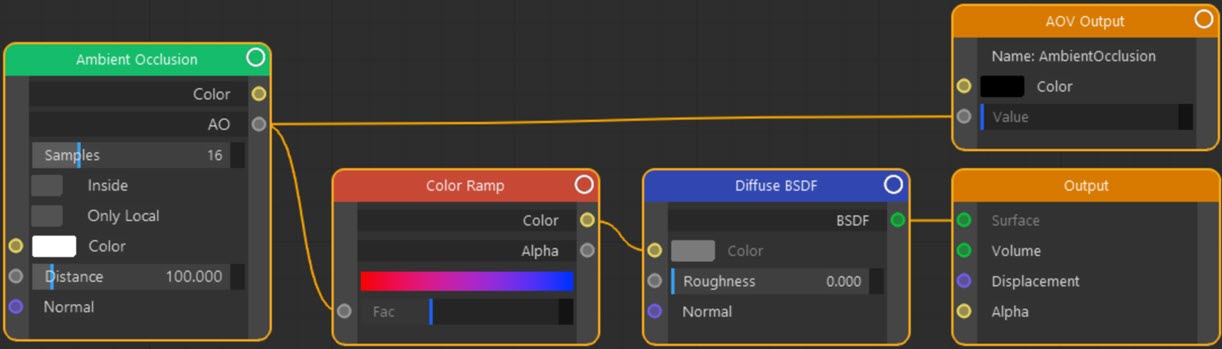
Back in the node editor, we can add an AOV node then do two things. First, link the 'AO' output port of the Ambient Occlusion node to the 'Value' input of the AOV node. Then we need to tell the AOV node which AOV to use. This is the one that was created in the render settings. To link the node to the AOV, all that is needed is to enter the AOV's name into the node. The resulting node tree looks like this:

Click to enlarge image
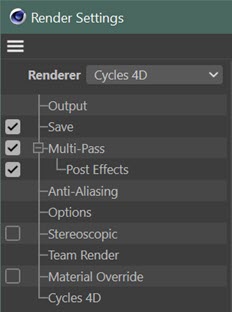
Finally, in the Cinema 4D render settings, enable multipass and add 'Post Effects' like so:
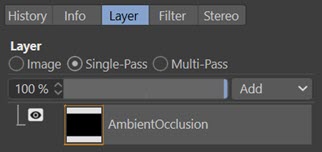
When you render the scene to the picture viewer you can find the ambient occlusion pass in the Layer tab:
The result looks like this: