Shaders: Subsurface Scattering
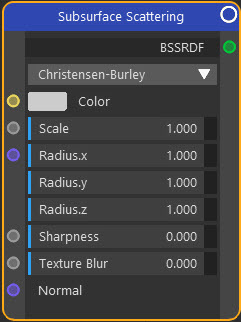
Node Interface
Example Output
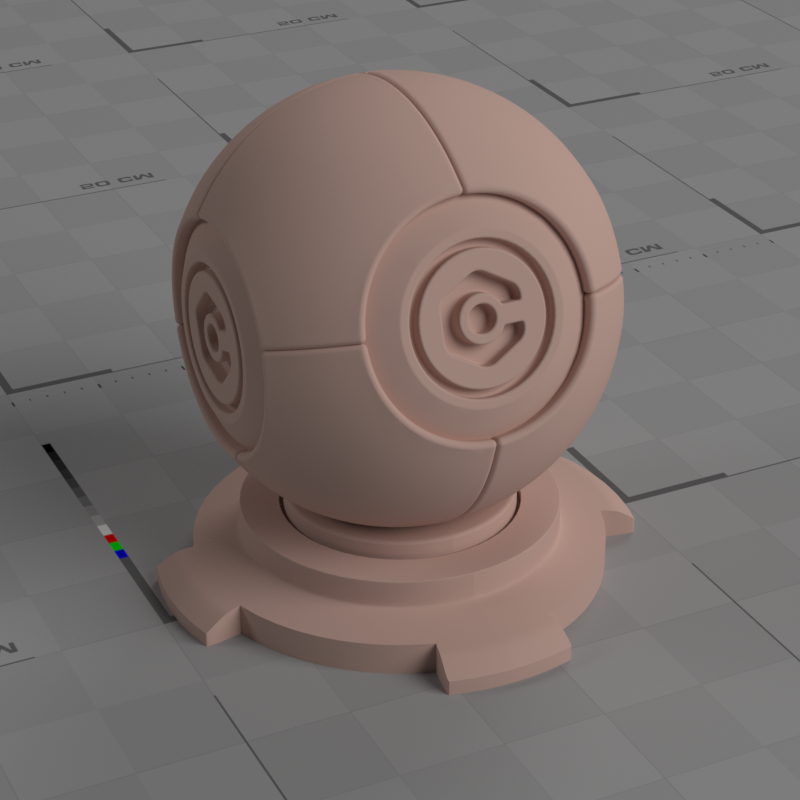
On the left, no sub-surface scattering (SSS); on the right, the same scene with SSS added. Note the translucency and the soft edges giving a soft plastic appearance.
Overview
| Function | Applies sub-surface scattering to a material |
| Nearest C4D equivalent | Simple material with sub-surface scattering effect added |
This node is especially useful for creating soft, organic material such as plastic, rubber, wax, and of course skin.
Settings
Note: a * symbol next to the name indicates the parameter also has an input port. A # symbol indicates that the parameter can only be changed with an input node, not in the node itself.
Mode drop-down menu
This menu offers the possible modes for adding SSS to a material.
Christensen-Burley
This is the default mode, based on work done at Pixar, and which is more realistic than the other modes.
Cubic and Gaussian
These are less realistic and tend to show darker areas than Christensen-Burley, but may be a little faster to render. Gaussian gives smoother and more natural results than Cubic.
Random Walk
This mode is more accurate when used on thin objects but may result in increased render time. It is especially useful on objects with a finely-detailed mesh.
Color *
The base colour to use. You might link an Image Texture node with a skin texture bitmap here, for example.
Scale *
In Cycles 4D, SSS is very dependent on the size of the model. You may therefore need to increase or decrease this value for best results (this can only be done by trial and error). If you resize the model you will need to adjust this value.
Internally this value is used to multiply the scattering Radius. You could therefore get the same result by setting this value to 1 and adjusting the three Radius values appropriately. Using the Scale is much more convenient since you only have to adjust one value.
Radius *
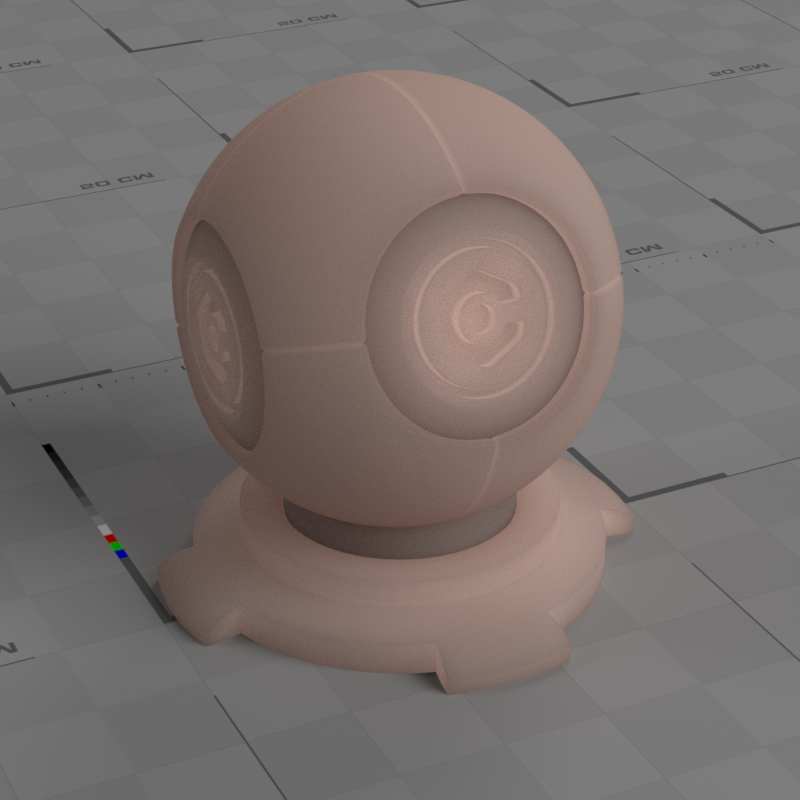
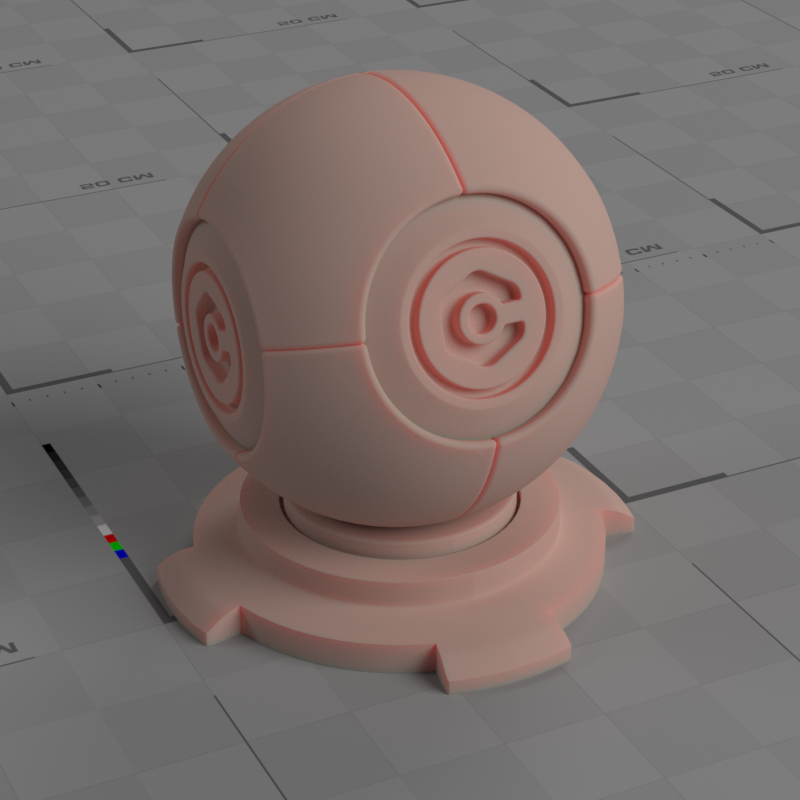
The radius determines how far light of each colour will be scattered. By default they are all set to 1.0 but will need to be changed for different materials. The images below use the same scene as in the example shown above, but in the left-hand pane the Y and Z values (corresponding to blue and green respectively) have been set to zero, so that red predominates. In the right hand pane the values are 3.7, 1.7 and 0.6 which are the values used for skin:

Sharpness *
Only used for the Cubic mode. Increasing it will reduce the dark areas often seen when using this method.
Texture Blur *
Used to blur sharp edges seen when using a texture with areas of high contrast.
Normal #
With this setting you can alter the surface normals of the object, which will have a significant effect on the rendered output since it will affect the way light is reflected from the surface.
This setting requires a vector input, so you need to link another node with a vector output port to this port.
Output
BSSRDF
A shader port which can be linked with shader ports on other nodes.
(Note: technically 'BSSRDF' is a bidirectional scattering-surface reflectance distribution function. See here for more details if you are interested.)