How-To: Add a Decal to an Object
Adding a decal to an object is a little more complex than in Cinema itself, because unlike the Cinema materials it is not possible to layer more than one material on an object. This tutorial shows how to add a decal if you need to do this.
1. Initial setup
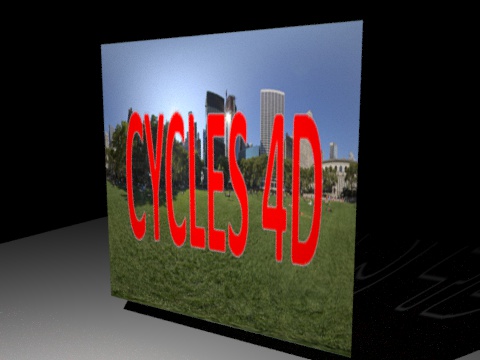
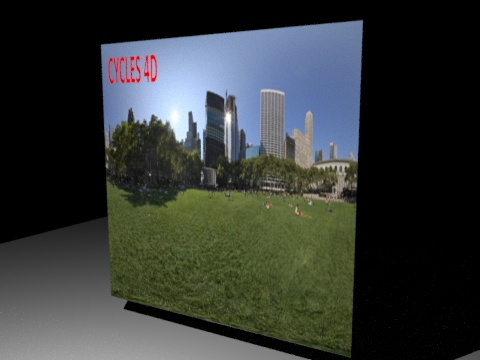
To keep it simple, we'll add a decal to a Plane object which will have an image texture on it. The initial render without the decal will look like this:
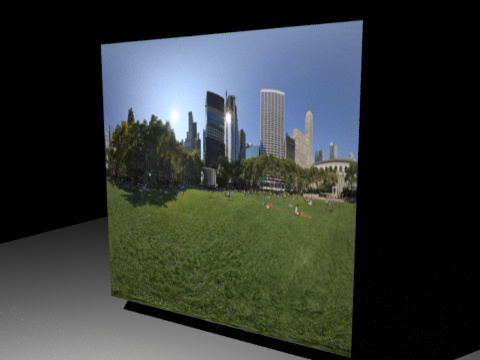
As you can see, this is just a Plane with a bitmap on it and lit by a single light. The node tree is very simple:
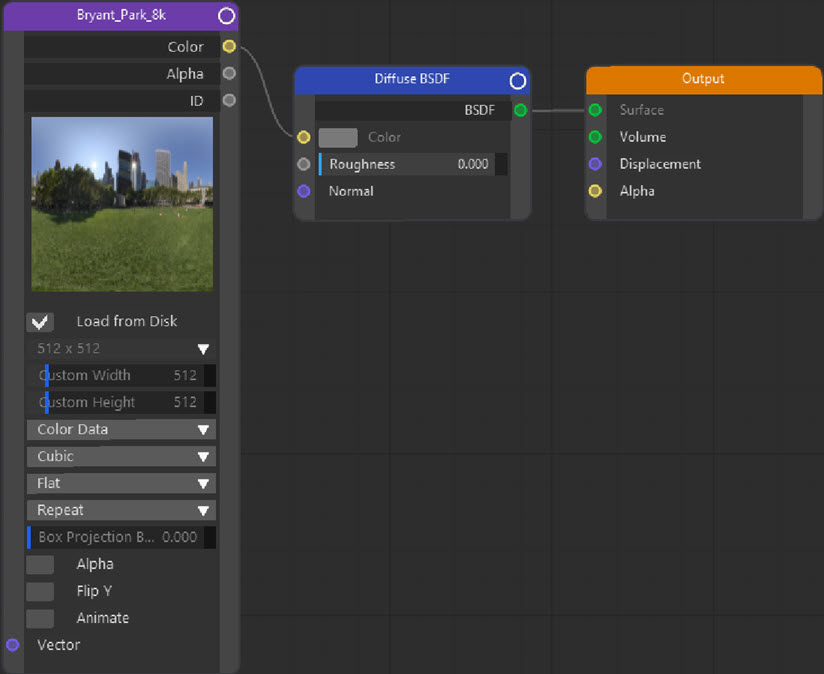
This is simply using an Image Texture node to render the bitmap on the Plane object.
2. The decal
For this we need an image with an alpha channel, and it will look like this:

We don't want the white background though, so the image also has an alpha channel to cut the text from the background. If you want to try this you will need the .TIF image with alpha (don't use the above .JPG as it doesn't have an alpha) and you can download it here:
We will add this to the node tree using another Image Texture node, and now the node tree will look like this:
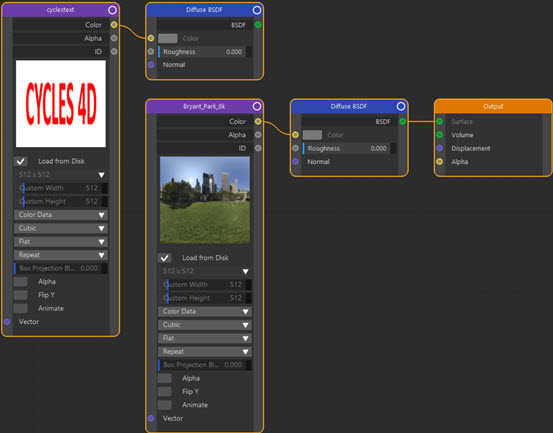
Click image to enlarge
From now on, we'll close up the two Image Texture nodes to save screen space.
3. Mixing the decal with the main image
We can easily do this with the Mix Shader node and this is the node tree to do it (the Image Texture nodes have been collapsed for clarity):

Click to enlarge image
Which when rendered gives this result:
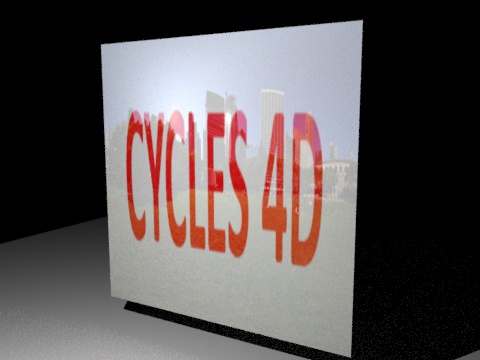
Well, obviously that's no good as all we've done is mix the two diffuse shaders together. We can see the main image (just) but the white background of the decal obscures it. What we need is to hide the white background and only show the decal text. We can do this using the decal image's alpha channel. In this channel the text is white and the background is black.
We could then mix the Diffuse BSDF node with a Transparency BSDF node and drive the Fac input of the Mix Shader node with the alpha value from the decal image. This would give maximum transparency where the decal alpha channel was white (the text) and zero transparency where the alpha channel was black (the background).
Unfortunately this is the exact opposite of what we want. We want it the other way round, with full transparency where the alpha is black. This is easy to solve though: all we need to do is invert the alpha, which we can do with an Invert node. Adding the Transparency BSDF node and the Invert node, and mixing the Transparency and Diffuse BSDF nodes gives a partial node tree like this:
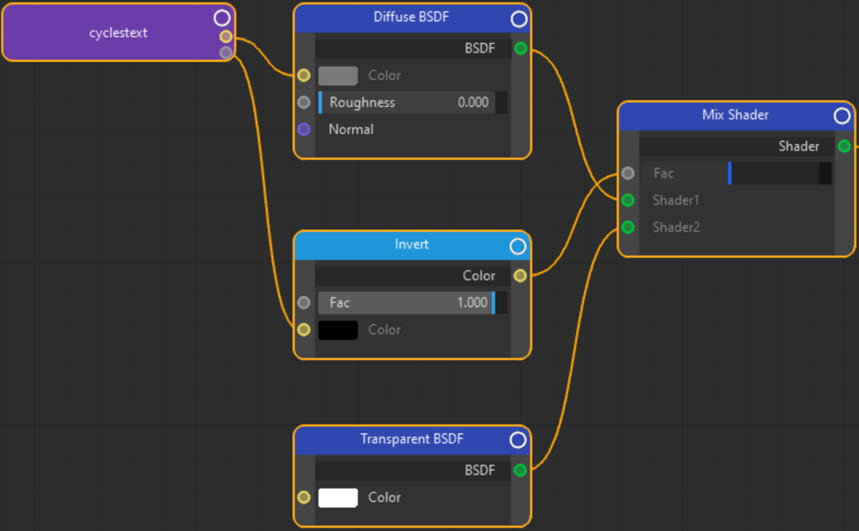
Let's look at what is happening here. The Mix Shader node will mix two shaders. One is a Diffuse BSDF node with the colour from the decal image, and the other is a Transparency BSDF node. The mix is driven by the inverted alpha texture, so wherever the alpha itself is white, the result from the Invert node will be black, and vice versa. This will result in an input into the Fac value of the Mix Shader node being either 0 (black in the inverted alpha) or 1. If the Fac value is 0, we will see only the output of the Diffuse BSDF node; if the Fac value is 1, we will only see the output of the Transparency BSDF node, which in this case will be full transparency because the Transparent BSDF node Color value is white (full transparency).
We still don't have the two images mixed together, but we can do that with another Mix Shader node. This would give this node tree:

Click image to enlarge
Rendering this gives us this result:
We're getting there, but it's still not right. The decal is partly transparent, and the main image looks faded because it too is partly transparent. The problem is the second Mix Shader node; its Fac value is a constant 0.5, but it needs to show the decal fully opaque where the text is and fully transparent where the background is.
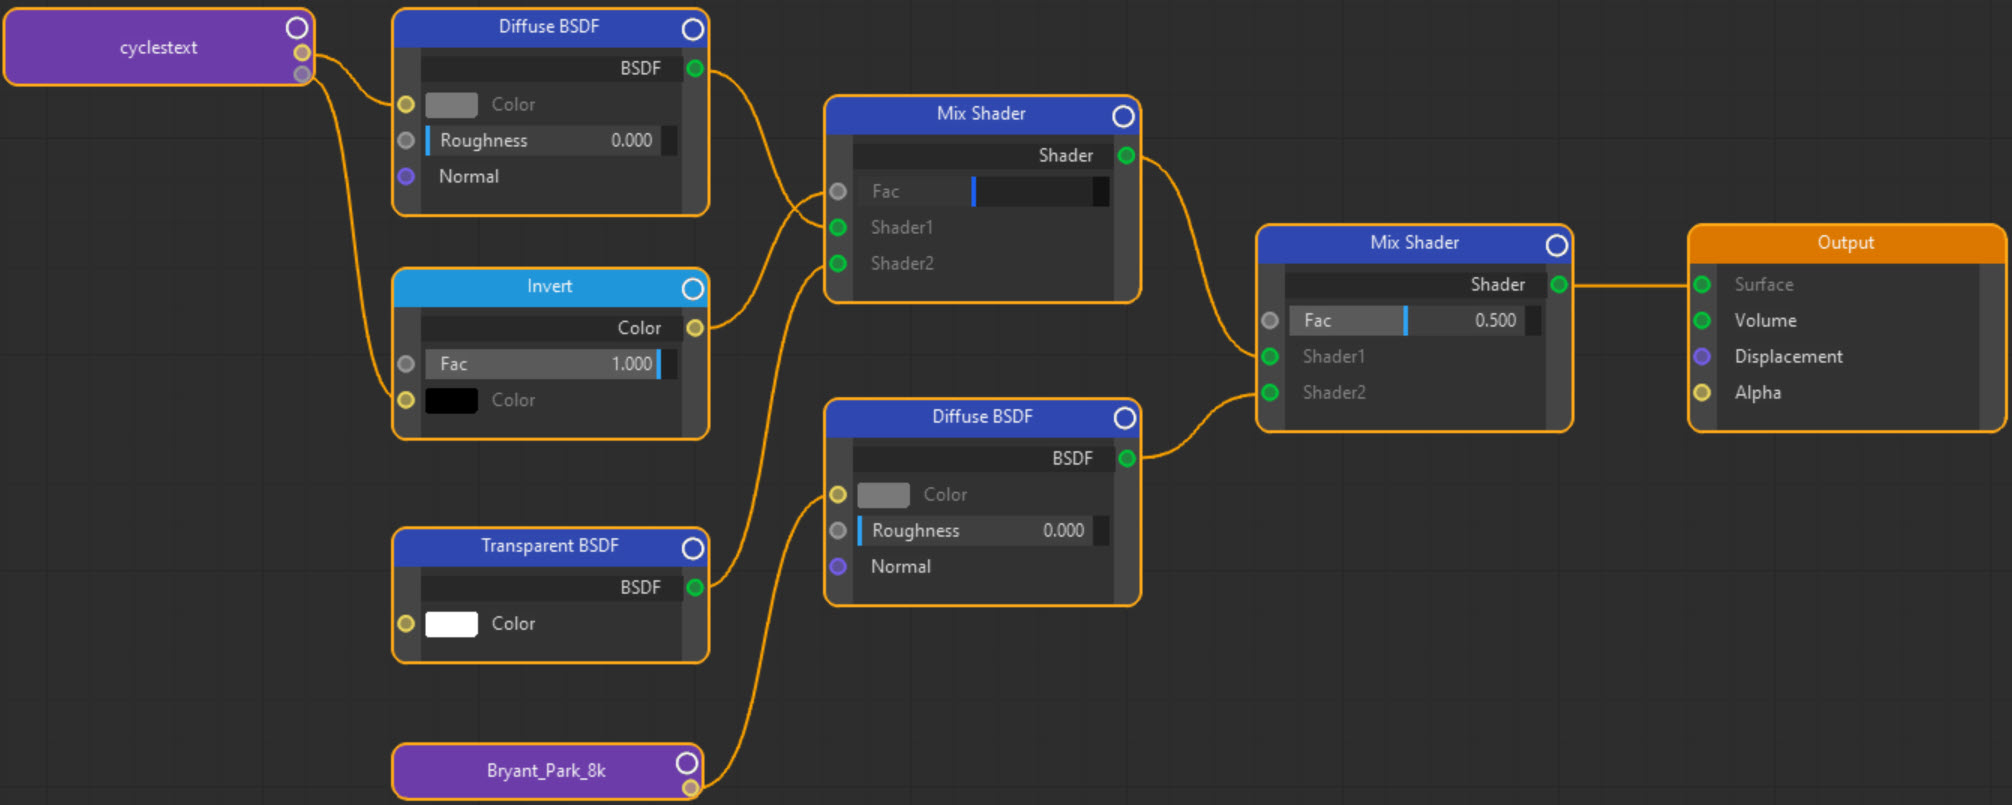
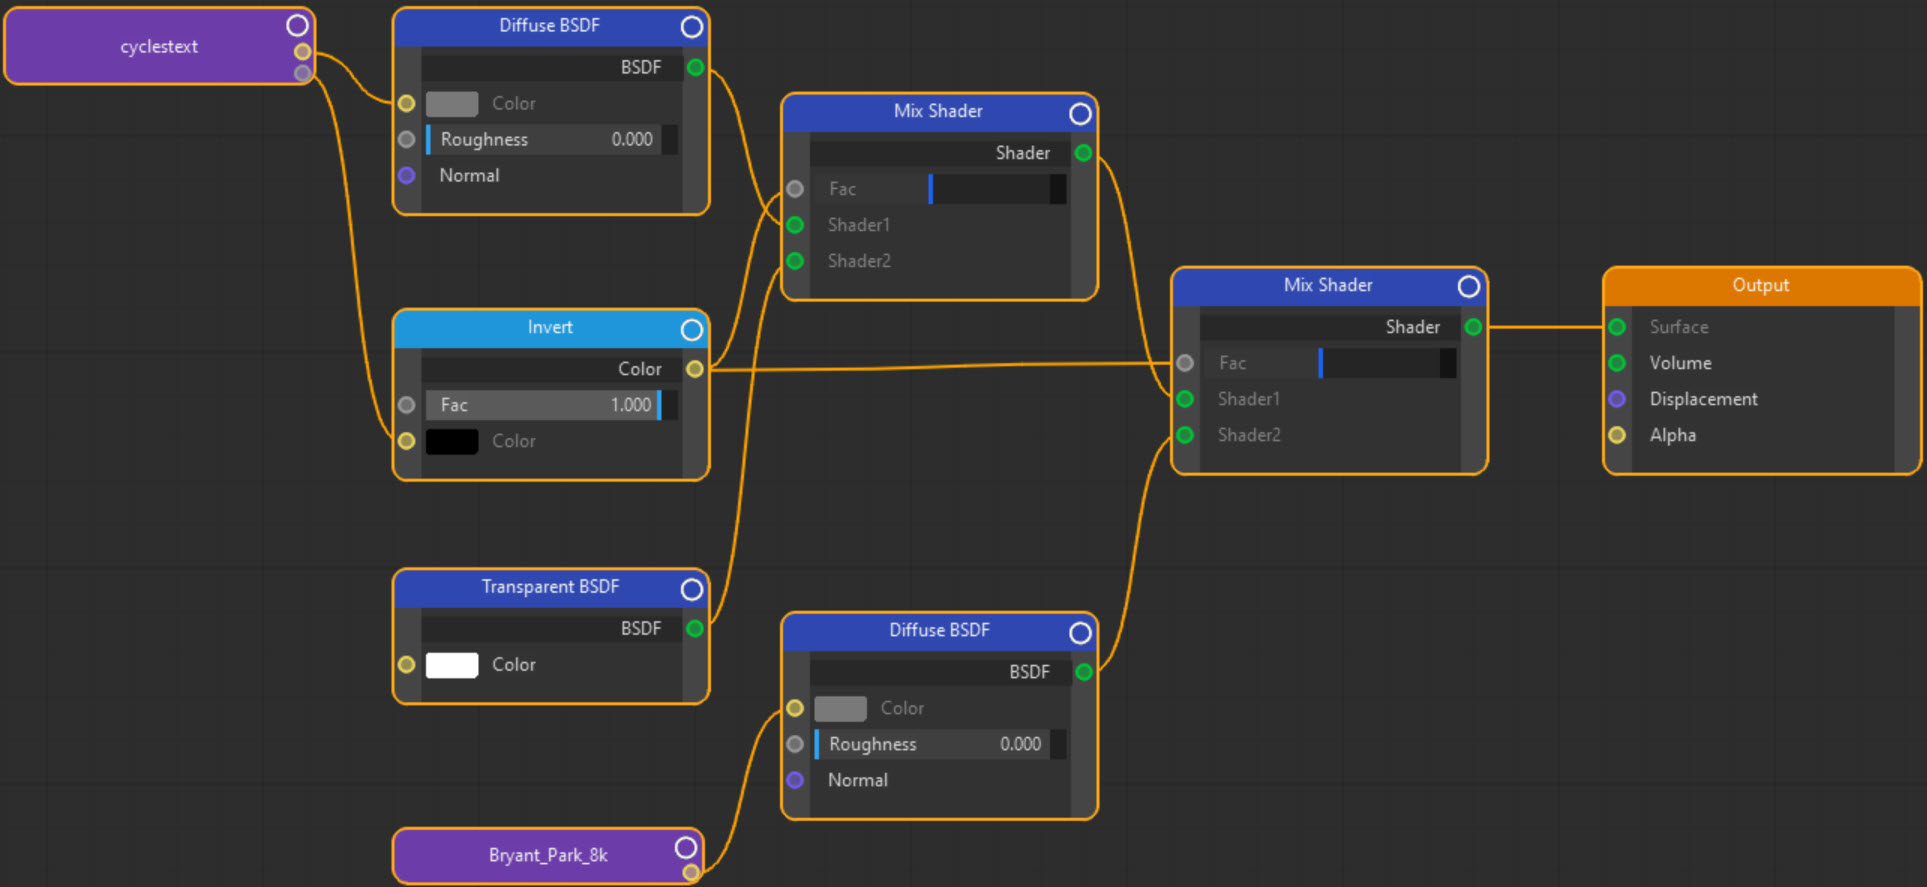
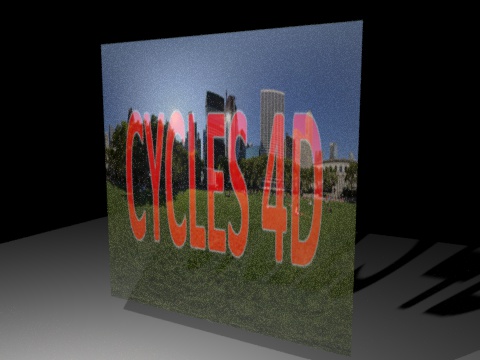
This is easy to fix though; all we need to do is drive the Fac value with the inverted alpha of the decal image. Then we get this result:
This is exactly what we wanted. The node tree now looks like this:

Click image to
enlarge
4. Resizing and repositioning the decal
So far we have a large decal in the middle of the Plane object. But it's a bit big and perhaps we'd like it to be in the top-right corner. How can we do that?
What we need for this is a Mapping node. We link this to the Vector input of the decal image texture node like so:
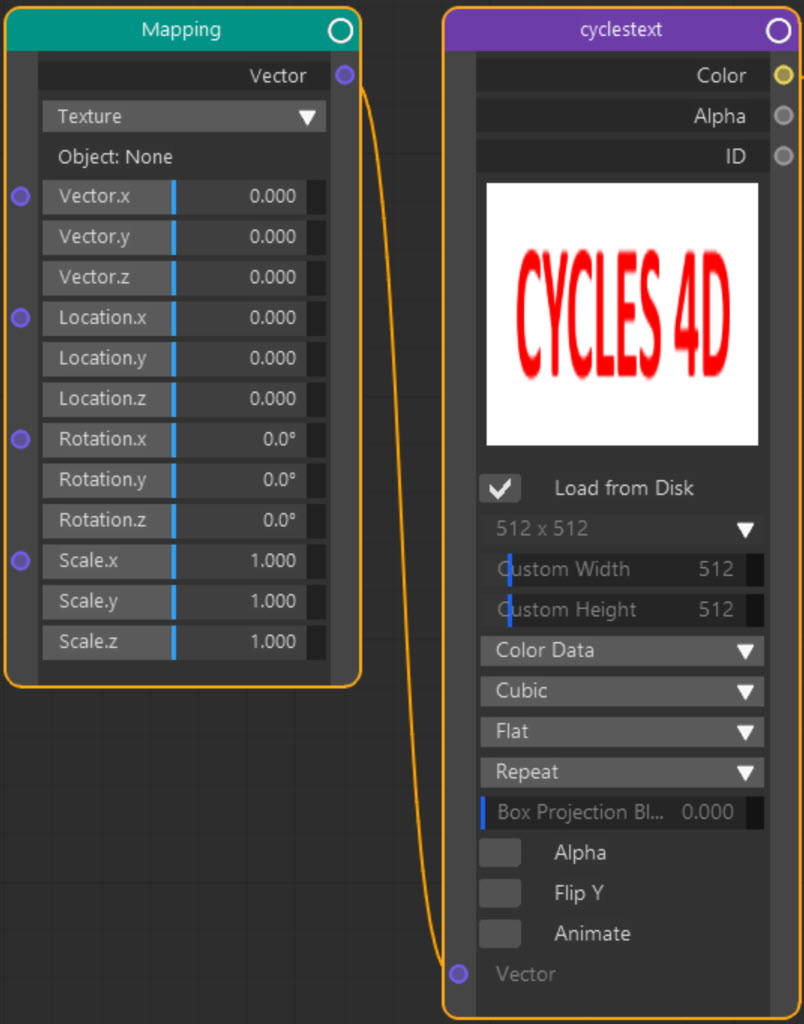
As soon as we do that, we see this in the rendered result:
The decal has disappeared! This happens because adding the Mapping node has changed the texture projection. We need to set it back to UVW mapping. We could do this with a Texture Coordinates node, linking its UV output to the Vector input of the Mapping node, but in Cycles 4D it's simpler to use a Texture tag node, which uses the projection from the texture tag:
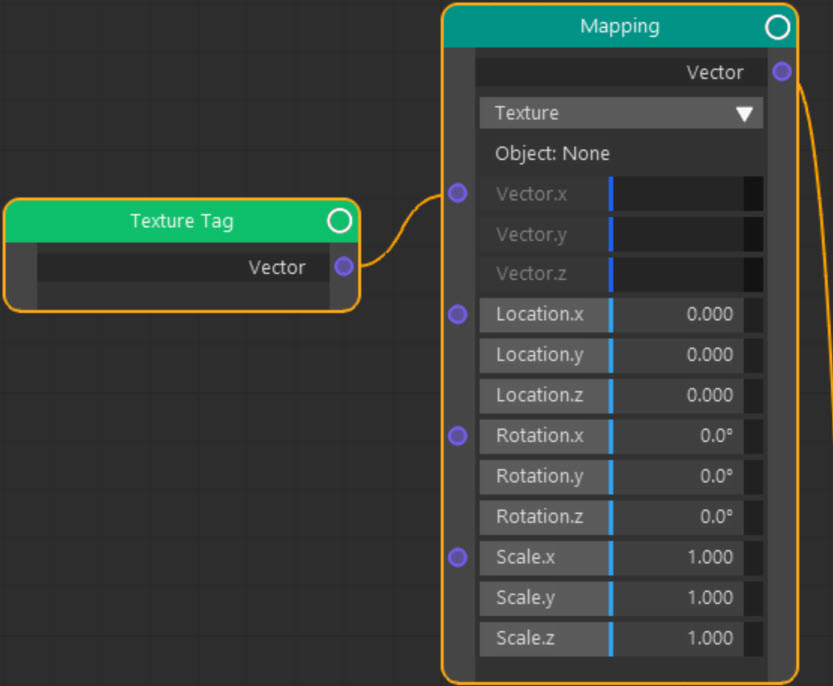
This will restore the decal on the rendered image. From then on, we can use the Scale and Location values in the Mapping node. Let's first change the Scale to Scale.x = 0.3 and Scale.y = 0.2. If we do that, we see this:
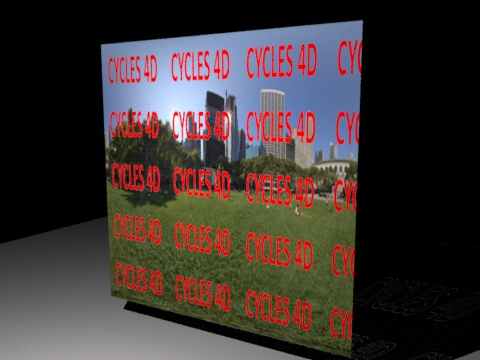
Interesting result, but not what we want. To fix this, in the decal image texture node, change the Texture Extension from Repeat to Clip. Then we see this:
All that's left is to change the Location.x value to move the decal to the top right; a value of 0.7 will work in this case and then we get this result:
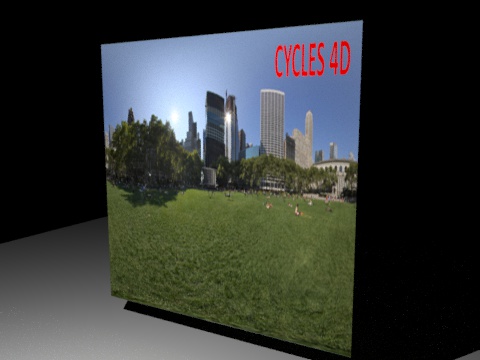
And now we have the Plane object with an image and a decal in the correct size and position. Here is the final, complete node tree:

Click image to enlarge