How To: Use the Point Density Node:1
The Point Density node is a little trickier to use than most of the other nodes. On this page we will look at using it to render a volume with an object's vertices as the source. On the next page we will see how to use it with an X-Particles emitter.
You can download the scene file from this link if you want to try it out. Thanks again to Mario Tran Phuc for providing the file.
Scene Objects
There are several components in the scene but the only ones we need to consider are the cube object named 'Volume' and the source object, which is named 'Holosphere'.
The volume object
This is a simple cube primitive. This is a 'domain' object which provides the volume in which the point cloud will be rendered. The Cycles 4D point density material will be assigned to this object.
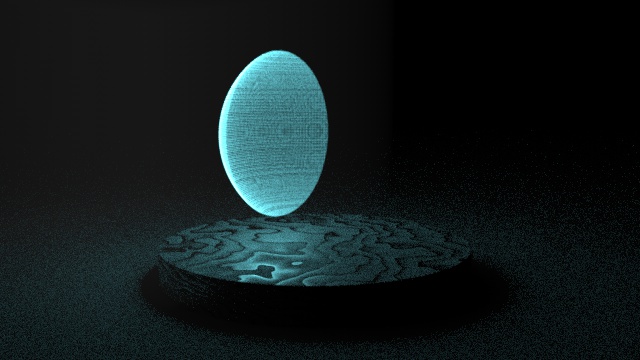
The holosphere object
This is the object whose vertices make up the point cloud to be rendered. Since this object should not itself be rendered, it does not need a material. The holosphere object has been dropped into the Object field of the Point Density node.
 Note that the Holosphere is actually two spheres. The Point Density node does not support object hierarchies, so if you have an object which is composed of two or more sub-objects, like this one, you should make them the child of a Connect object and use that object in the node.
The material
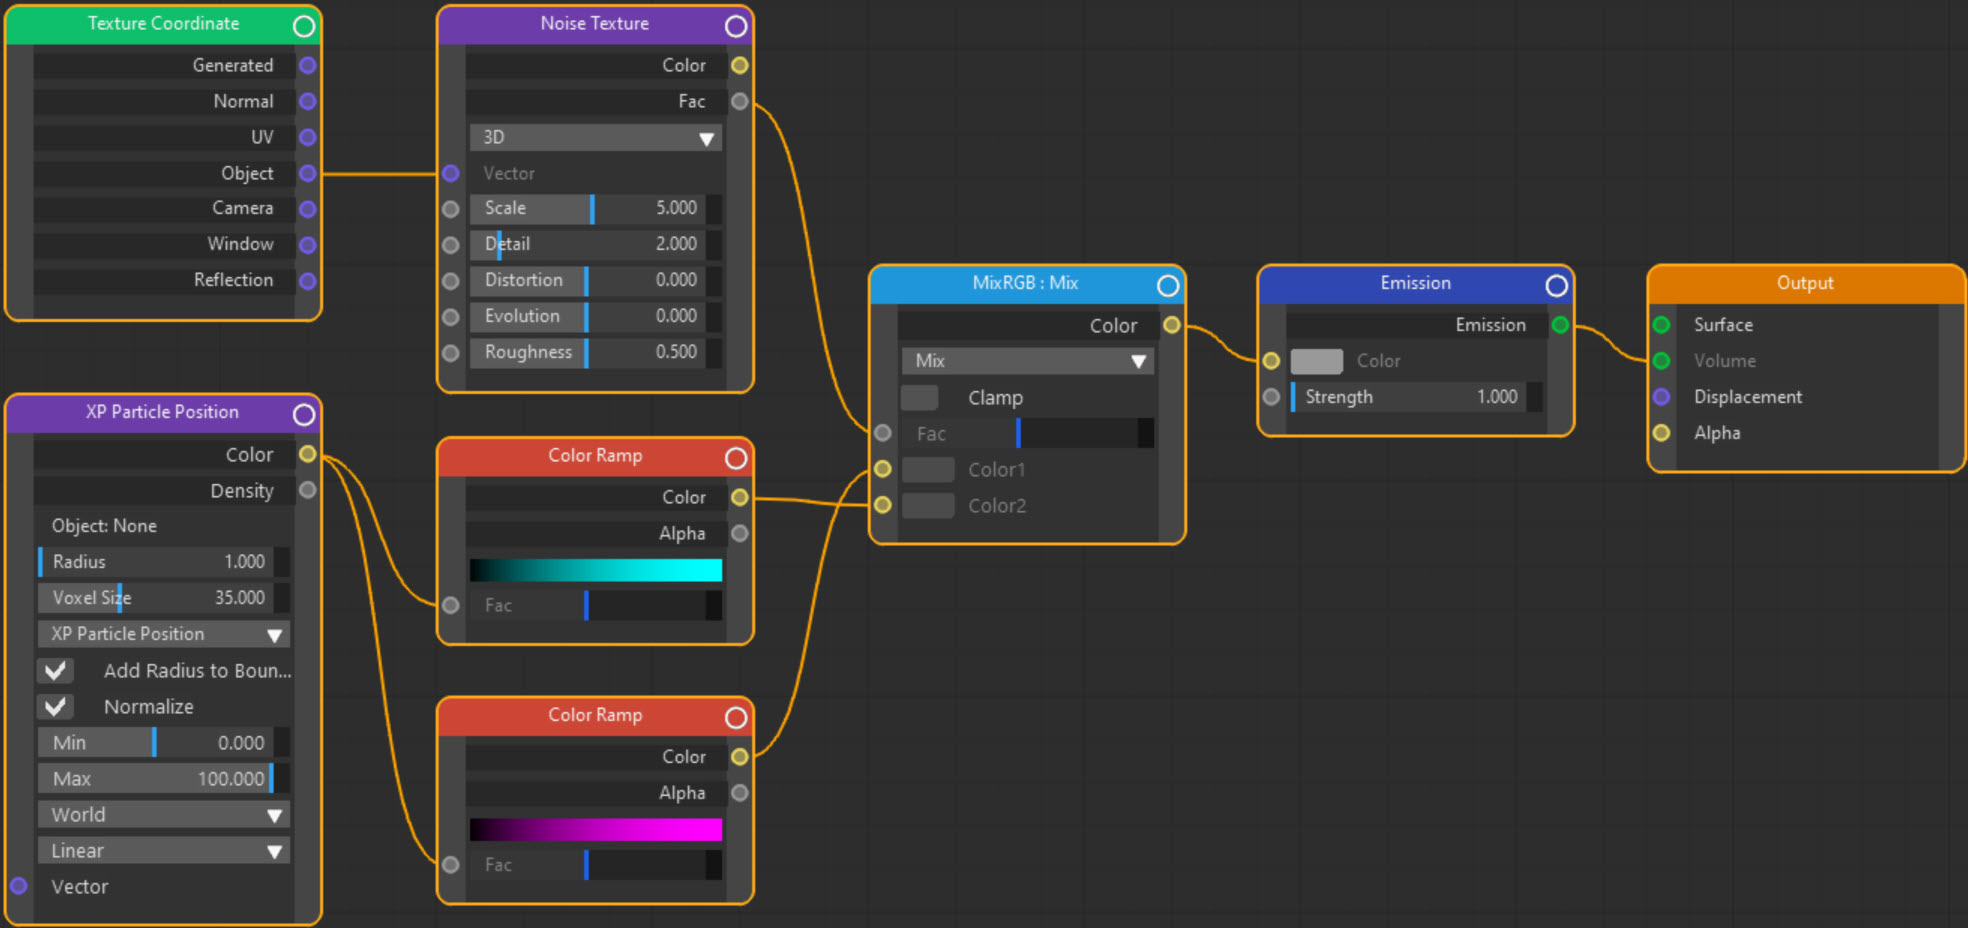
Here is the node tree for the material applied to the 'Volume' object:
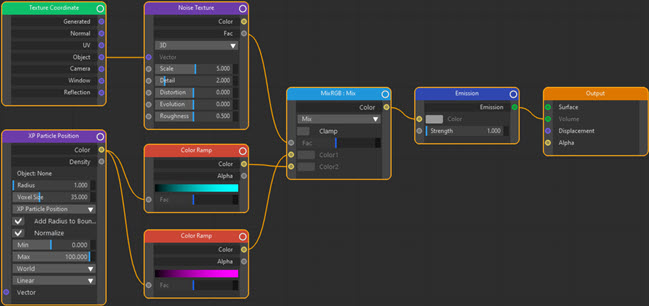
Click to enlarge image
This looks more complicated than it really is. We have a Point Density node whose Color output is linked to two Color Ramp nodes with different colours. We have to use at least one Color Ramp because when using an object as the point source there is no colour information and all the Color port will output is a grayscale colour. We could in fact use the output colour directly as an input to the Color Ramp nodes, without a Separate RGB node, as each of the colour components will be the same.
The Color output simply selects the colour from the Color Ramp. If the Color (or Density) output is low, the ramp outputs black, otherwise it outputs a colour.
At this point we could simply pipe one of the Color outputs from a Color Ramp into the Color port of the Emission shader, and do away with the other Color Ramp, the Noise node and the MixRGB node. If we did that, we would see this:
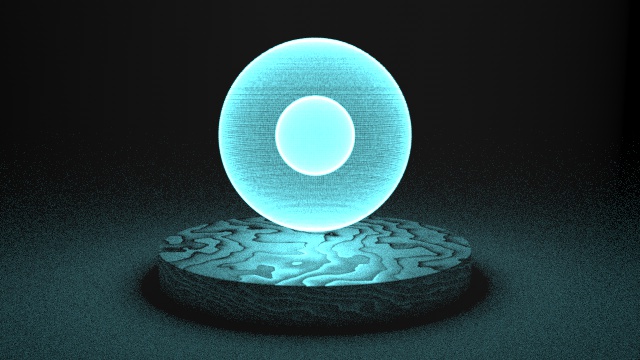
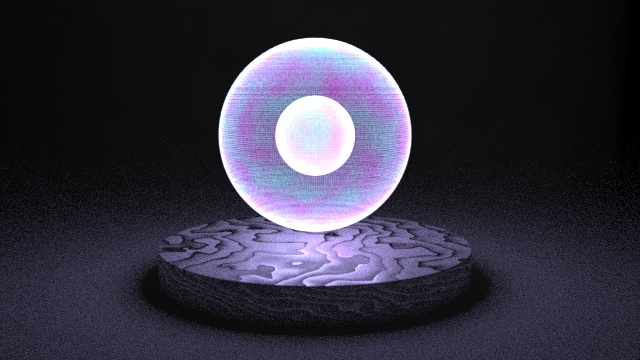
Which is a perfectly acceptable output. The rest of the node tree is just there to show how you can mix the two colours together. It does this using a MixRGB node whose Fac value is driven from a Noise texture. This mixes the two colours and sends the resulting colour to the Emission shader. The final result will look like this:
Important points to note
There are several points of interest in this file which are worth remembering.
Radius and Resolution
The larger the radius, the larger will be the 'halo' around each point. So the smaller you make this, the more detailed the final render will be. However, as the radius is reduced in size, the resolution must be increased to render the smaller points. If you don't do this, the rendered result may be low-quality or you may not even see anything at all. Compare this scene rendered at three different Resolution values:

Be aware, however, that increasing the resolution is very memory-hungry and can result in out-of-memory errors if rendering on the GPU.
The Color drop-down menu
When using an object as the point source this menu has no effect. It is only used when the point source is an X-Particles emitter or domain object or a TFD source.
Normalize switch
When using an object as the point source this switch has no effect. If you check or uncheck it, you can see it makes no difference to the rendered output.
Space drop-down menu
This is an important setting. In this scene it is set to World, so the points render at the original location of the source object points. This means that the domain object (the 'Volume' cube) must enclose all the points of the source object. If it doesn't, those points not in the domain will not render. For example see this render where the domain has been moved 300 units on the negative X-axis:
You can see that the points on the holosphere which are no longer inside the cube's volume are not used in the render.
In the same way, changing the size of the cube will make no difference (unless you reduce it so much that it no longer encloses the source object) and neither will rotating it.
By contrast, if we change this menu to Object space, moving, scaling, or rotating the cube will all change the final render. For example, in this render the cube has been scaled down and moved: