Rendering: Render Elements
This is a multipass system for Cycles 4D. With it you can render an image into its separate elements.
Note: Blender calls these 'render layers' and 'render passes'. To avoid confusion with Cinema's layer system and multipass rendering, we have called them 'render elements' in Cycles 4D.
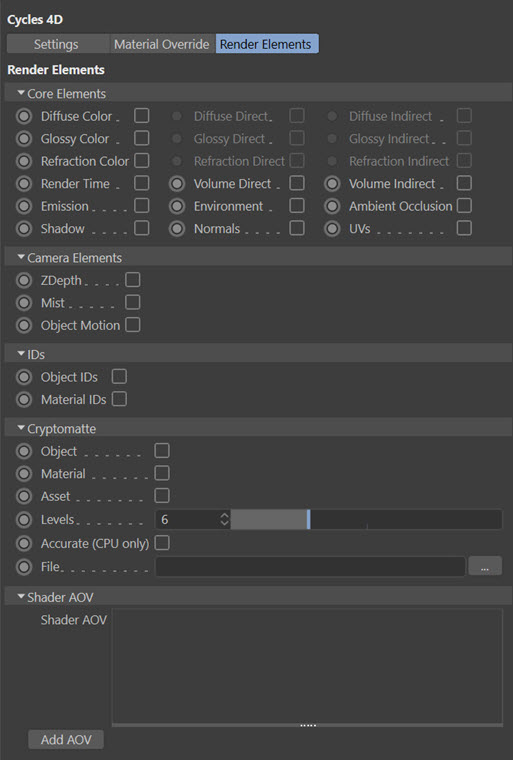
To use this system, in the Cinema 4D render settings, turn on 'Multi-Pass' then right-click and add 'Post Effects'. Then in the Cycles 4D render settings, Render Elements tab, turn on each element to be rendered. Note that some options are disabled until you enable another (e.g. 'Diffuse Direct' is disabled until you check 'Diffuse Color').
Core Elements
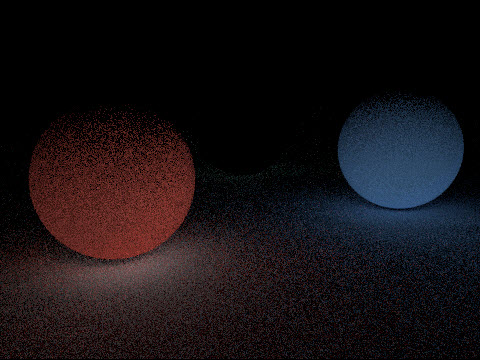
For example, consider this very simple scene, three spheres with different materials and one direct light in the scene:

Now turn on 'Diffuse Color' in the core elements and render to the picture viewer. The rendered image is unchanged but if you switch to the Layers section in the picture viewer and then select Multipass, you can see this:

Now you see only the diffuse colour. The middle sphere is black because it doesn't have a diffuse colour, it's a pure Glass BSDF node..
If you also check 'Diffuse Indirect' you get two layers. One is the diffuse colour as above, and the other shows the indirect diffuse lighting on each object:
You can repeat this for as many elements as you like and will see a layer for each one.
Camera Elements
ZDepth
To render a Z-depth pass, check this box. You will need to turn on Multi-Pass in the main render settings and add Post Effects to the passes, plus any others you need.
Mist
Check this switch to enable a mist pass. You can find out how to generate a mist pass in the How To: Generate a Mist Pass page, and there is more information in the cyEnvironment Object page.
Object Motion
This switch is used when rendering object motion blur. For a fuller explanation, see the 'How-To: Add Motion Blur' page.
IDs
These two switches allow you to render separate mask layers for objects in the scene.
Object IDs
The cyObject tag can assign an object ID to the object it is attached to. Different objects can share the same ID or have different ones; those will the same ID will be rendered in the same pass, those with different IDs will be rendered in separate passes.
For example consider this scene with three objects:
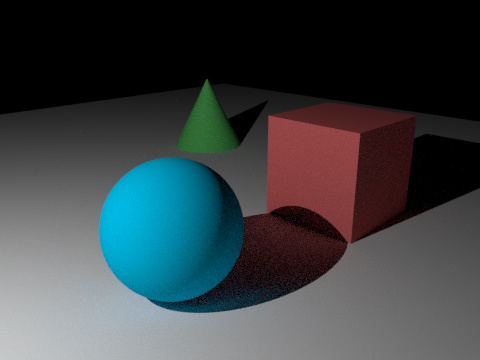
Each object has a different ID assigned through its cyObject tag. To render out the mask layers, first enable Multi-Pass in the main Cinema 4D render settings and add Post Effects to Multi-Pass, plus an RGBA pass and any others you might need, of course.
Then, in the Cycles 4D render settings Render Elements tab, check 'Object IDs'.
If you now render the scene to the picture viewer and look in the Layer tab, you will see this:
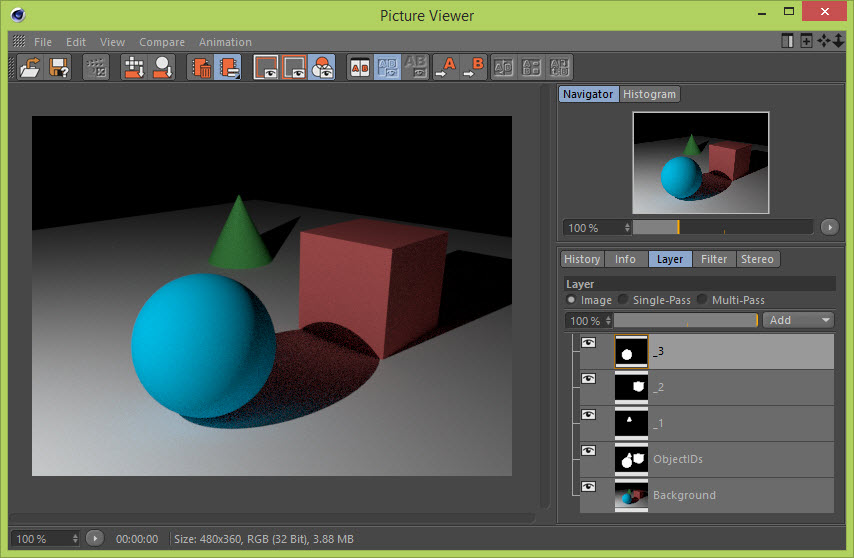
As you can see, each object has a different object ID so has its own mask layer. You can use this in compositing software such as Photoshop.
Material IDs
This is exactly the same as Object IDs but using a material ID instead. This is set in the Material Settings tab of the material. Then check Material IDs in the Cycles 4D Render Elements settings tab, and passes will be rendered for each material with a different ID.
You can in fact render both Object ID and Material ID passes at the same time if you want to; simply check both switches in the render settings.
Cryptomatte
Cryptomatte is a new feature in Cycles 4D which allows you to export mattes for objects and/or materials in the scene. This is much faster than creating mattes by hand.
To use cryptomatte, you must:
- Enable Multi-Pass in the Cinema 4D render settings and add Post Effects to the passes to be rendered.
- Next, in the Cinema 4D render settings 'Save' tab you should set an output file for the multi-pass image; the format can be whatever you like but the cryptomatte file will always be in OpenEXR format, so it makes sense to choose that format for the image flle as well, and to select 32 bits per channel for the greatest accuracy.
- Then in the Cycles 4D render settings, render elements tab, check the 'Object' and/or 'Material' switches to generate mattes for those elements.
- Finally, enter a file name for the cryptomatte output in the 'File' field; this can be the same as the one you specified in the Cinema 4D 'Save' tab of the render settings.
When you render, you won't see any additional layers in the picture viewer but for each frame you will get a crypotmatte file. The cryptomatte file is identified by the word '_Cryptomatte' added to the file name. These files can then be imported into compositing software such as After Effects and used there.
Object
Check this switch to generate mattes for all objects in the scene.
Material
Check this swiitch to generate mattes for all materials in the scene.
Asset
Check this switch to generate mattes for 'assets'. What this means is that if you have multiple objects as children of the same parent, which could be a null object, checking this switch will generate a matte which includes all the child objects of the null (the 'asset') - which avoids having multiple mattes, one for each child object.
Levels
Suppose you have a scene with objects which occupy the same pixel. If there are two such objects then 1 level is required, which will produce one cryptomatte output image. If there are more than two objects in the same pixel, more levels are required and that will result in more cryptomatte output files (if necessary).
As a general rule, one level is required for every two overlapping objects and will generate one file. For example, if you have an area where 16 objects overlap, you need eight levels giving eight images. The default value is six, which is sufficient in many cases. Note that additional files will only be generated if required, so that unwanted empty files are not generated.
Accurate (CPU only)
If this switch is checked a more accurate algorithm is used to produce the mattes but this can only be done on the CPU, which will be slower.
File
This is the output file for the cryptomatte .EXR file. It can have the same name as the one specified in the Cinema 4D 'Save' tab of the render settings.
Important: if you are rendering over a network with one or more render nodes, it is recommended that this file should be a network shared folder so all the cryptomatte files are saved to the same folder. Otherwise there is a risk that the nodes may be unable to find the specified folder locally.
Shader AOV
This section allows you to add AOV (Arbitrary Output Variable) render passes.
For a full description and example of how to use AOVs, please see the AOV Output node page.
Shader AOV
A list of the AOVs currently available. Adding an AOV will produce this result:
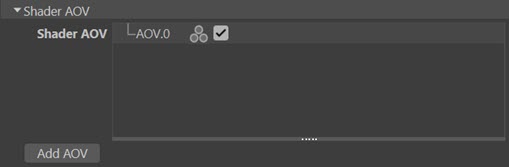
Right-click the AOV name for a menu of options to let you copy, disable or delete the AOV. Double-click the name to rename it. You can also uncheck the checkbox switch to disable the AOV.
The other icon is a toggle between a numeric value (as shown above) and a colour. The colour icon looks like this:
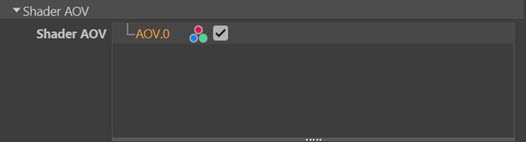
This use of this icon is explained in the AOV Output node page.
Add AOV
Click this button to add a new AOV to the list.