Texture: Image
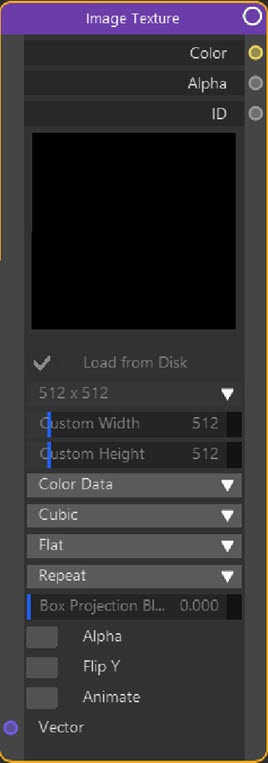
Node Interface
Example Output
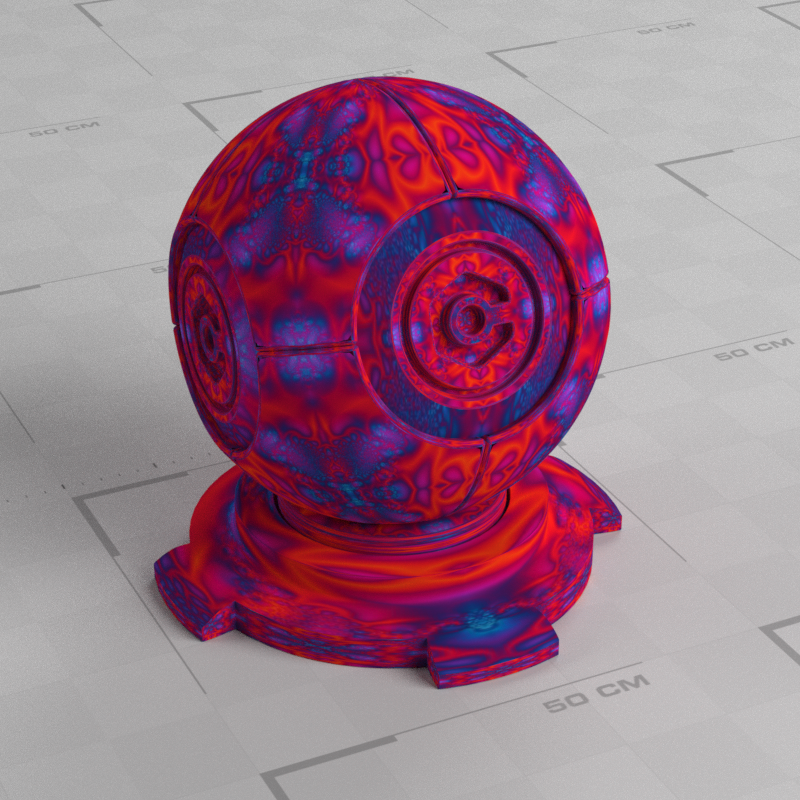
A fractal bitmap projected onto the object.
In previous versions of Cycles 4D, a material using this node would not display the bitmap or shader in the Cinema 4D viewport (it would show as plain white). Now, the bitmap/shader does show in the viewport in the same way that Cinema 4D materials do when using the standard renderer.
You can turn off this feature in the preferences if desired.
Overview
| Function | Add a bitmap or shader to a material |
| Nearest C4D equivalent | Simple material has a link for a bitmap in most channels |
This node is used when you want to add a bitmap to a material. In the simplest case you specify the bitmap to use and link the Color output to the Color input of a node such as Diffuse BSDF.
Note that dragging a bitmap into the node editor window will automatically create an Image Texture node and add the bitmap to the node.
 Please see the important note regarding bitmap images on the Known Issues page if you find that bitmaps applied to an object with this node are inverted on the Y axis.
Settings
Note: a * symbol next to the name indicates the parameter also has an input port. A # symbol indicates that the parameter can only be changed with an input node, not in the node itself.
Image thumbnail
Shows the currently selected bitmap, or black if none is selected. You can choose a bitmap by using the Texture link in the right-hand pane of the node editor.
Texture
This setting is only seen in the Node Settings pane. It is here you can choose a bitmap image or shader to load.
Load From Disk
If this switch is checked, Cycles 4D loads the image from disk and will determine the image size automatically. If it happens to get it wrong, uncheck this switch then choose Custom... from the 'Texture Size' menu and enter the correct width and height in the custom width and height fields.
Note that this switch is not available when using a procedural shader.
There is a limitation in that if you load a movie texture into this node, 'Load From Disk' must be turned off. If it isn't, the movie will not load because the Cycles engine cannot load a complete movie, and instead samples the required frame from the movie as needed.
Texture Size drop-down menu
This menu contains a number of presets for common image sizes. If you are loading a bitmap, then the simplest workflow is to leave 'Load From Disk' checked and let Cycles 4D determine the image size.
If you uncheck 'Load From Disk' you can choose an image resolution for a bitmap from this menu, or select 'Custom...' and enter the resolution manually. If you set too low a resolution the bitmap may appear blurred in the rendered image.
When using a procedural shader you can set the desired resolution from this menu. There is nothing to be gained from setting a very high resolution in this case; if the resolution is too low, the rendered result may be blurred but if it is too high it may take significantly longer to render. 512 x 512 is a good compromise in most cases.
Custom Width and Custom Height
The image dimensions when 'Custom...' is chosen from the image size menu.
Color Space drop-down menu
This can be either Color Data or Non-Color Data. The difference here is that if Color is selected, Cycles 4D may perform colour space conversion on the output colour. Most of the time that is not required, so you can leave this as Non-Color Data. if the image map is a bump or alpha map, this should certainly be left as Non-Color Data or the node may try to convert it into colour data, giving erroneous results.
Texture Interpolation drop-down menu
This menu selects how the image data will be interpolated over a large area. The default is cubic, which gives smoother interpolation but is slower.
Linear gives lower-qualty interpolation but is faster than Cubic.
Closest basically means no interpolation; textures will stay pixellated which can be a required feature.
In Smart mode Cycles selects internally to use either bilinear or bicubic interpolation.
Texture Projection drop-down menu
This lets you choose from four projection methods:
Flat
Uses the Vector setting to determine the projection of the image, so by default this equates to UVW projection.
Sphere
Assumes the bitmap is on a sphere enclosing the object and projects the bitmap from the sphere.
Box
Assumes the bitmap is on a box with 6 sides enclosing the object and projects the bitmap from those sides.
Tube
Maps the bitmap to the object as though it was a cylinder.
Texture Extension drop-down menu
This menu selects whether or not to tile the bitmap across the object. The options are:
Repeat
Tile the bitmap across the object.
Extend
This will not tile the bitmap and instead will repeat the edge pixels of the bitmap to cover empty space.
Clip
This will not tile the bitmap and will convert empty pixels into black.
Box Projection Blend
If Box was selected from the projection drop-down menu, you may see hard edges where the bitmaps projected from the six sides meet each other. These edges can be smoothed by increasing this value.
Alpha
This switch exists to correct a problem with Cinema 4D and alpha channels.
If you use the Alpha output of this node as an input to the Alpha port of an Object Material output node or a Principled BSDF node, and the bitmap does not have an alpha channel, Cinema 4D returns the image itself as the alpha. This may work as an alpha but may also lead to aliasing on edges when rendered. If you find that is the case, check this switch.
For reference, note that .JPG files never have alpha channels.
Flip Y Axis
If this switch is checked, the texture will be inverted on the Y-axis. This can be used to correct the problem of inverted bitmaps, should that occur.
Note: this switch has no effect unless the 'Load From Disk' switch has been unchecked.
Animate
Check this switch if you are using an animated texture. The real-time preview window needs to update itself as the scene time changes but there is no way to determine automatically if a texture is animated, so this switch must be checked manually to instruct the preview to update itself with each frame.
Important: when using an animated texture you must also untick 'Load From Disk' for the animation to work. See the 'Load From Disk' switch for more details. This is not necessary with an animated shader such as a Cinema 4D Noise shader.
Vector #
This sets the coordinate system to use for the bitmap. By default this uses UVW mapping.
Output
Color
Colour output from the HDR image.
Alpha
The output consists of alpha values. You would normally link this to the Alpha input port of a node such as Principled BSDF or an Object Material output node
Also see the 'Alpha' setting above for more information about alphas.
ID
A unique ID value intended for use with the ID Packer and Replicator nodes.