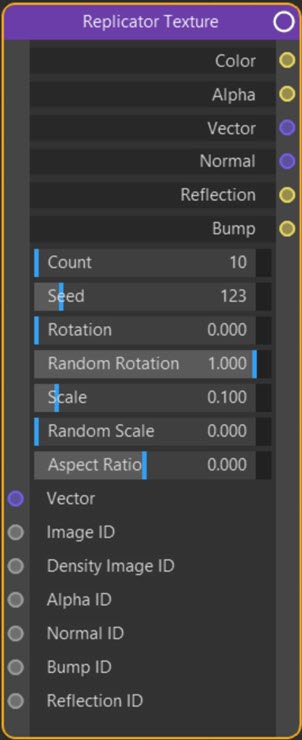
Texture: Replicator
Node Interface
Overview
| Function | Distributes a texture over an object |
| Nearest C4D equivalent | None |
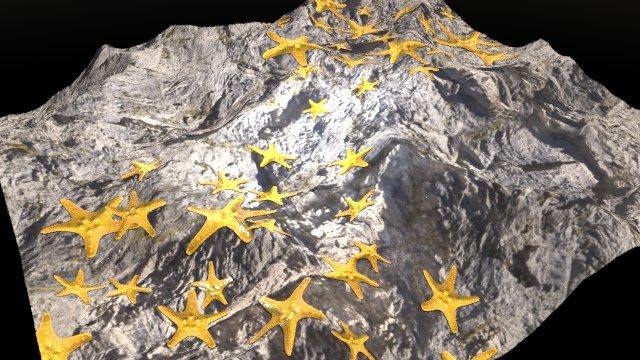
With the Replicator node, you can scatter a bitmap over an object. For example, it can produce results like this, where the image of a starfish is scattered over a Landscape object:
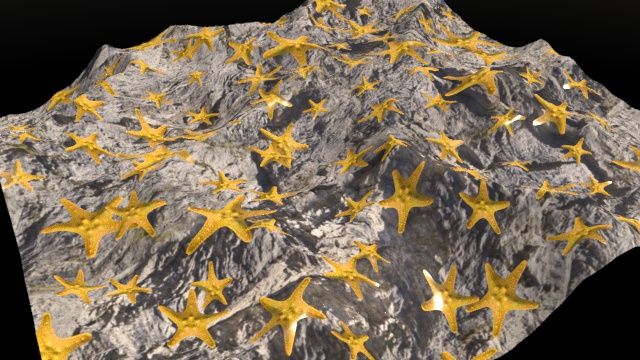
See 'How to use the Replicator node' below for details of how to set this up.
Settings
Note: a * symbol next to the name indicates the parameter also has an input port. A # symbol indicates that the parameter can only be changed with an input node, not in the node itself.
Count
The number of times the texture is to be replicated.
Seed
A random seed. Change this if you don't like the way the texture instances are distributed.
Rotation
If this value is greater than zero, the texture instances will be rotated by an amount between zero and this value (in degrees).
Random Rotation
The degree of randomness of the instance rotation. The higher the value, the more random the rotation. For example, if 'Rotation' is set to 45 degrees and 'Random Rotation' is zero, all the instances will be rotated by 45 degrees. As this value is increased the rotation will become increasingly randomised.
Scale
The scale of each instance. The larger this value, the larger the scale will be.
Random Scale
The degree of randomness of the instance scale. The higher the value, the more random the scaling. For example, if 'Scale' is set to 0.5 and 'Random Scale' is zero, all the instances will be scaled by the same amount. As this value is increased the scale will become increasingly randomised.
Aspect Ratio
The aspect ratio of the texture instance. By default this value is zero, so the instances have their original aspect ratio. The value can be changed to higher or lower than zero, and the aspect ratio will be changed accordingly.
Vector #
An input for texture coordinates, for example, the UV output of a Texture Coordinate node.
Image ID #
 This port should be linked to the ID output of an Image Texture node containing the image you want to be scattered.
Density Image ID #
You can link this port to the ID output of another Image Texture node to control where the instances are placed. This would normally be a greyscale image to control placement of instances.
See 'How to use the Replicator node' for an example.
Alpha ID #
This port should be linked to the ID output of an Image Texture node containing a greyscale image to act as an alpha mask. This is essential to allow the base material of the object to show through between the replicated instances. The ID output port of the Image Texture node should be linked to this input port.
Normal ID #
You can link the ID output of another Image Texture node containing a normal map to this port. The Normal output of the Replicator node can then be linked to a Normal Map node and that in turn linked to the Normal input of (for example) the Principled BSDF node.
Bump ID #
You can link the ID output of another Image Texture node containing a greyscale bump map to this port. The Bump output of the Replicator node could then be linked to a Bump node and that in turn to (for example) the Displacement input port of an Output node.
Reflection ID #
You can link the ID output of another Image Texture node containing a reflection map to this port. The Relection output of the Replicator node could then be linked to another node such as (for example) the Specular input port of a Principled BSDF node.
Output
Color
The colour of the input image(s) linked through their 'ID' ports.
Alpha
The alpha values of the input image(s) linked through their 'ID' ports.
Vector
The vector output as linked into the Vector input port (e.g. UV coordinates).
Normal
The normal map of the input image(s) linked through their 'ID' ports.
Reflection
The reflection map of the input image(s) linked through their 'ID' ports.
Bump
The bump map of the input image(s) linked through their 'ID' ports.
How to use the Replicator node
To use this node in a material you will need a colour image to scatter plus a greyscale image to act as an alpha mask. The colour image is added to an Image Texture node whose 'ID' port is linked to the 'Image ID' port of the Replicator node. The alpha image is added to an Image Texture node whose 'ID' port is linked to the 'Alpha ID' port of the Replicator node. The output of the Replicator node can then be used as required.
Note that there is a significant change in this version of Cycles 4D. In previous versions you could use one Image Texture node containing a bitmap with an alpha layer, but in this version you need two nodes and two separate images, the colour (RGB) image and the alpha mask.
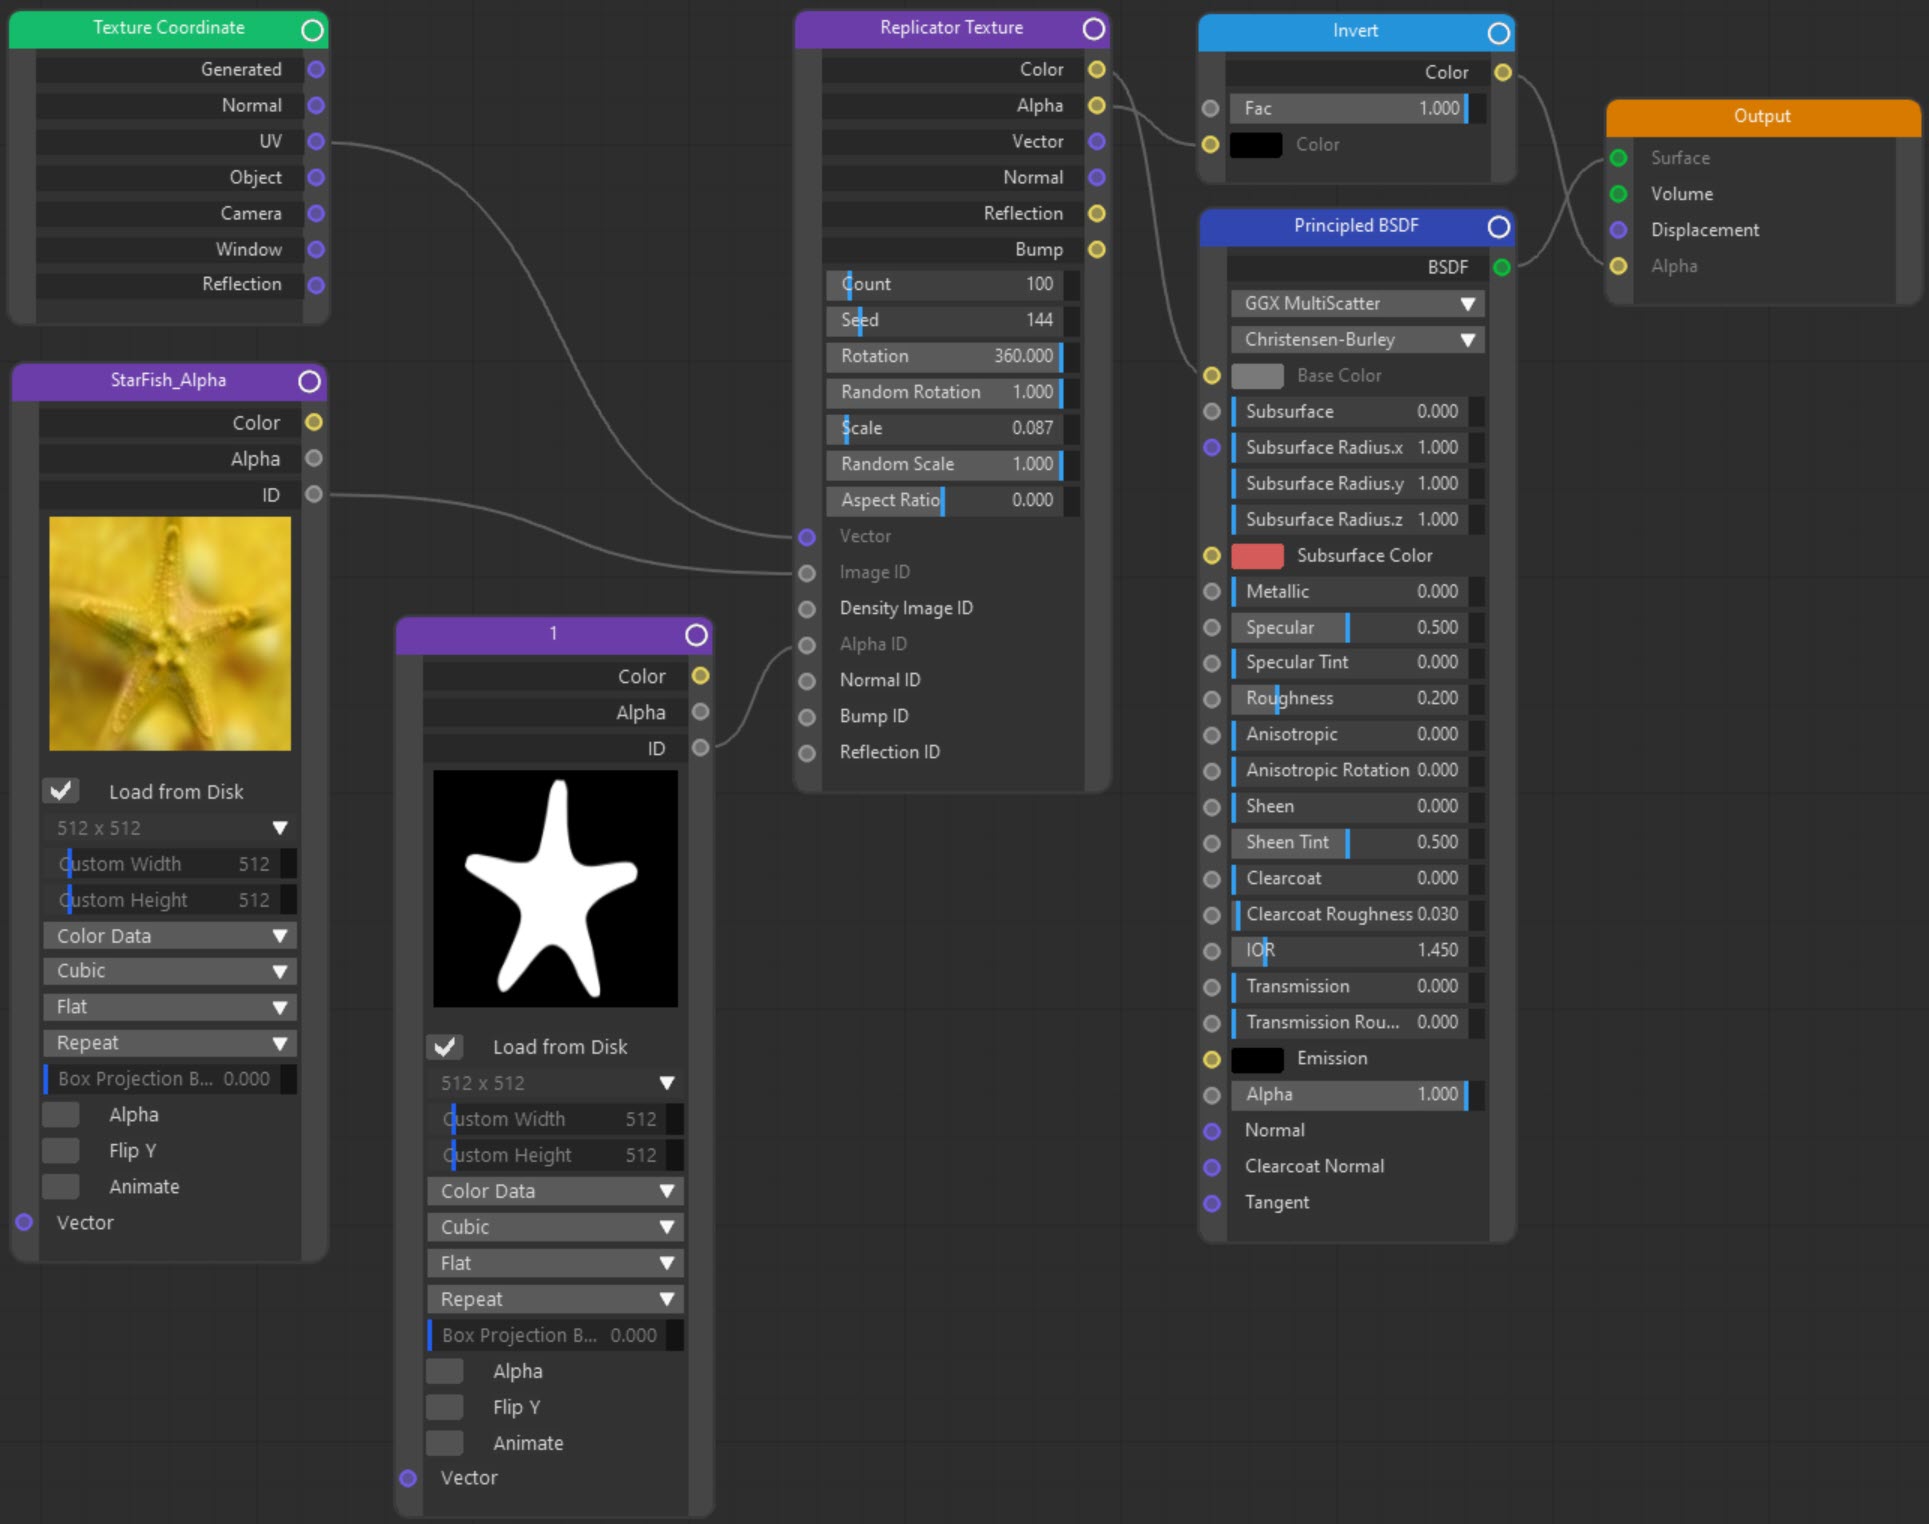
The image at the top of the page was produced using this node tree:

Click to enlarge image
As you can see, the only difference from the usual method of applying a bitmap to an object is that the Replicator node comes between the image texture node and the shader.
Using a single image containing an alpha layer
It is in fact possible to do this, but you will still need two Image Texture nodes. The method is as follows:
First, create an Image Texture node and load the image with an embedded alpha layer into the node. Then duplicate the node so you have two identical nodes.
For one of the nodes, in the attribute manager click the little preview of the bitmap as shown here:
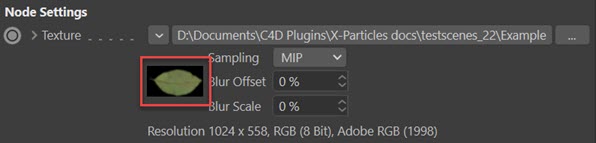
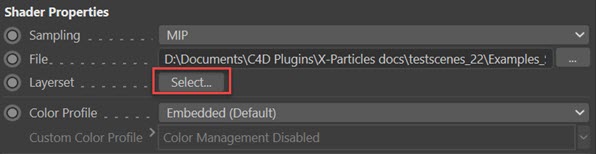
In the shader attributes, click the 'Select...' button:
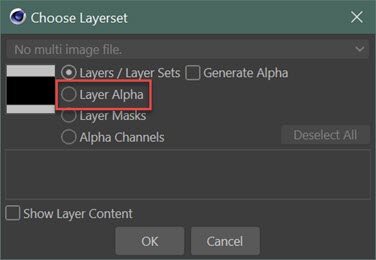
In the dialog box which appears, choose the 'Layer Alpha' and click OK:
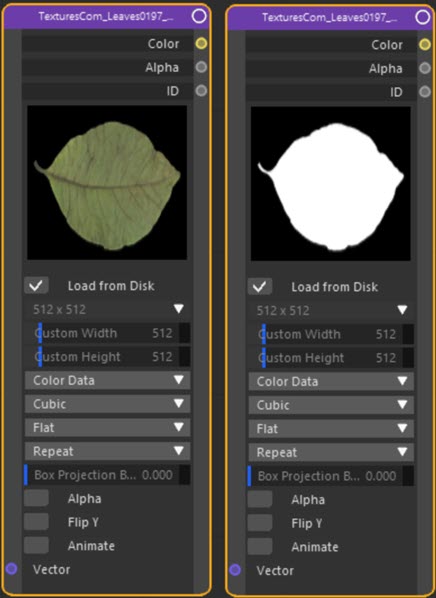
Then in the node editor you will have two Image Texture nodes, one with the RGB image and one with the alpha:
You can now use these nodes as described above.
Controlling image placement
To do this, link the ID port of another Image Texture node to the 'Density Image ID' input port of the Replicator node. This should be a greyscale image or shader. In this example a standard Cinema 4D checkerboard shader was used in the Image Texture node and gave this result:
Here, instances are placed where the checkerboard is white and not where it is black.
Using multiple images
What if you want to scatter more than one image, like this one with leaves scattered over a Plane object:
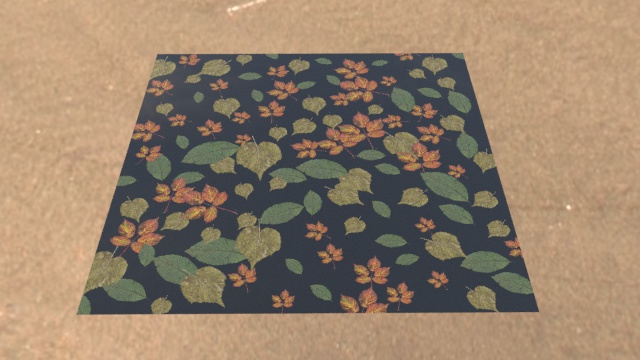
Now there are three different leaves. This is where the 'ID Packer' node comes in. All you have to do is link the 'ID' port of each image texture node to an input port of the ID packer node. This has a single output which is linked to the Replicator node's ' Image ID' port. This node tree should make it clear (alpha images not shown for clarity, they would require their own ID Packer node linked to the 'Alpha ID' port):
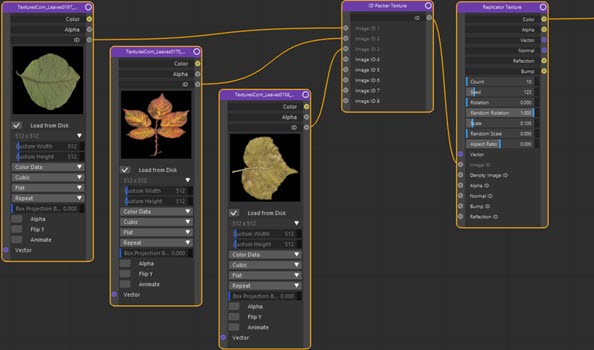
Click to enlarge image
The only difference is the insertion of the ID packer node between the image texture nodes and the replicator node.