How To: Use the Point Density Node:2
This page covers using the Point Density node with an X-Particles emitter. On the previous page we dealt with using the node with a point object.
You can download the scene file from this link if you want to try it out. Thanks again to Mario Tran Phuc for providing the file.
 For this scene you must have the latest version of X-Particles 3.5 or X-Particles 4 installed.
Scene Objects
The main components in the scene are the cube object named 'Volume' and the source object, which is an X-Particles emitter.
The volume object
This is a simple cube primitive. This is a 'domain' object which provides the volume in which the point cloud will be rendered. The Cycles 4D point density material will be assigned to this object.
The X-Particles emitter
The particles from the emitter make up the point cloud to be rendered. Since the emitter should not itself be rendered, it does not need a material. The emitter object has been dropped into the Object field of the Point Density node.
The material
The node tree is extremely simple:

The important areas here are that the Color drop-down has been set to 'XP Particle Color'. This means that the Color output will output the particle colour.
Inside the emitter, the particle colour is set to a parameter-dependent gradient, the parameter in this case being the particle speed. They have an initial speed of zero but this is increased by the two turbulence modifiers, so the colour changes from blue to orange (these are the gradient colours in the emitter).
A still from the final result looks like this:
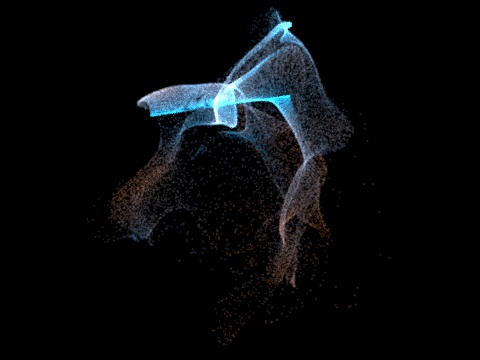
Important points to note
Radius
When using an X-Particles emitter, the particle radius does not determine the size of the rendered point. This is controlled by the node's Radius and to an extent Voxel Size settings.
Normalize
In this example the node is using the particle colour. This can't be normalized so checking or unchecking this switch has no effect.