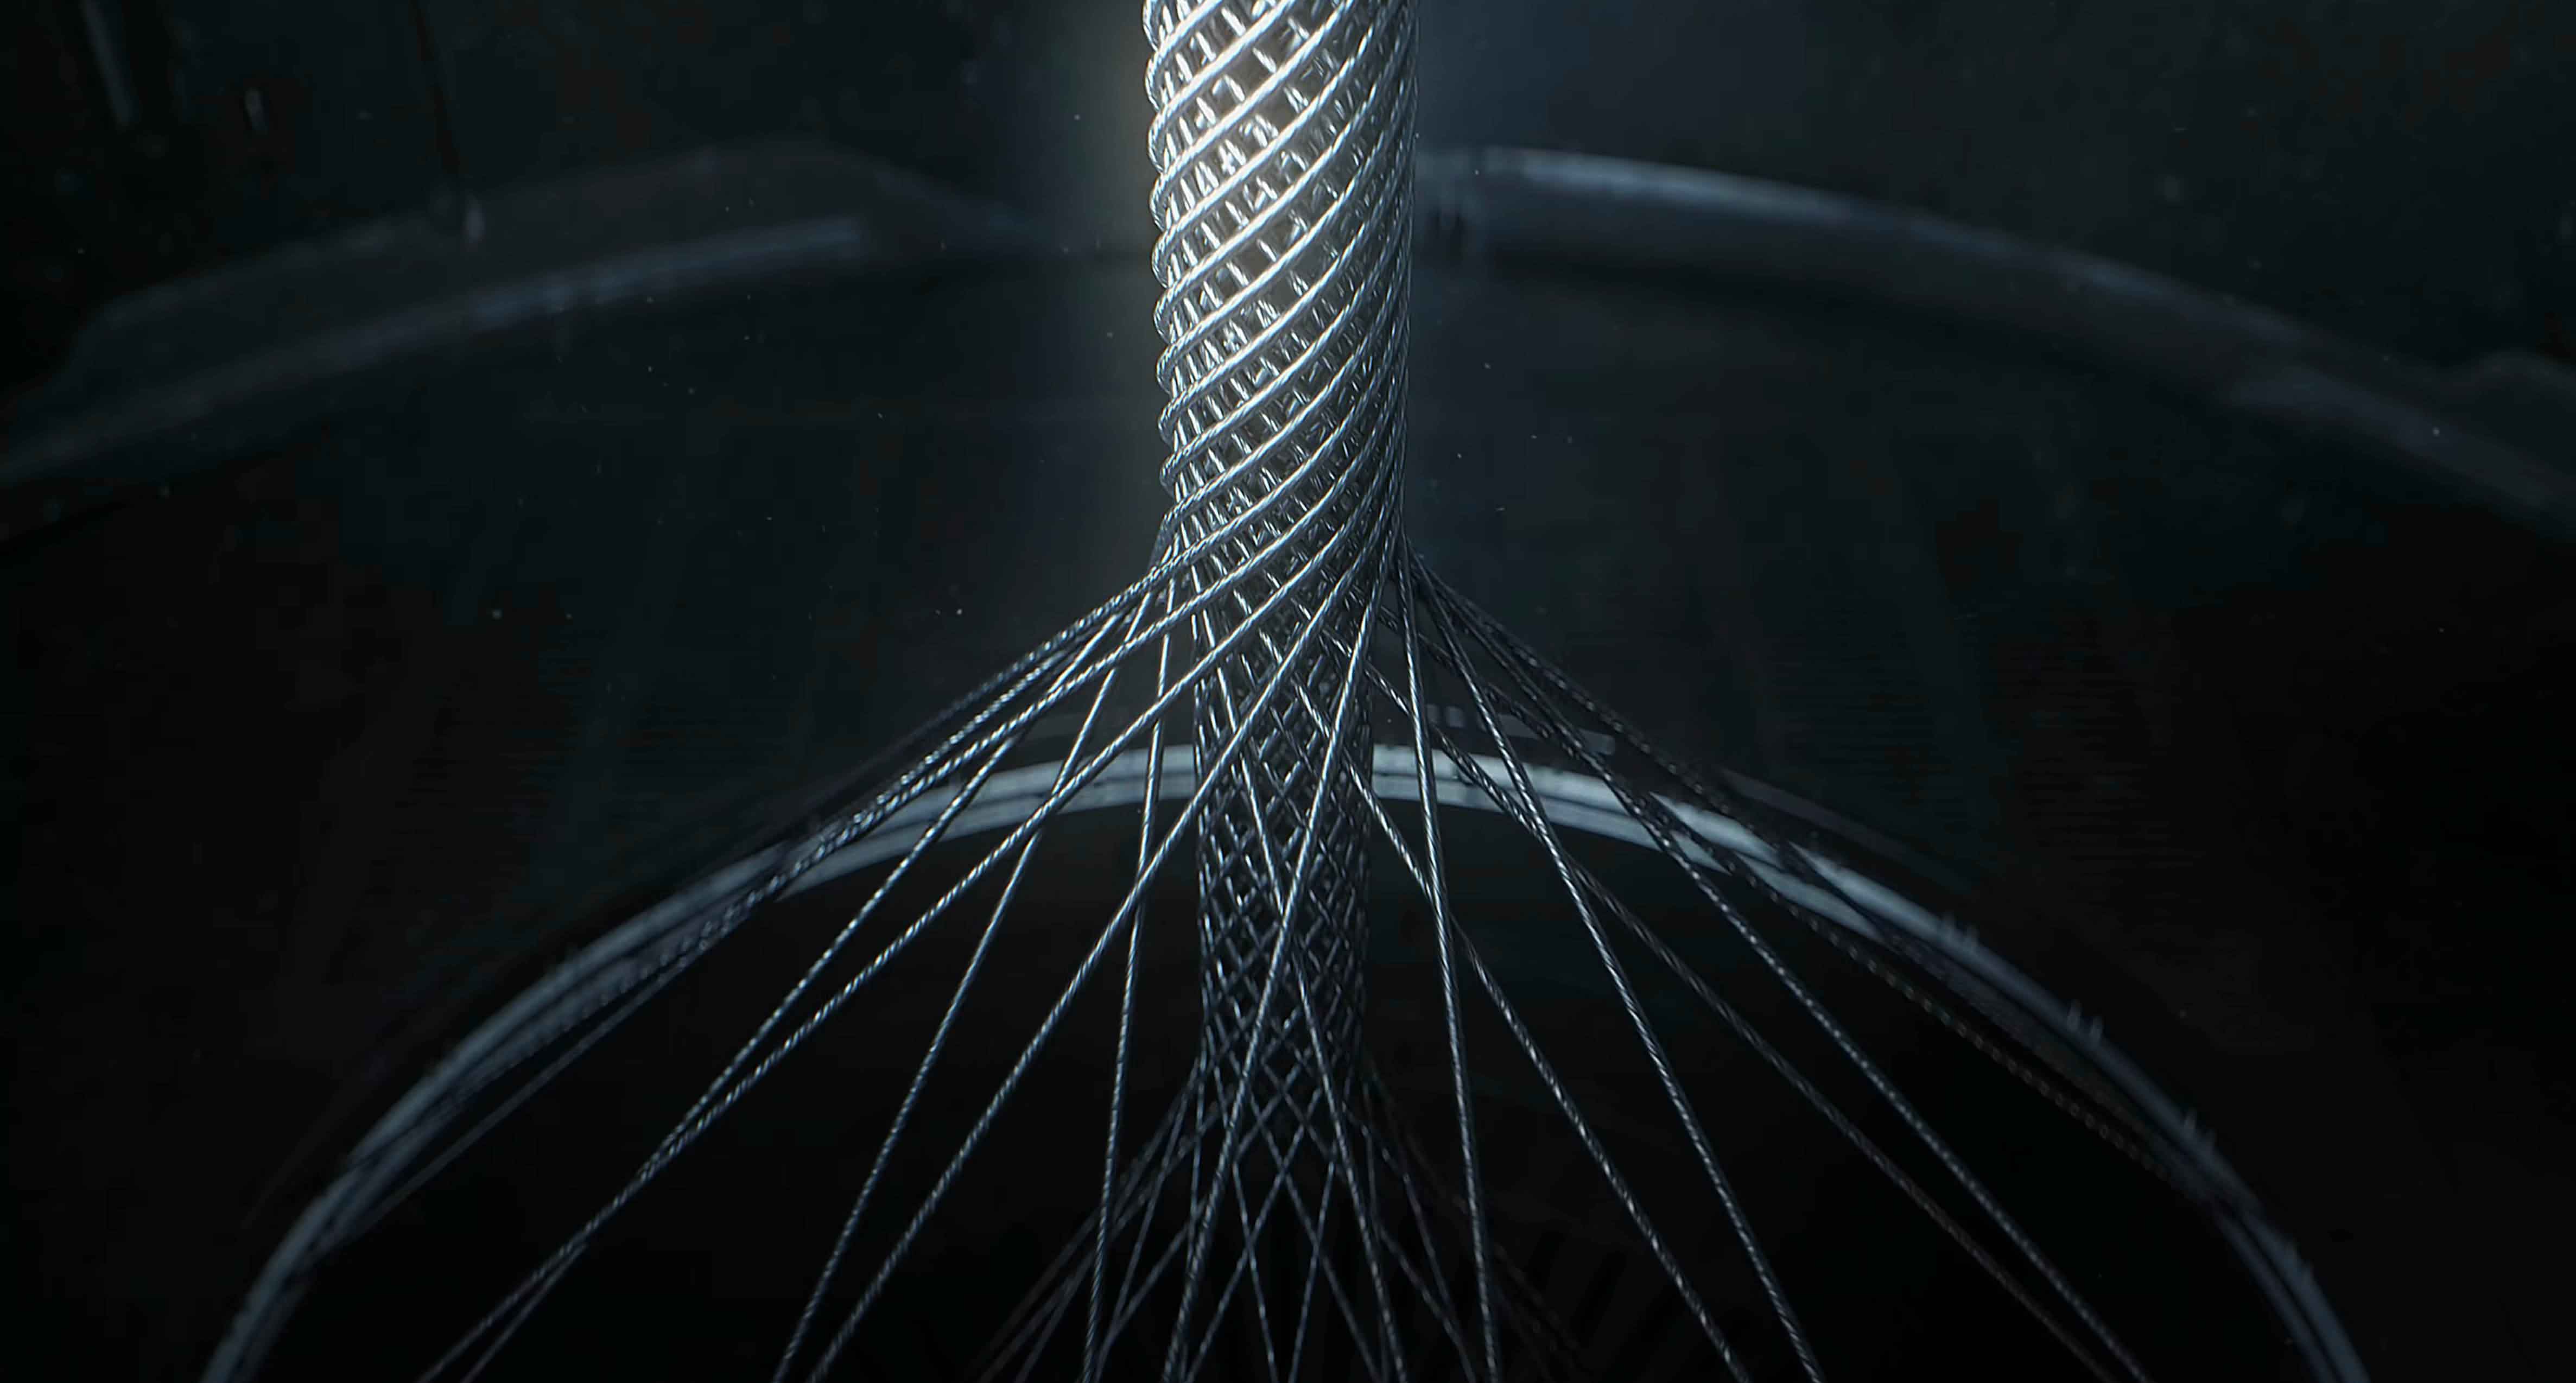
We caught up with Raoul Marks from Antibody to discuss his work on the Halo Infinite Step Inside trailer. Raoul worked alongside Patrick Clair to direct the trailer for one of the most highly anticipated games in years. The critically acclaimed Halo Series has grown into a global entertainment phenomenon, reinventing how people think about video games and selling over 81 million copies worldwide!
Hi Raoul, thanks for taking the time to chat with us. We have been marveling at the work you produce for some time now. For those unfamiliar, can you tell us about yourself, what you do, and a bit about some of your past projects and successes?
Sure, I am originally from Perth, Western Australia. I studied Design at Curtin University. I spent a number of years as a Graphic Designer in the UK, then moved back to Sydney around 2012 and started my transition into motion graphics. I made an early spec piece called "Spring," which put me in touch with Director, Patrick Clair, of Antibody. From there, we've been working together ever since. Our first title sequence was for HBO's True Detective, which won us an Emmy and helped lay out a career for us in title design. Since then, we have made titles for Netflix's The Crown, Amazon's Man in the High Castle, and HBO's Westworld. We've also been working in other fields, making trailers for video games like The Division, Far Cry and Halo.
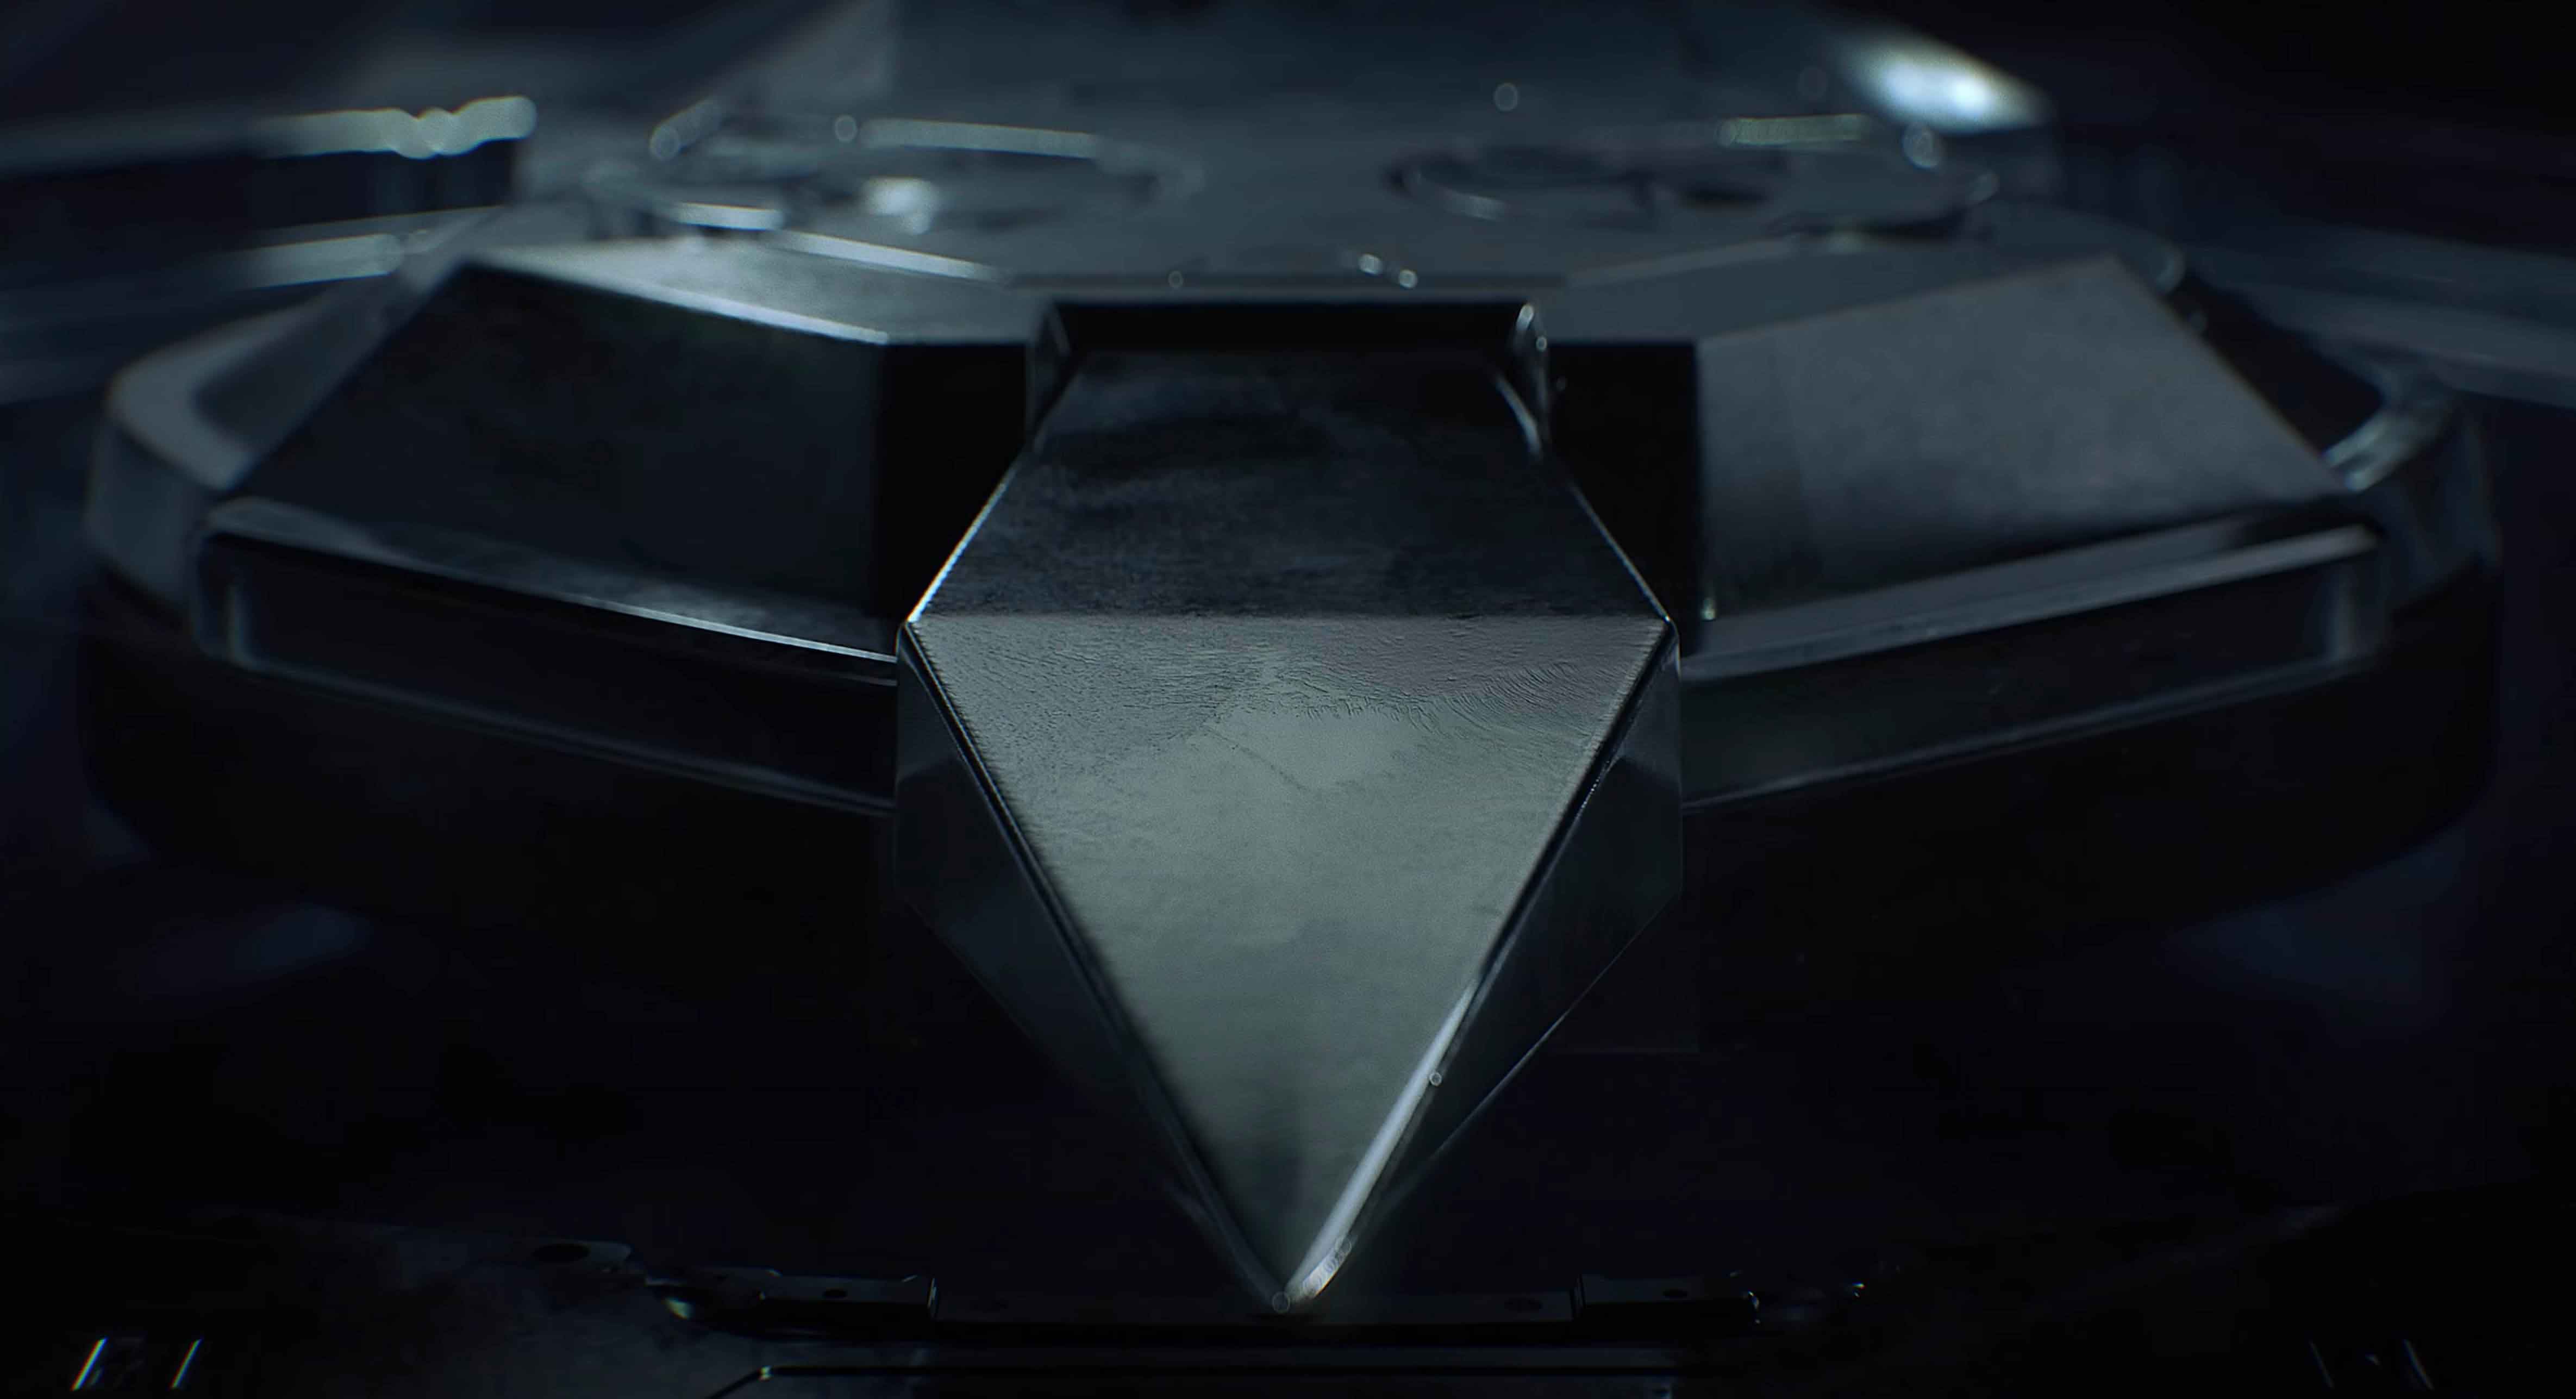
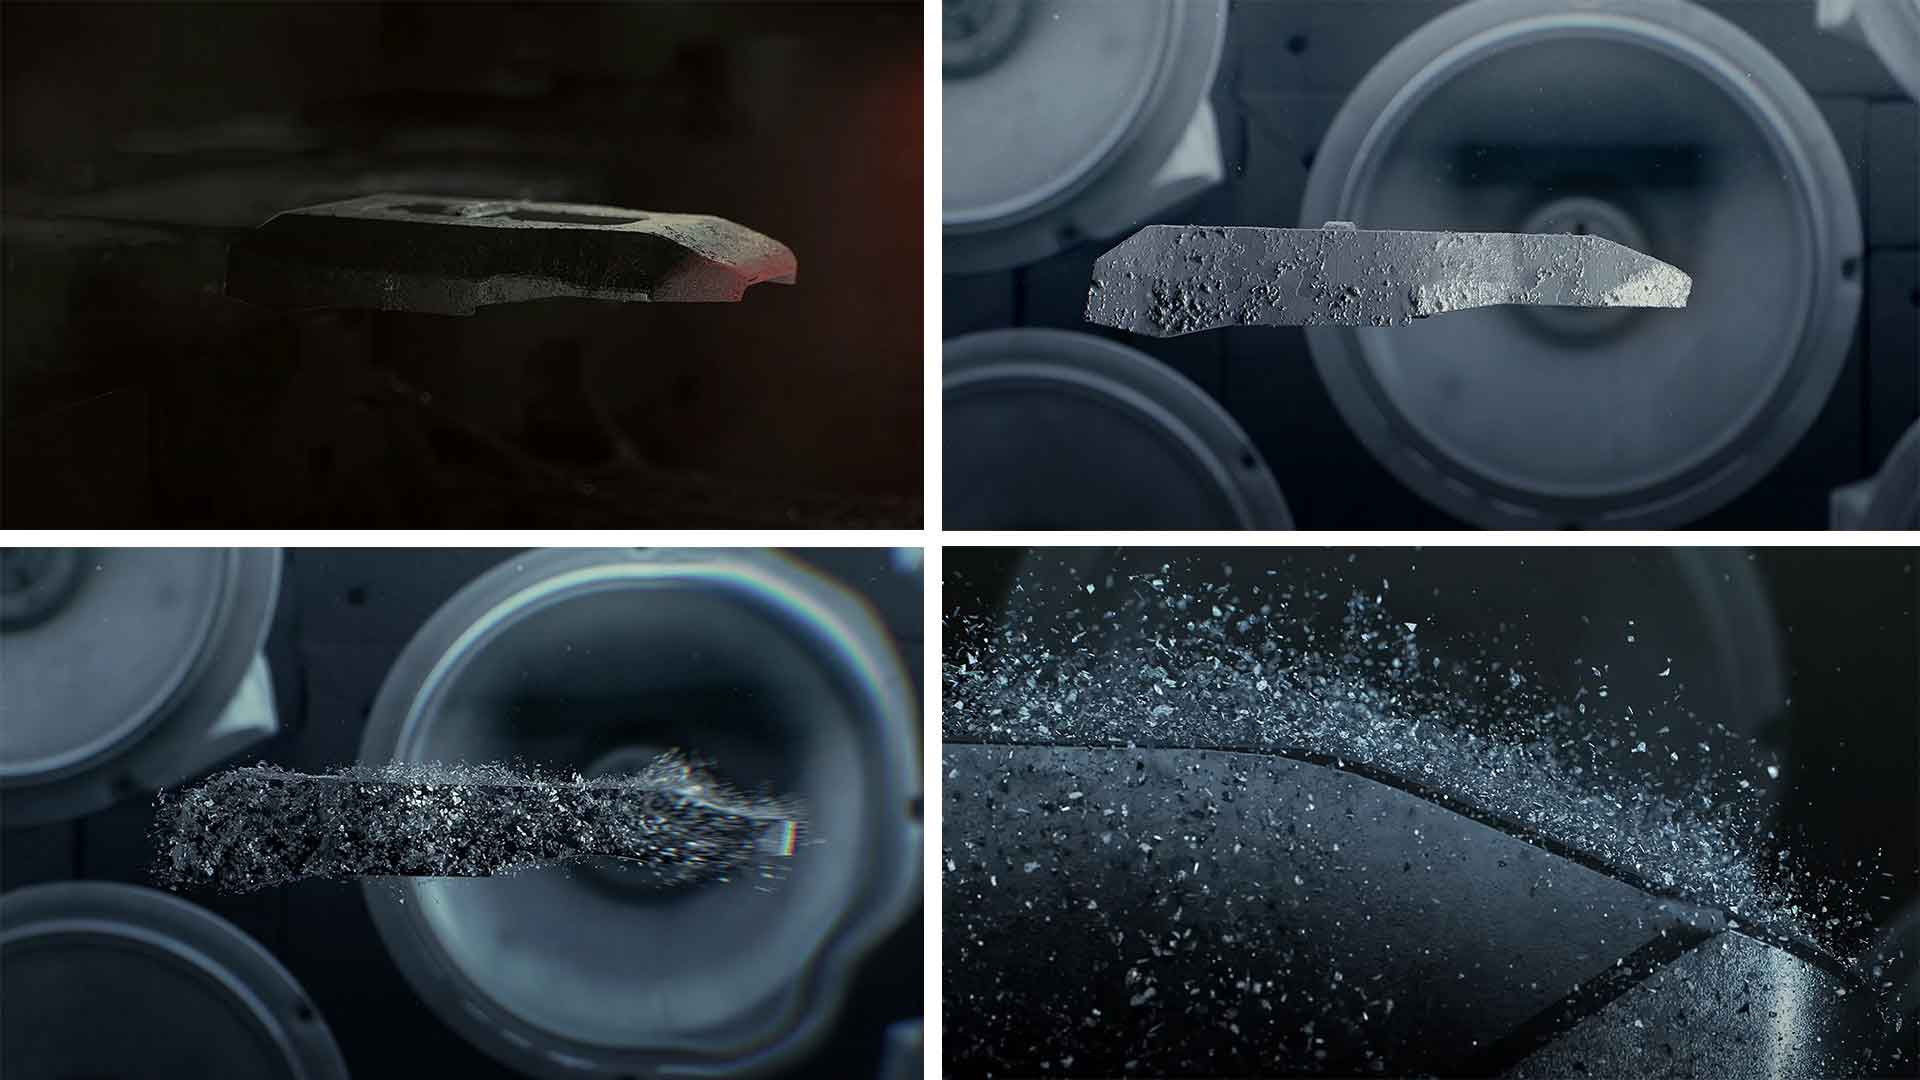
Halo Infinite's trailer centers around creating the futuristic Halo exosuit, sported by the characters within the game. It begins with each of the pieces being prepared and then pieced together – revealing the complete Halo exosuit we're all familiar with. Can you tell us how long this project took, from receiving the initial brief to completion? And how many people were involved in the project?
On projects of this scale, there are a lot of people involved. The agency was 215 McCann, along with Smuggler and Antibody's production – and, of course, all in collaboration with the super talented studio behind the game, 343 Industries. My initial involvement was to help flesh out storyboards, build a full animatic of the sequence and help with the overall direction. The animatic allows us to go back and forth quickly with the client or agency. From there, we had approximately a month or two to build, texture, light, animate, edit and grade the entire sequence. A lot of this work was completed remotely, due to Covid-19 restrictions; the extra complications of this only added to the tight schedule.
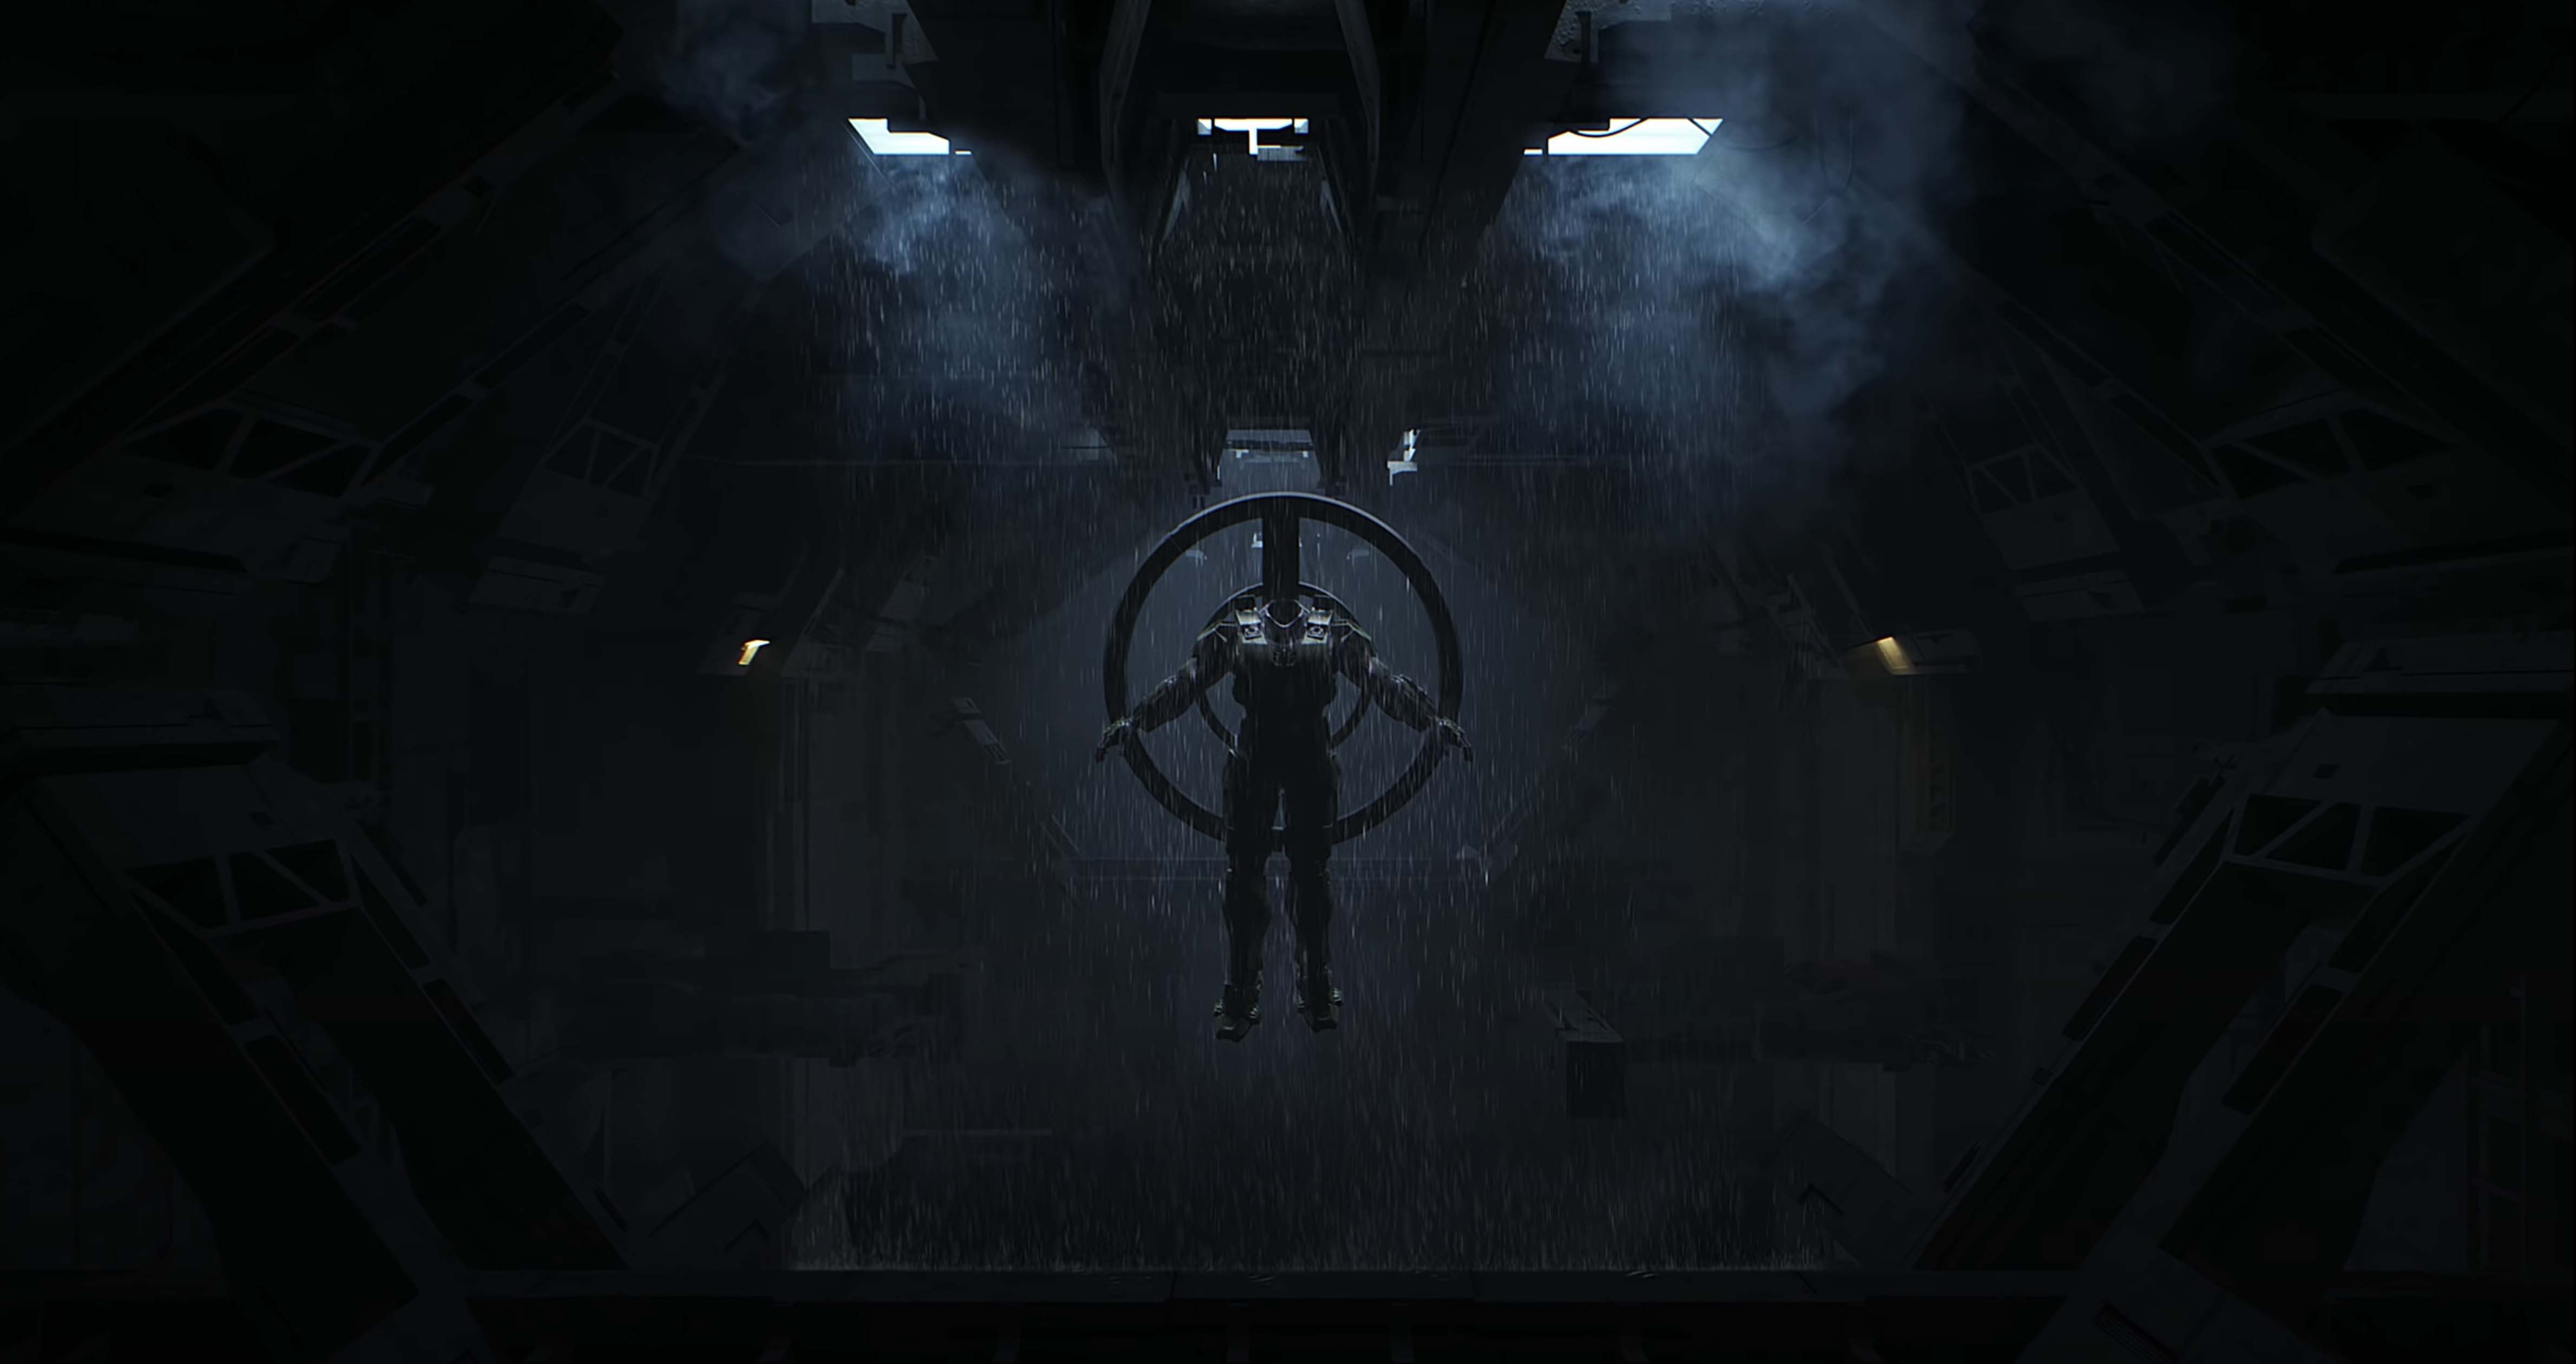
We first noticed your work on this project through a post you shared on social media. The clip was a close-up of a glove on the suit, water dripping off the fingertips. Can you tell us how this shot was created and why you chose to use X-Particles?
I've been a Cinema 4D native for well over a decade now. X-Particles is clearly the hands-down winner for particle simulations on that platform. Often, as a designer, you might only use a particular skill set on every other job, so having a tool like X-Particles, where I can jump back in quickly without needing to retrain, is very useful in tight timelines. I've found the xpQuickTools, provided with the plugin, very helpful. It allows me to get going quickly without needing to set everything up from scratch. In this case, the 'Condensation' pre-set was a great starting point. From there, with lots of tweaking and playing with the settings, dialing in animation speed, drop shape and size, I believe we probably reanimated the shot three or four times. It was then rendered in Octane to allow for nice accurate depth of field effects.
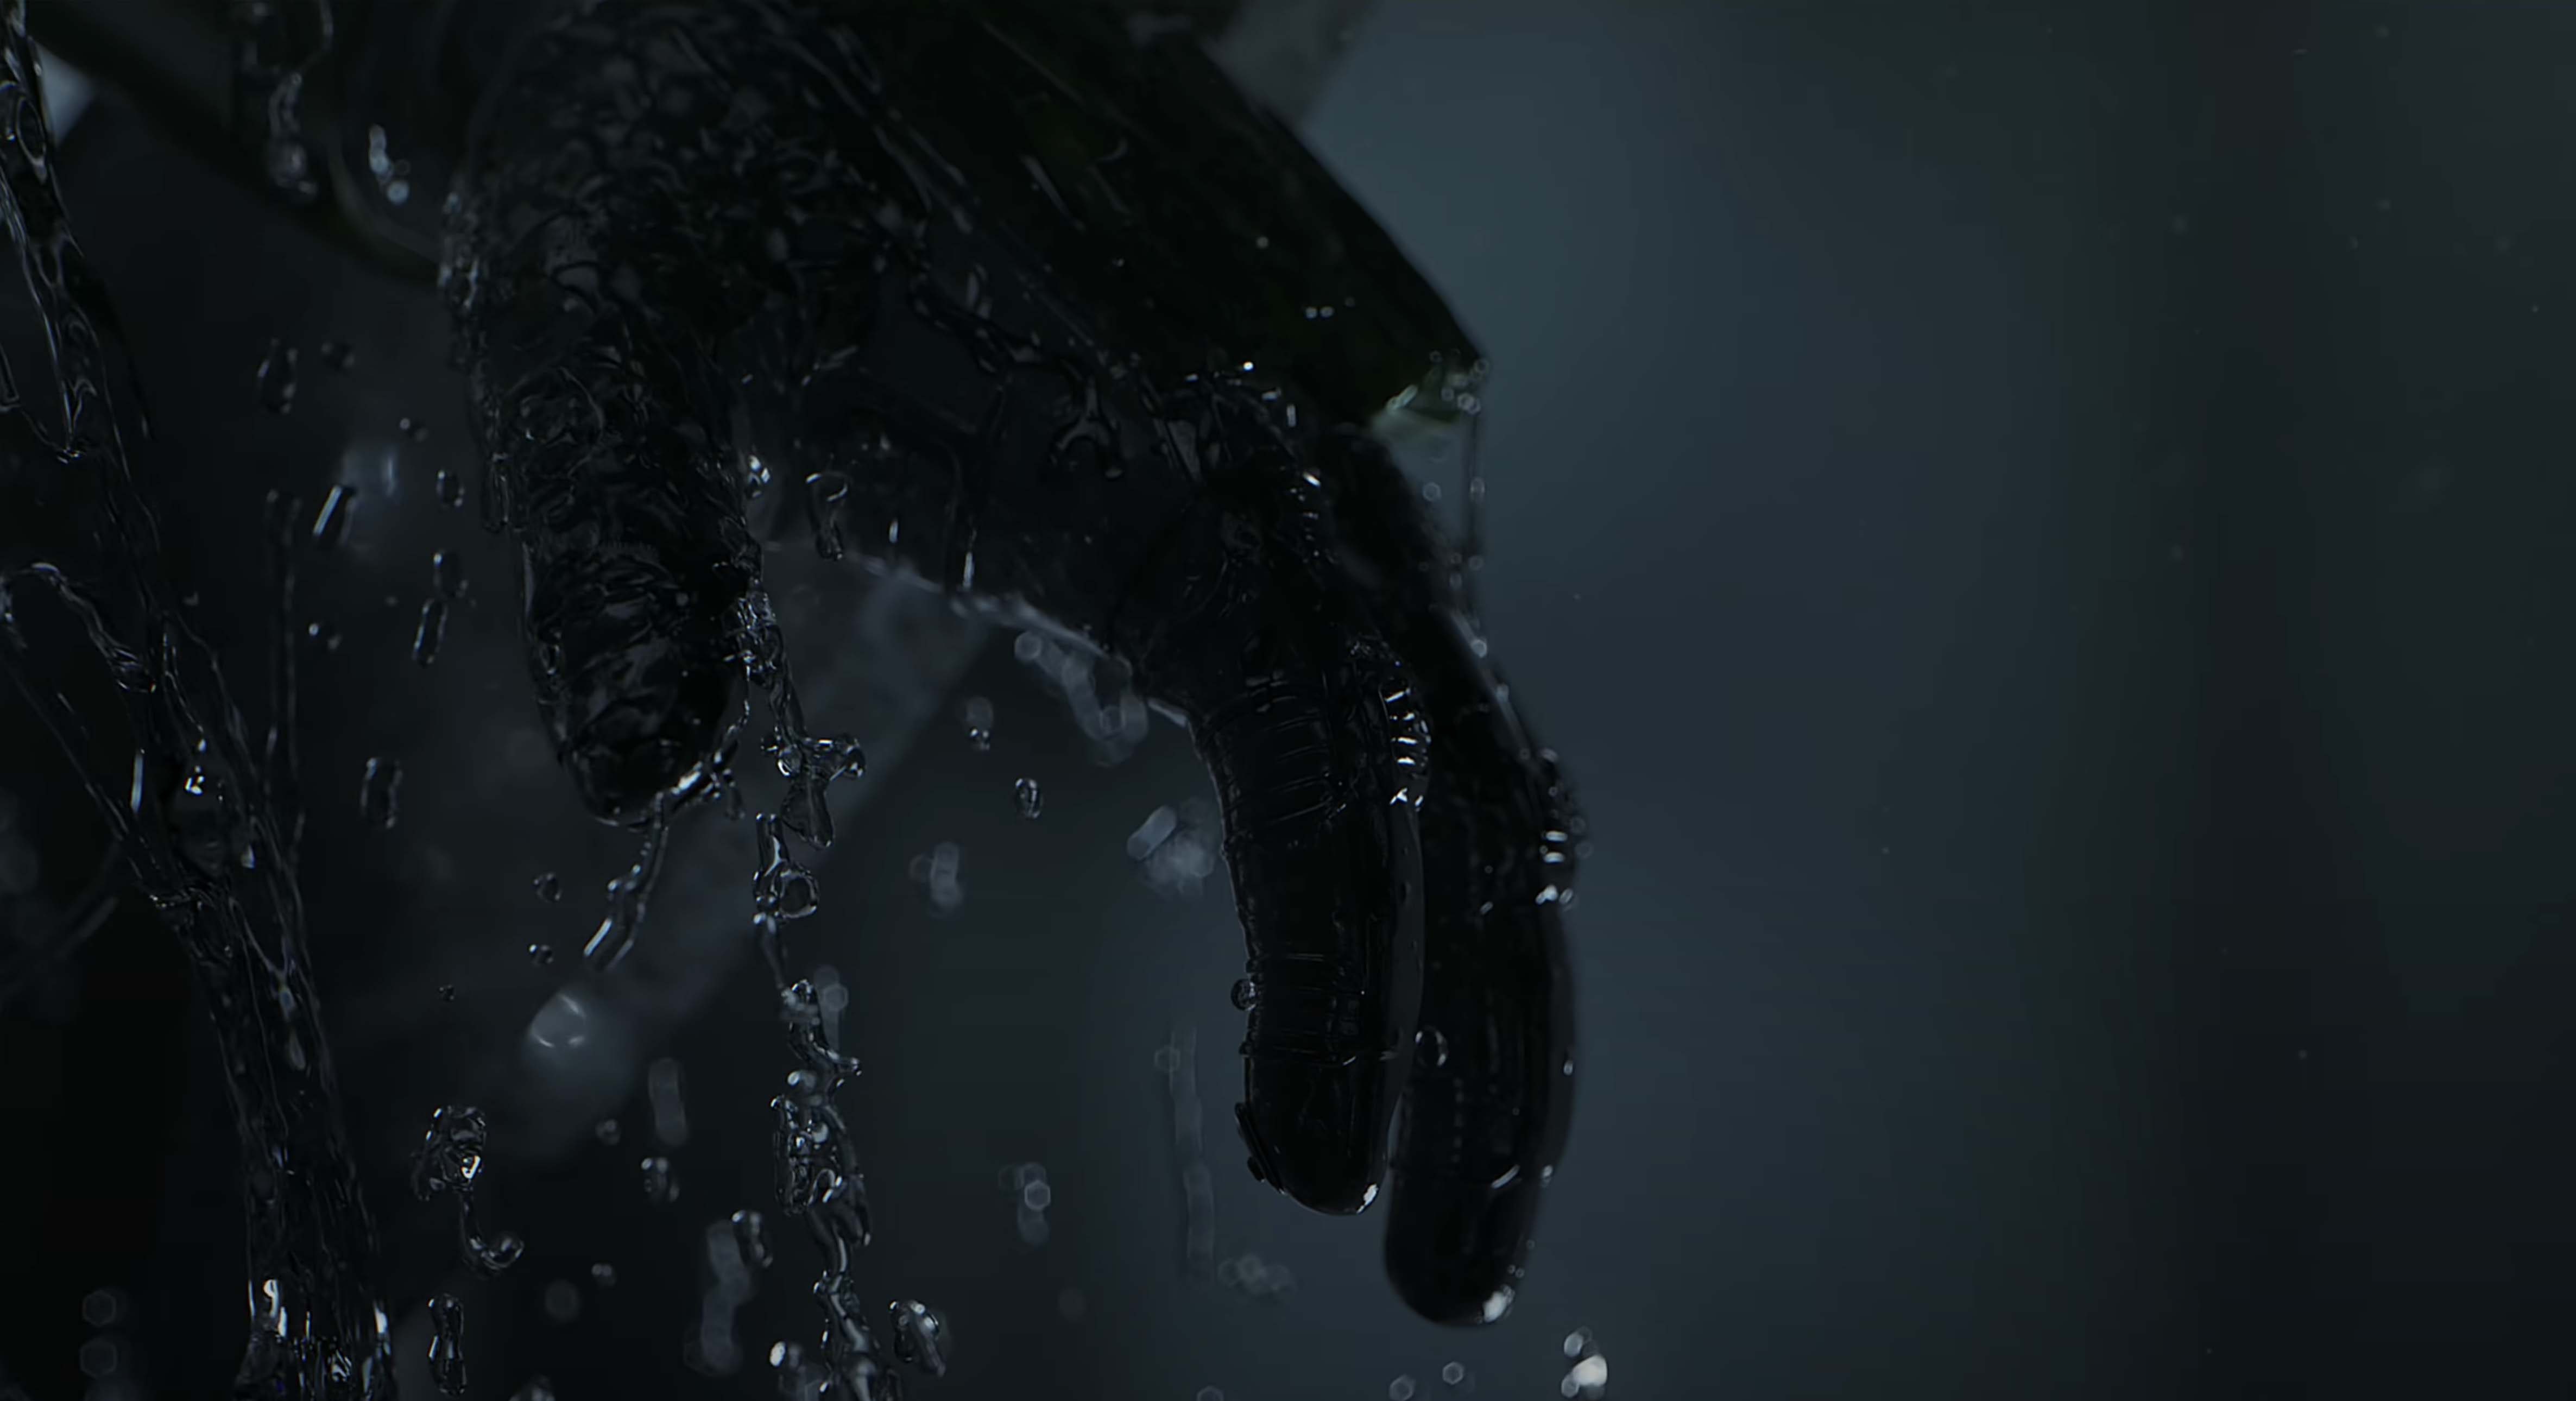
There is a fair amount of fluid simulations throughout. Some parts rain, some parts molten metal. How did you go about creating these variations in the viscosity of the various simulations?
Again, the pre-sets are an excellent starting point. "Simple Rain" for the washing sequence. And continuing to use the "Condensation" pre-set for the close-ups. There is a scene where the glove comes up out of the liquid. So that we could really art direct this, we used the xpOpenVDBMesher to join everything together. The water surface and the glove are basic geometry and the drops are controlled by X-Particles fluids. They're all then merged under an xpOpenVDBMesher, with some basic ripple displacements, making the main body of liquid feel like it's rippling as the glove emerges. It would potentially be more realistic to have done it all as a fluid simulation. Still, we felt it'd be much more cumbersome and more challenging to art direct.
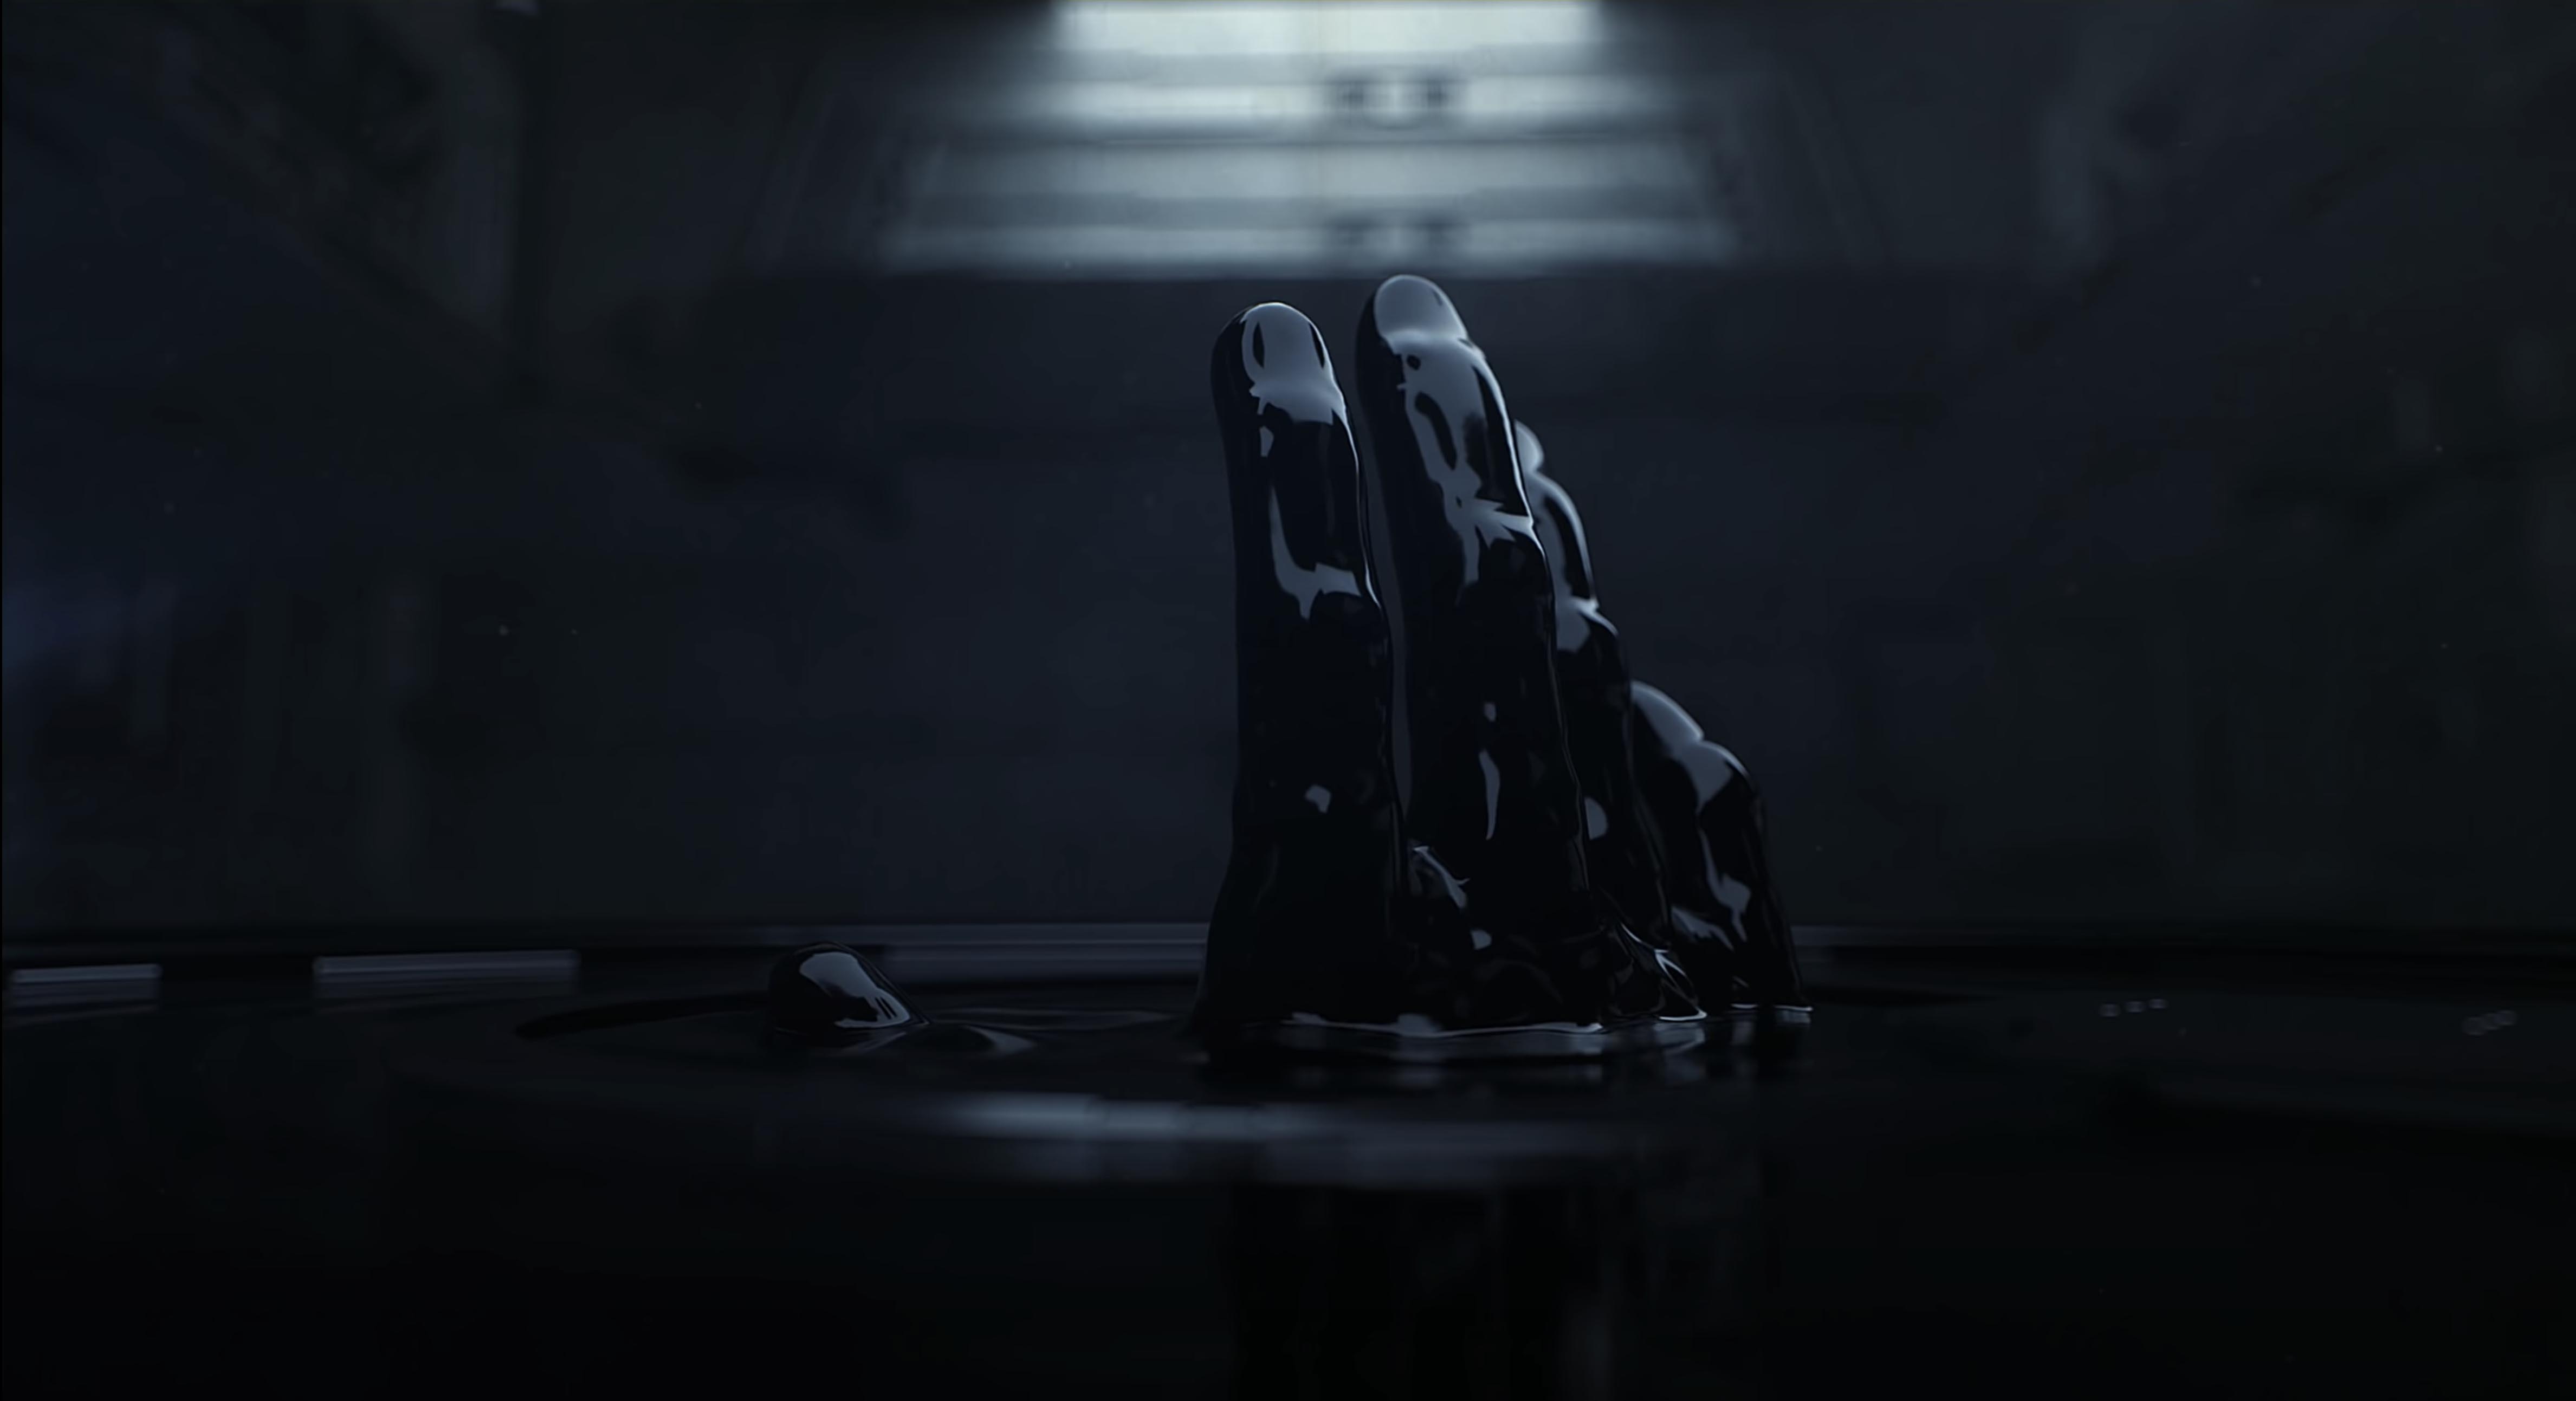
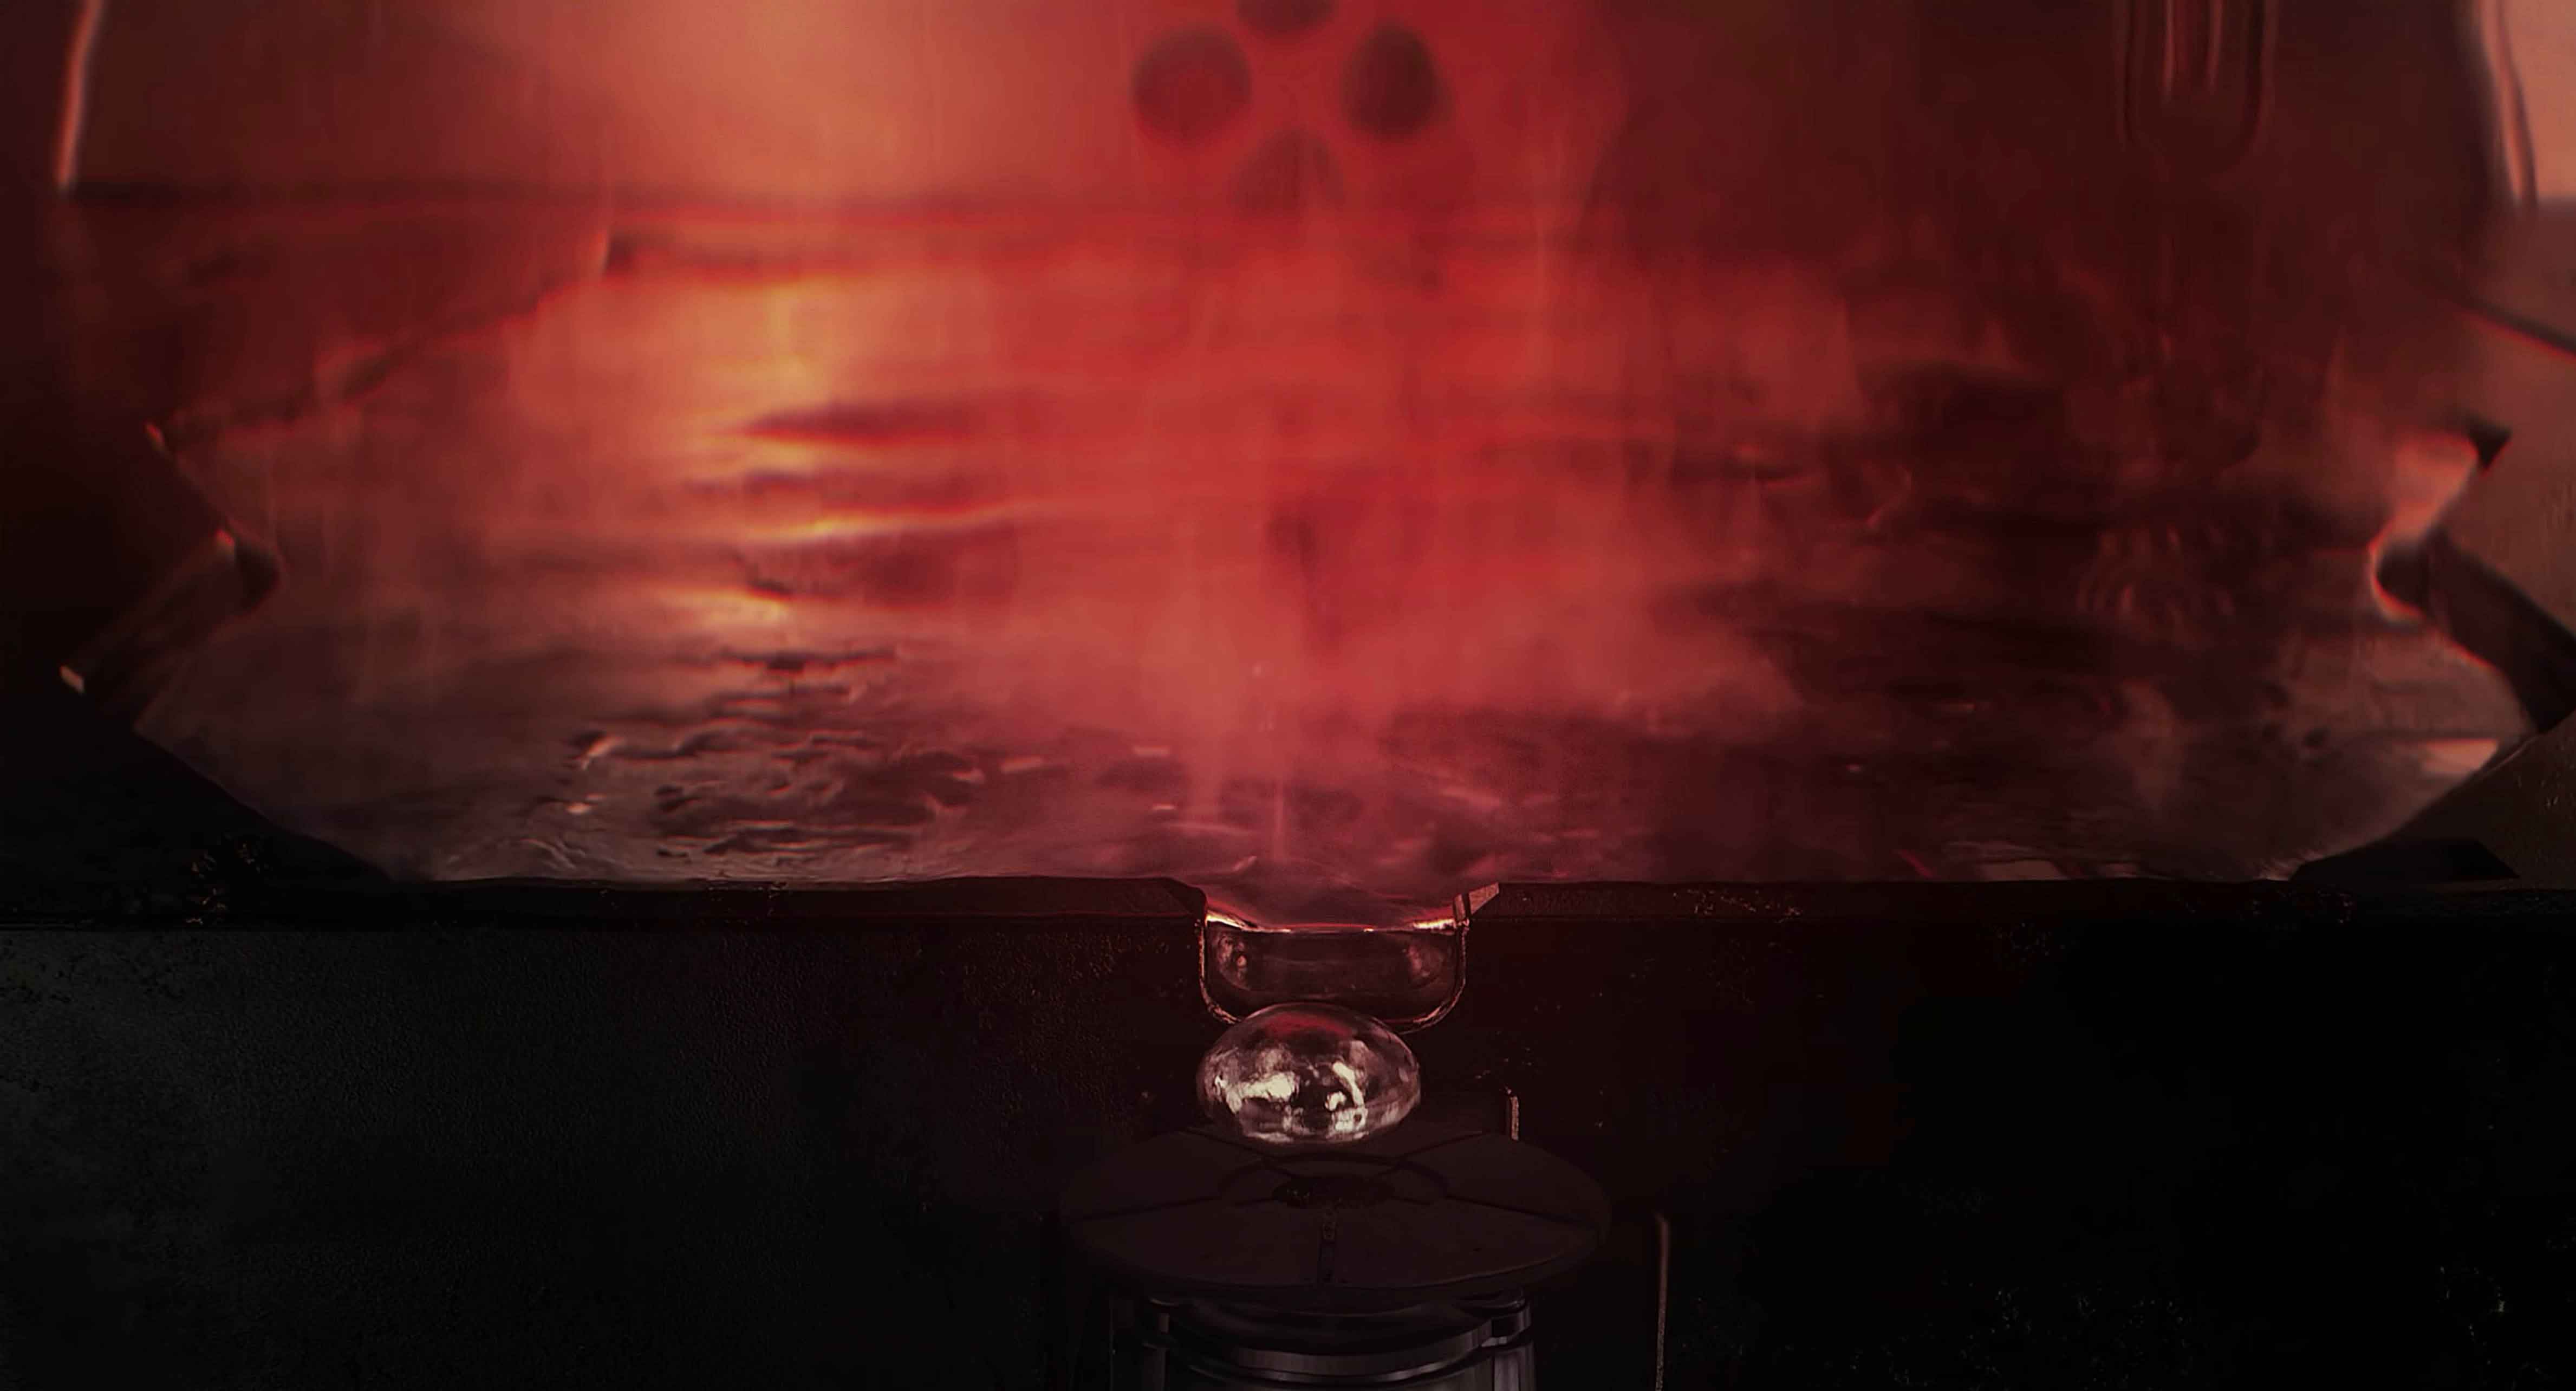
Near the start of the video, molten metal drops onto a plate and is bought upwards. The liquid then joins more molten metal. The realism of the coalescence in this shot really makes it. How did you achieve this result?
Essentially, this is just a small-scale liquid sim, but with high attraction values in addition to an attractor effector. The filaments wouldn't get too thin with something of this scale, so it didn't need a super high level of detail. With most things in CG, you just need to spend time looking at real-world examples and pin down what exactly makes up the DNA of that natural phenomena. In this instance, a lot of fast quivering qualities to the reflectivity seemed to help define the aesthetic along with a sense of internal magnetism.
For the brief shot, where it joins the main pool of metal, we followed the same approach to control the large body of the water with basic geometry and merged the whole thing under an xpOpenVDBMesher and output it as an alembic for responsiveness. We then used Cinema 4D's native displacers to add fluid-like movement to the overall structure.
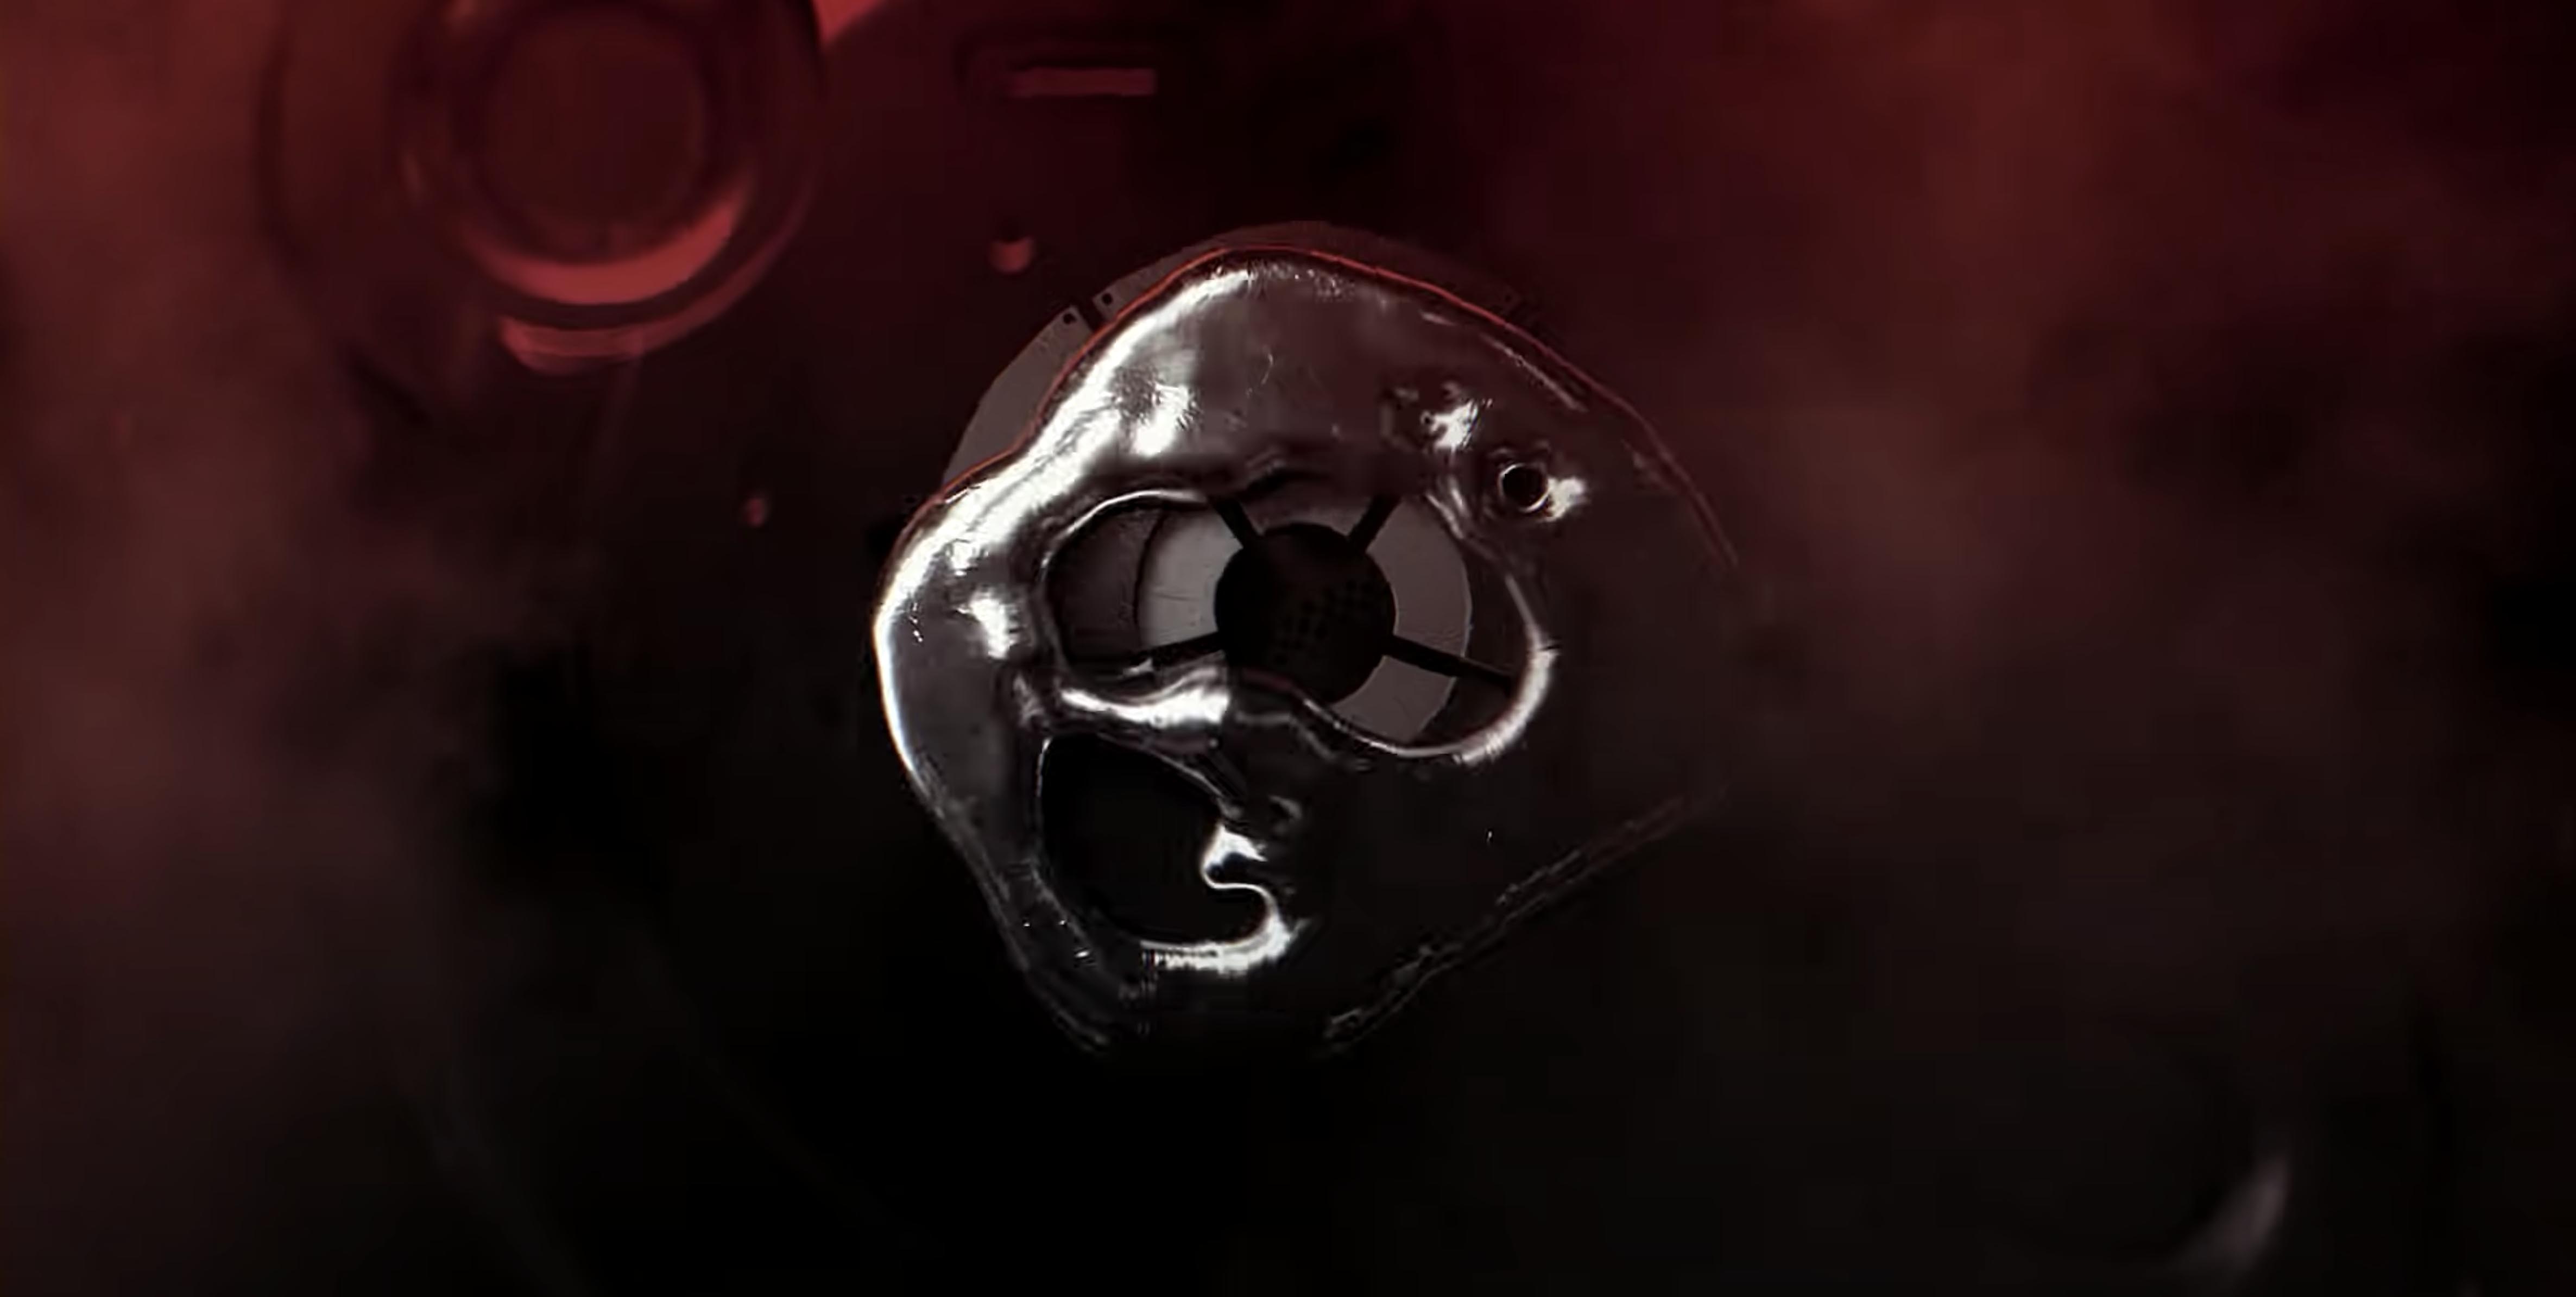
Aside from the fluid simulations, there are areas of the suit-building process that require welding. How did you go about setting up these scenes?
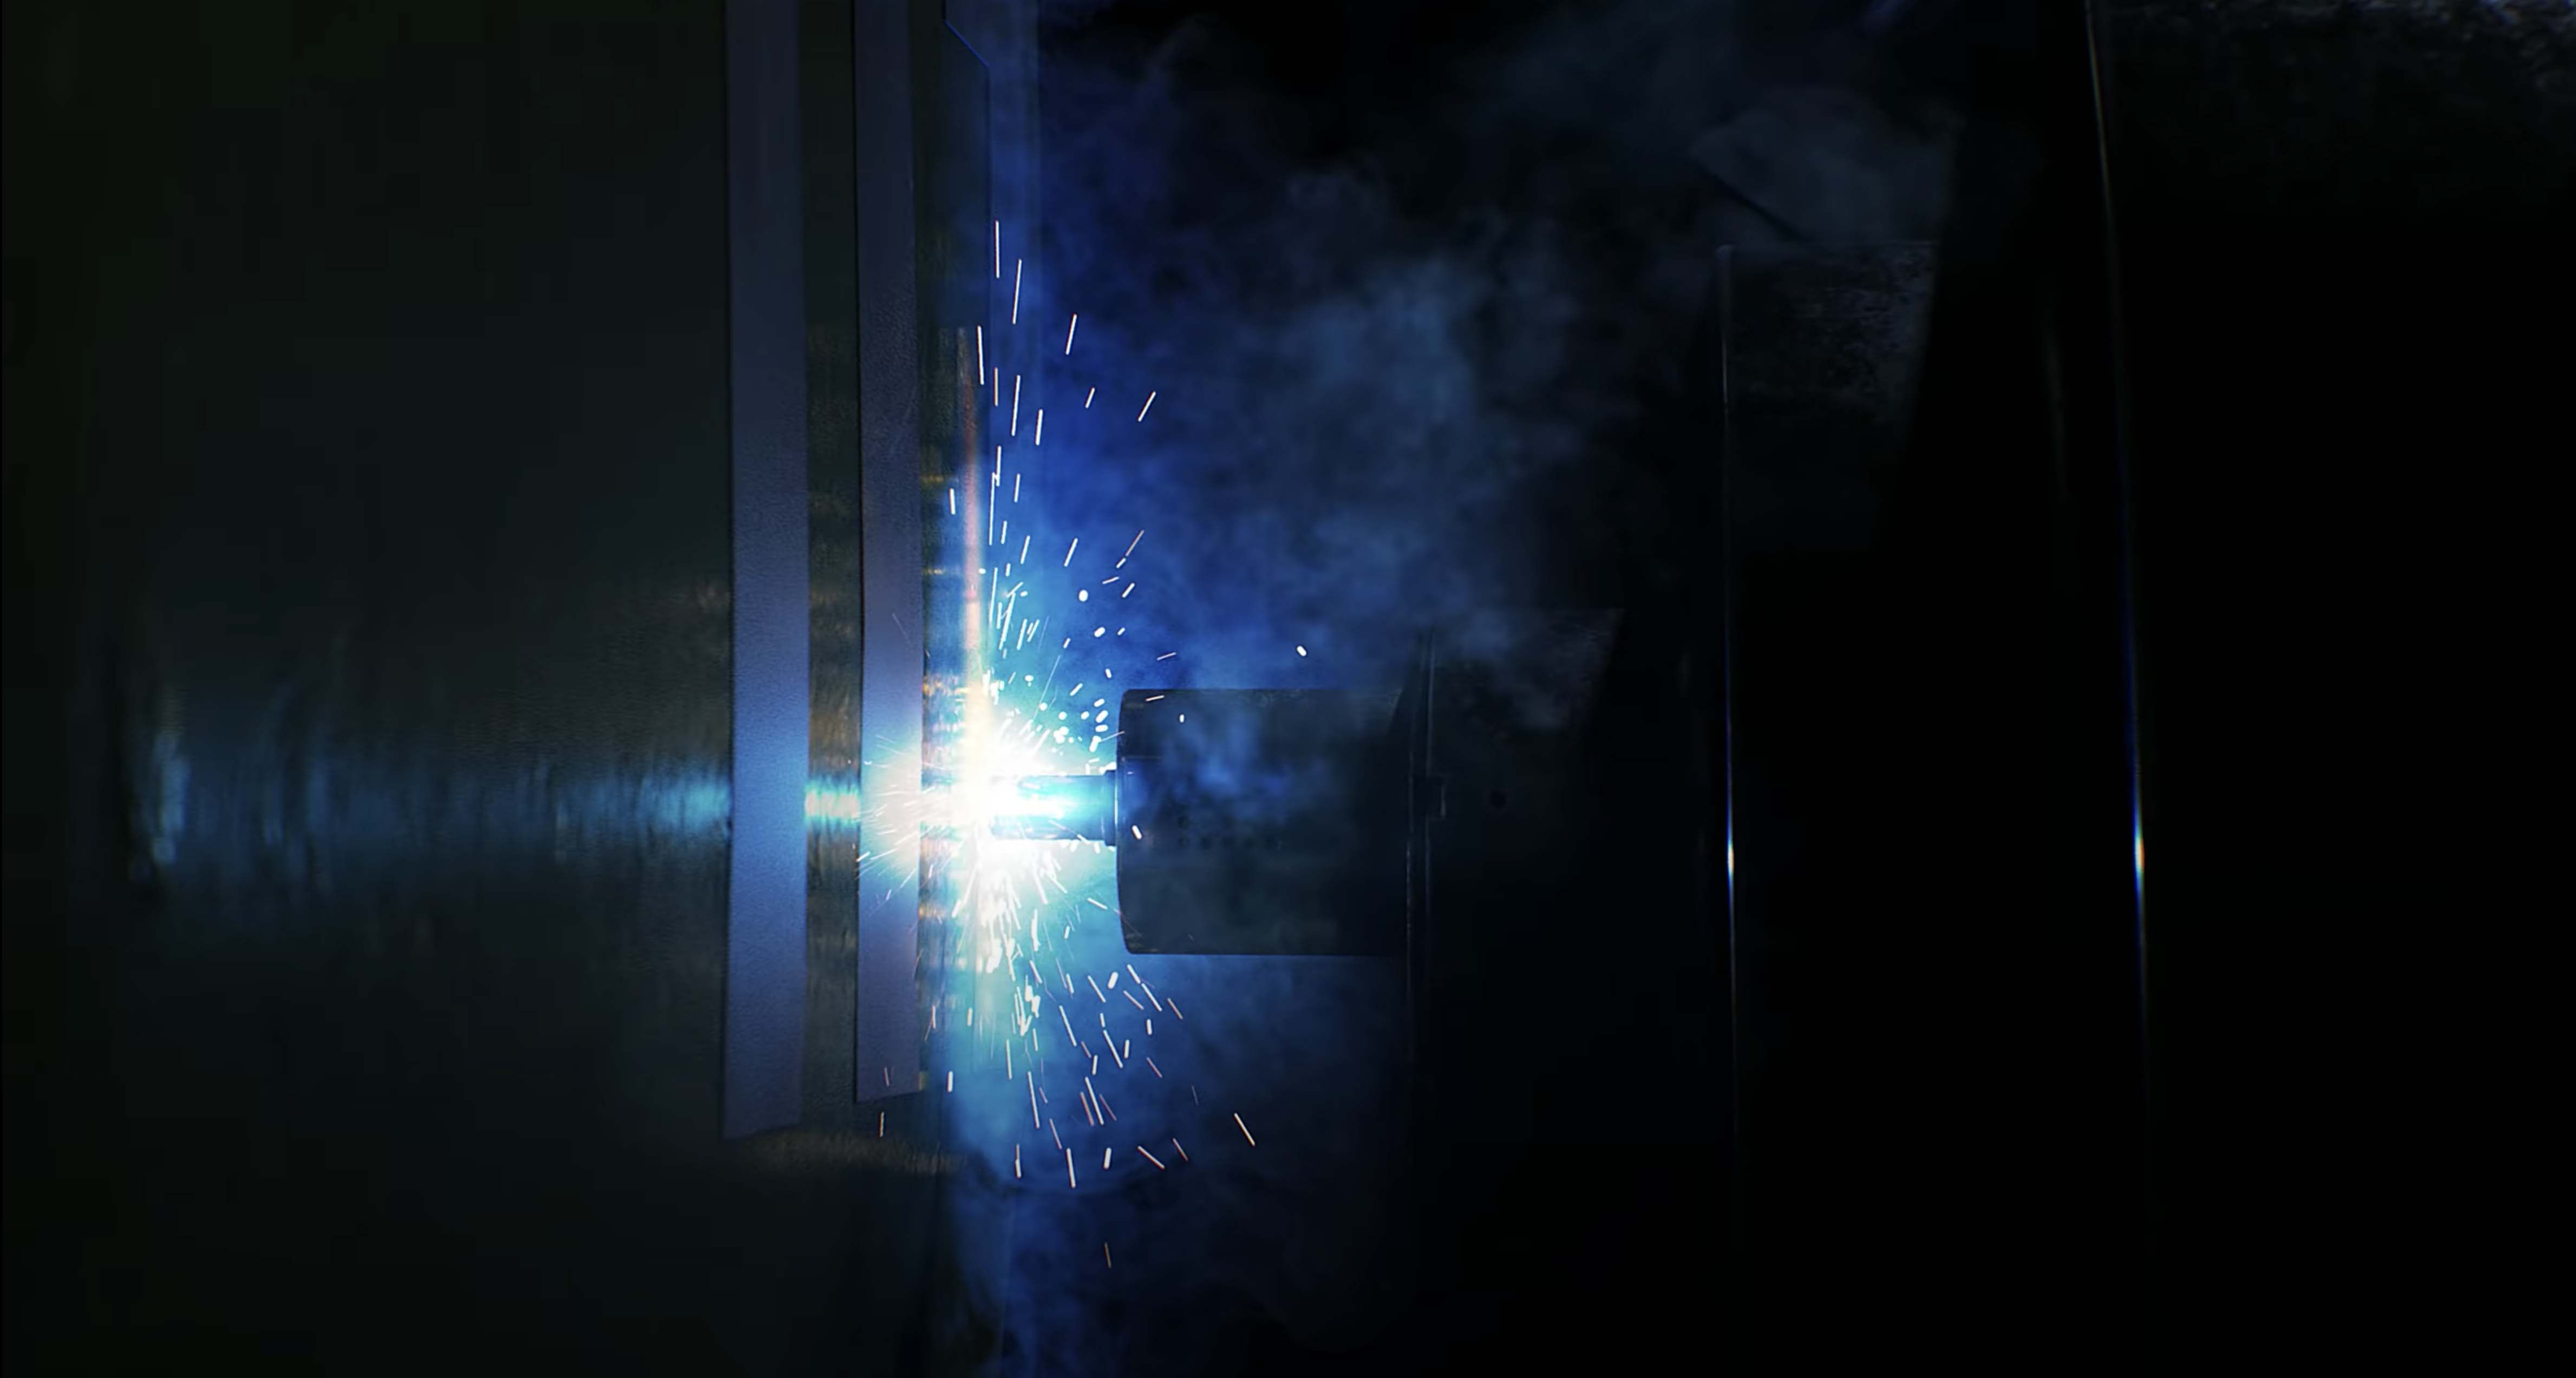
This was a relatively simple setup, but with a lot of attention to real-world sparks. Basic particle emissions with gravity, collisions, and some bounce with scene geometry. The particles were simple spheres, but rendered with motion blur in Octane. There were a few critical details we discovered in the process of making these shots. For example, it's very easy to overstretch the motion blur by having a frame exposure longer than physically possible. This means the length of a spark blur line ends up being longer than the distance it moved between frames. This was not obvious at first, but something always felt off. Going back frame by frame and comparing it to actual spark footage made us realize what was wrong there.
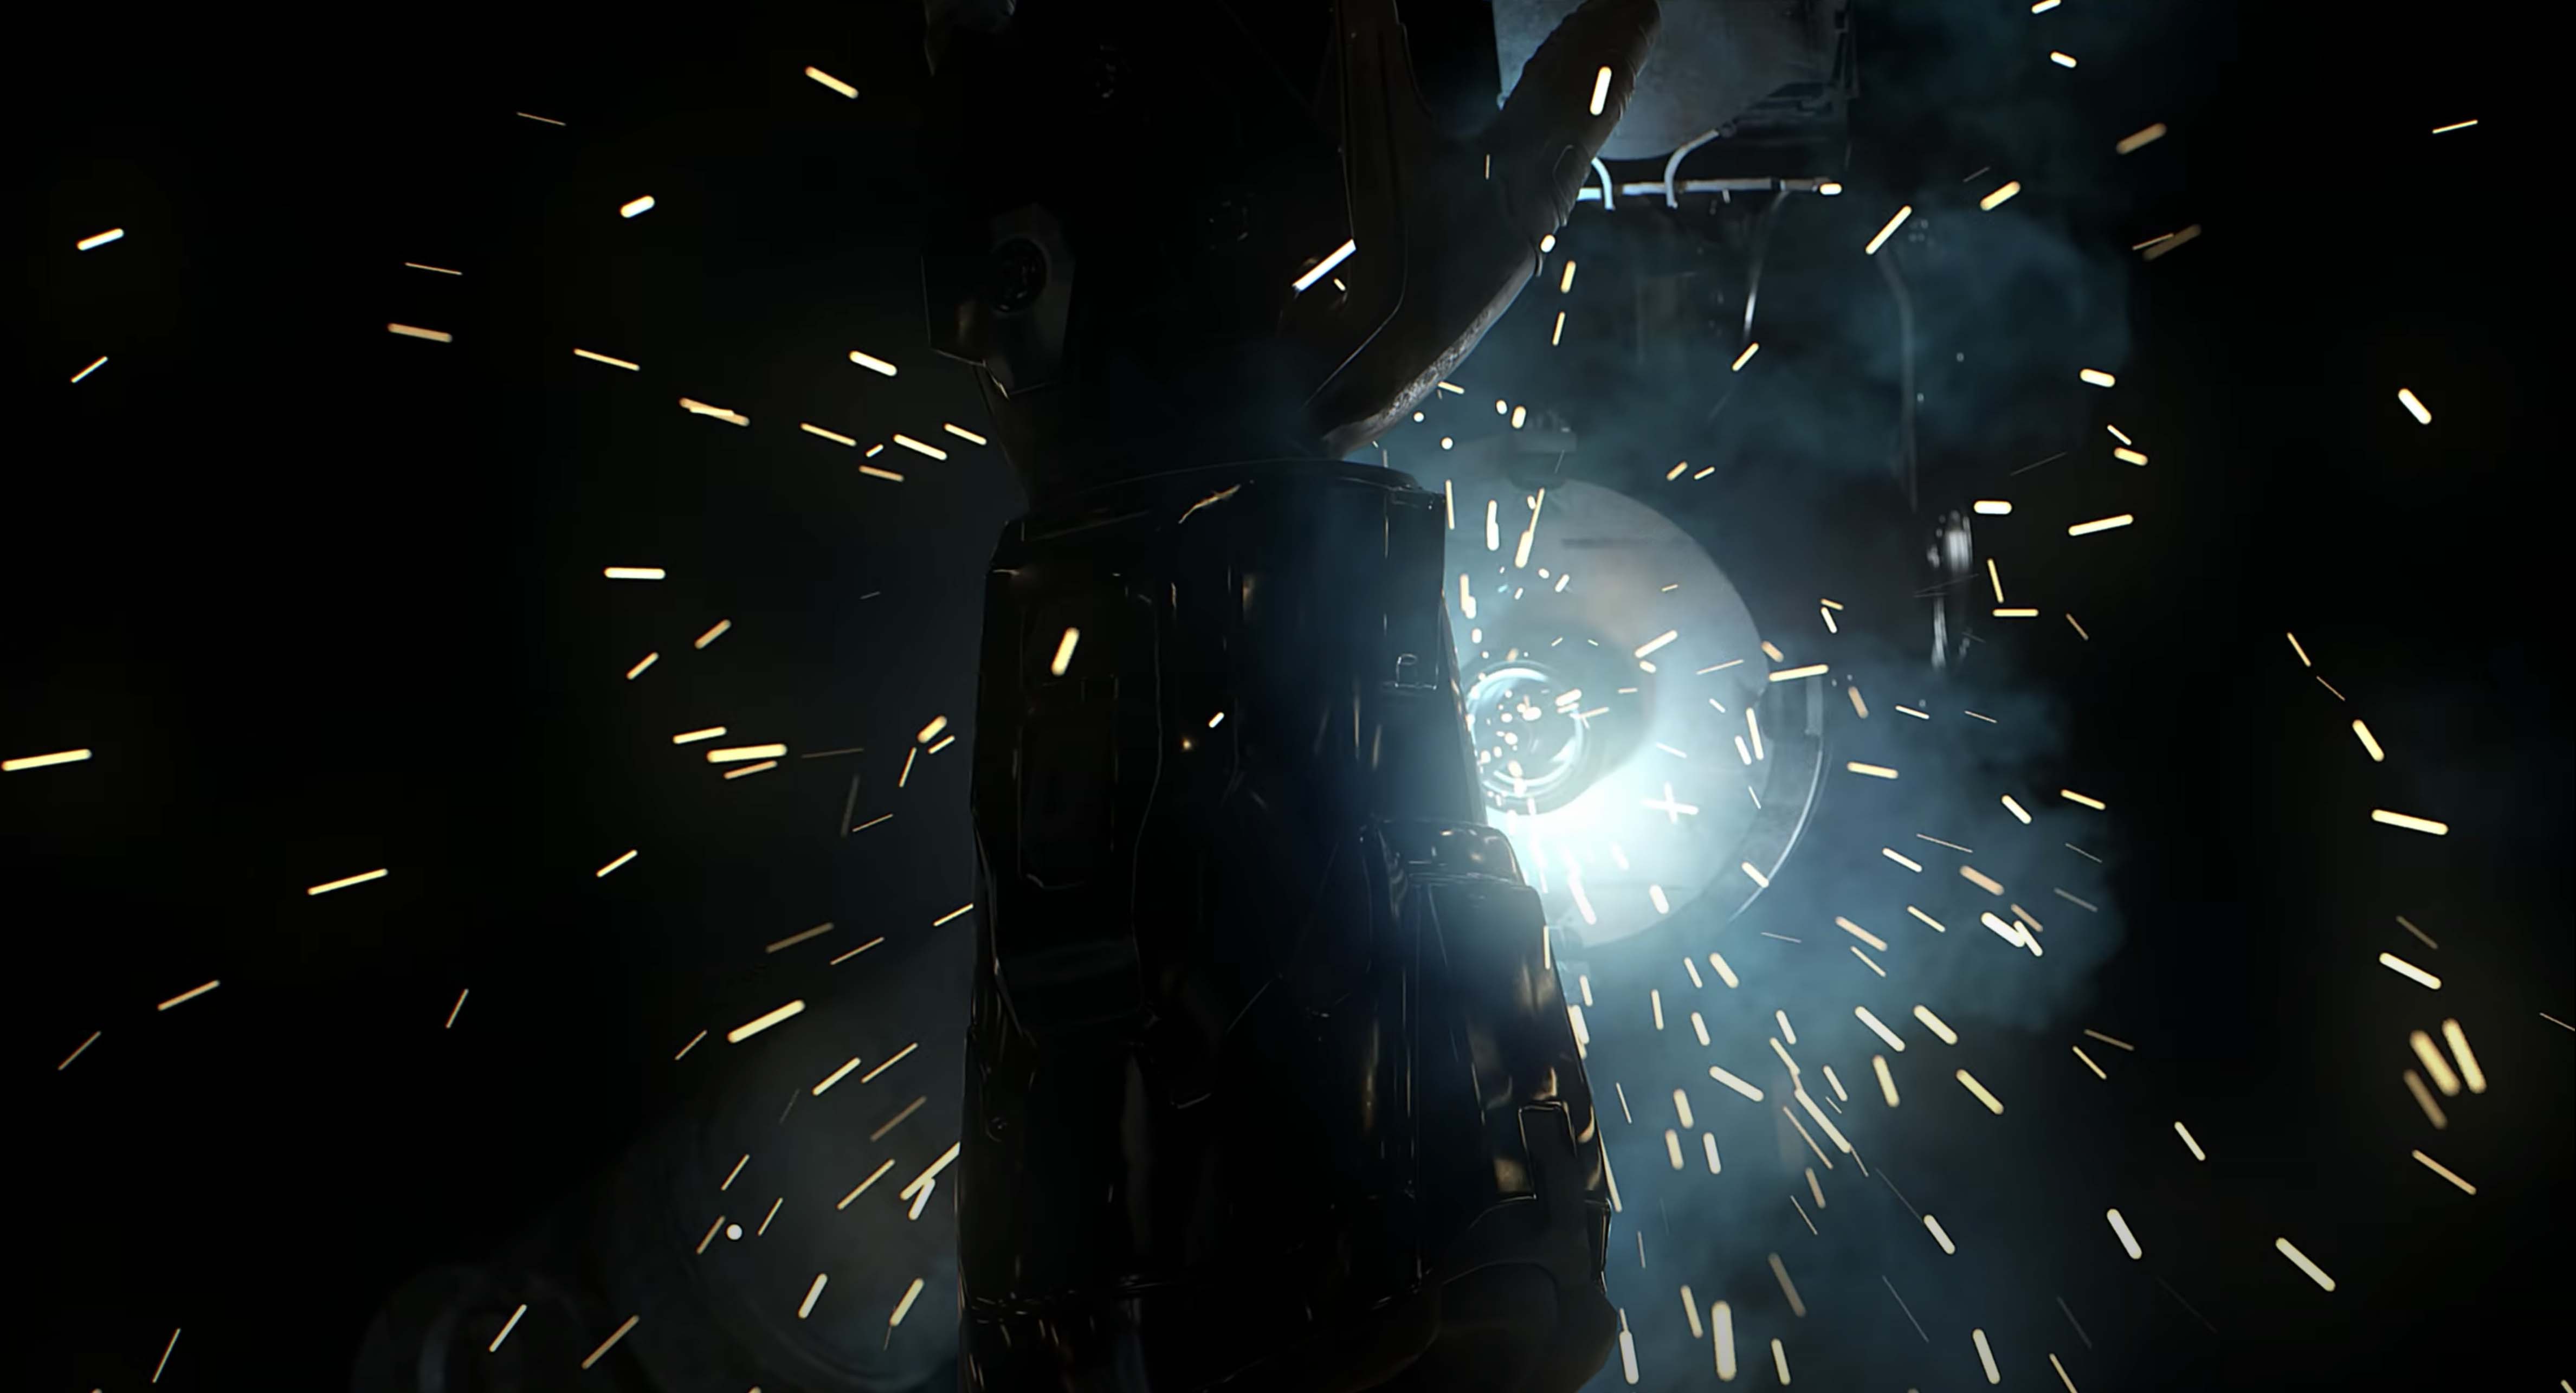
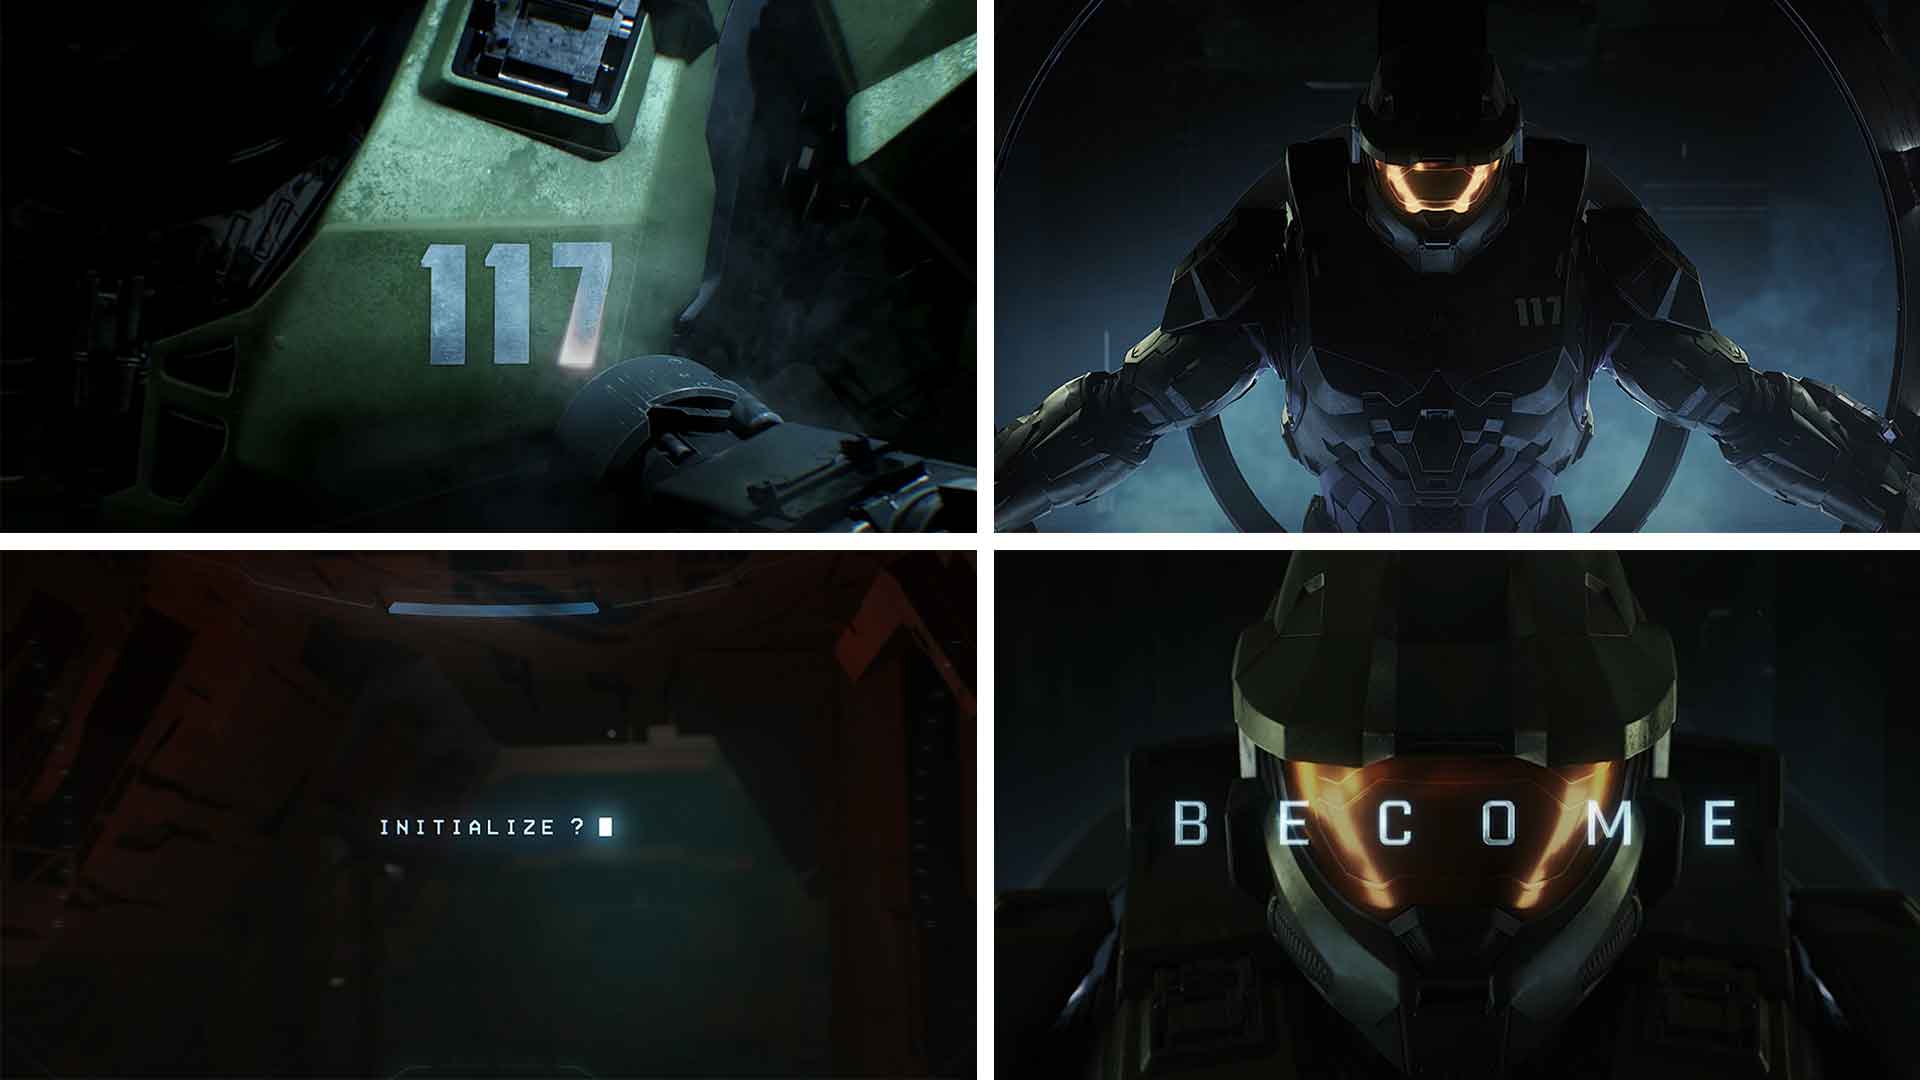
In the welding shot's close-up, sparks fly while the number 117 is added to the suit. Was using the Master Chief's number in the titles included as part of the brief, or was this a detail that was later realized?
I believe there was some back and forth on this between us, client and Agency, but ultimately, we got to keep it in. It's a real honor getting to help (digitally) build Master Chief's suit. It is iconic, and many millions have spent hours inhabiting this piece of armor. So, to get to be there as those famous initials are welded into history is quite something. In addition to that, it had never really been established how those numbers were etched in. So, there was some room for us to help write down in lore a small part of Halo history. Props to Patrick Clair for devising the mechanics of how that all worked.
While working on this project, were there any hurdles you came across whereby you had to develop any workarounds?
Of course, many! As mentioned above, figuring out how to get believable fluid sims working, and in a way that could be art directable, was tricky at first. That's where tools like the xpOpenVDBMesher really come in handy. It's a great way to be able to take everything apart and glue it back together again. That, combined with an Alembic workflow, really helped us work iteratively and in a predictable manner. One of the major hurdles was the inability to go and film real-life sets. Initially, there were plans to have real actors in costume for some sections, but Covid restrictions destroyed those options. Consequently, we needed to think quickly about other ways to add a human element to the sequence. By integrating some great custom stock sources, choosing clever angles and supporting CG elements, we managed to meld the different assets together.
We think it's fair to say that you've worked on some pretty monumental titles during your career. What advice would you give to someone who would like to get into this field?
Well, a fair amount of luck to start. I know it's a cliché but do what you love. I made a short film for myself and put it on Vimeo; other people liked it and it got a staff pick. It was in no way commercial or in style at the time, but Patrick saw it and got in touch. We've been working on titles together ever since. I think it's always good to keep track of what technology is doing in the sector in terms of CGI. As new tools emerge, it's often energizing to see what can be done and undone with them. It's usually an edge of technology/aesthetic game there. In contrast, I believe it's vital to look for inspiration outside of your own world. Do not only look to other CGI artists for inspiration. Personally, Jeffery Smart's artwork was a considerable influence. Even going back to records like O' Superman, by Laurie Anderson, can be enough to spark an idea. Search broadly and often.
Client Microsoft
Developer 343 Industries
Agency 215 McCann
Production Smuggler
Executive Producers Patrick Milling-Smith, Brian Carmody, Sue Yeon Ahn
Animation & Design Antibody
Directed By Patrick Clair & Raoul Marks
Animation & Compositing Savva Tsekmes
Concept Artist Paul Chadeisson
Cutdown Editor Patrick Tuck
Storyboards Lance Slaton
Visual Research Charlie Dahan
Executive Producer Carol Salek
Managing Partner Bridget Walsh
Post Method Studios
Music Human Worldwide
Sound Design Echolab
