Basic Operator Attributes
Tab ‘Basic’
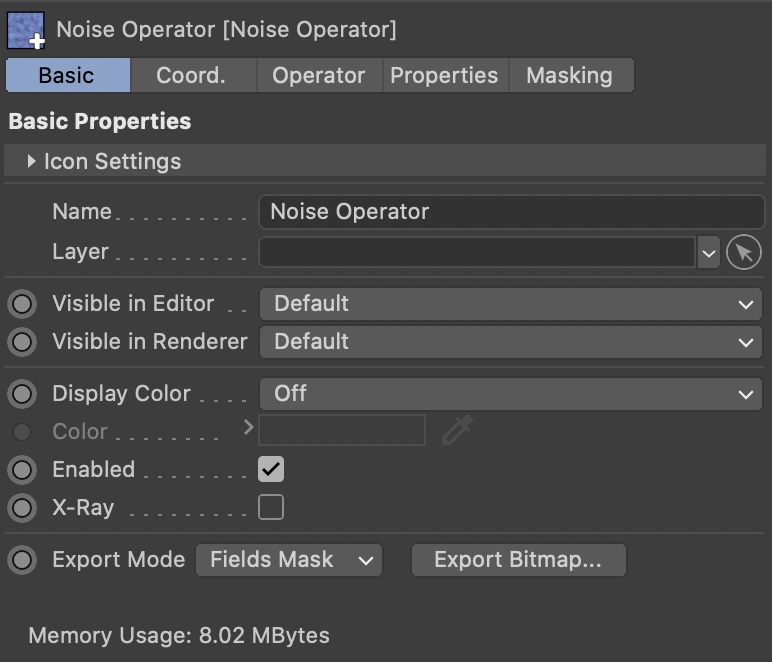
Export Mode & Export Bitmap...
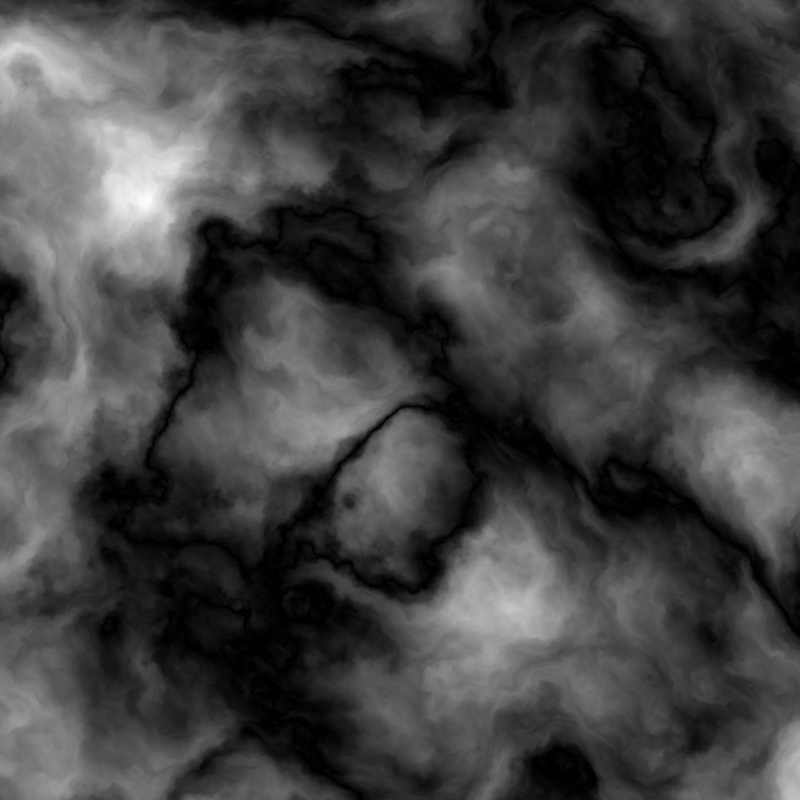
All operator objects have the ability to export their result as normalized 32-bit floating point TIFF, for use in shaders, materials, or even other applications.
You can choose to export the height map, the slope map, and the mask generated by Fields. Filter operators additionally offer the difference map (normalized difference between their input and output heightmaps). Some operators may offer additional outputs.
Memory usage
In the Basic tab of any Operator, you can see the memory usage of that Operator. The memory usage is approximated from the size of the participating data structures. The value of the Group Operator includes not only its own internal data, but also the sum of all its child Operators.
Tab ‘Operator’
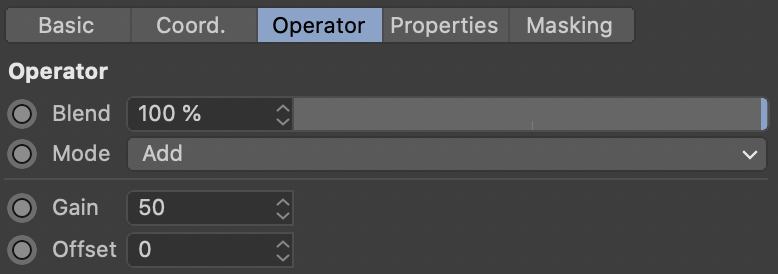

There are some attributes that are shared across all Operator Objects...
Basic operator attributes. Every Operator Object in Terraform4D has this tab.
Blend
This slider controls the intensity of the operator.
Setting it to 0% will eliminate any effect the operator might have. Setting it to 100% will show the full effect.
Mode
When combining operators, you can choose from a multitude of blend modes, just as you might find in an image processing application. These modes define how the values of an operator are blended with the underlying terrain.
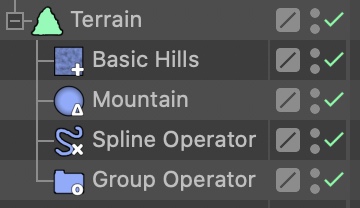
Generators indicate their blend mode with a little icon overlay in the Object Manager. You can deactivate this feature in the Terraform4D Preferences.
Only Generators have this attribute!
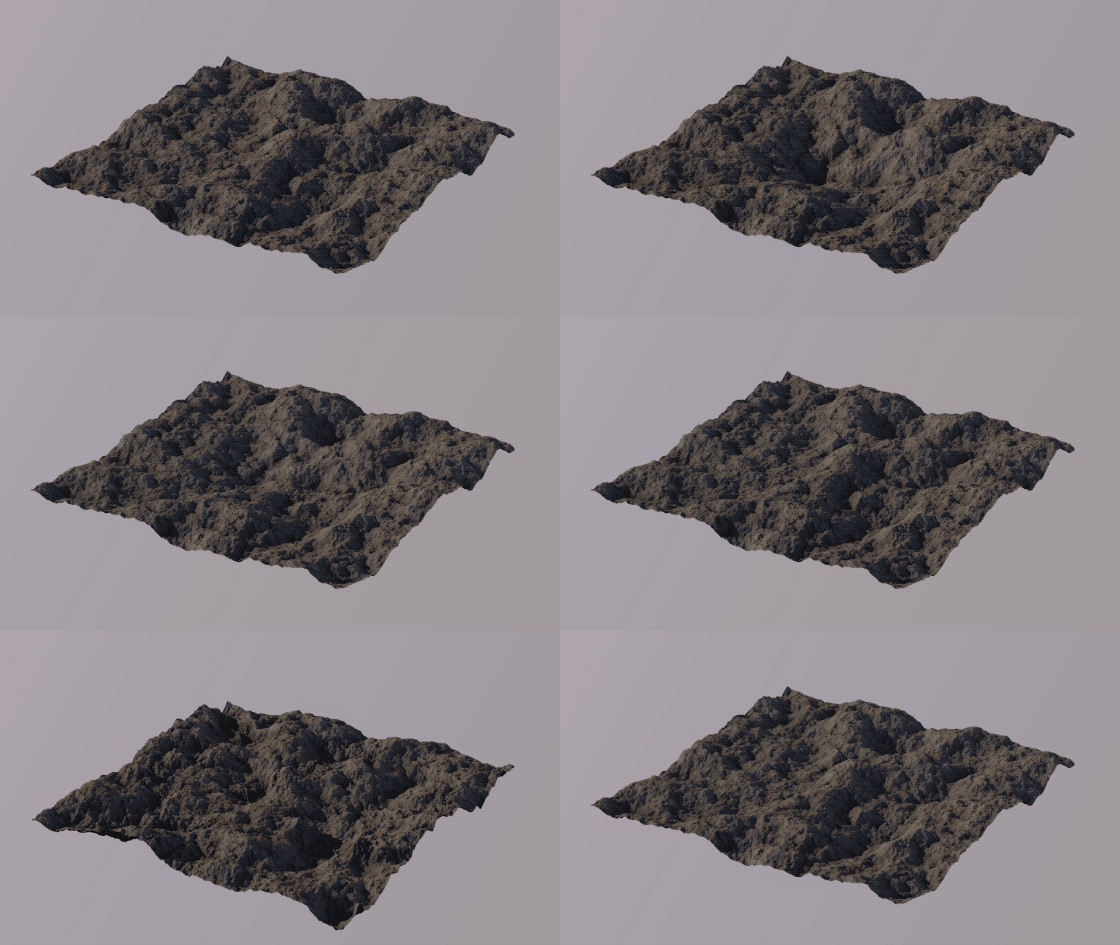
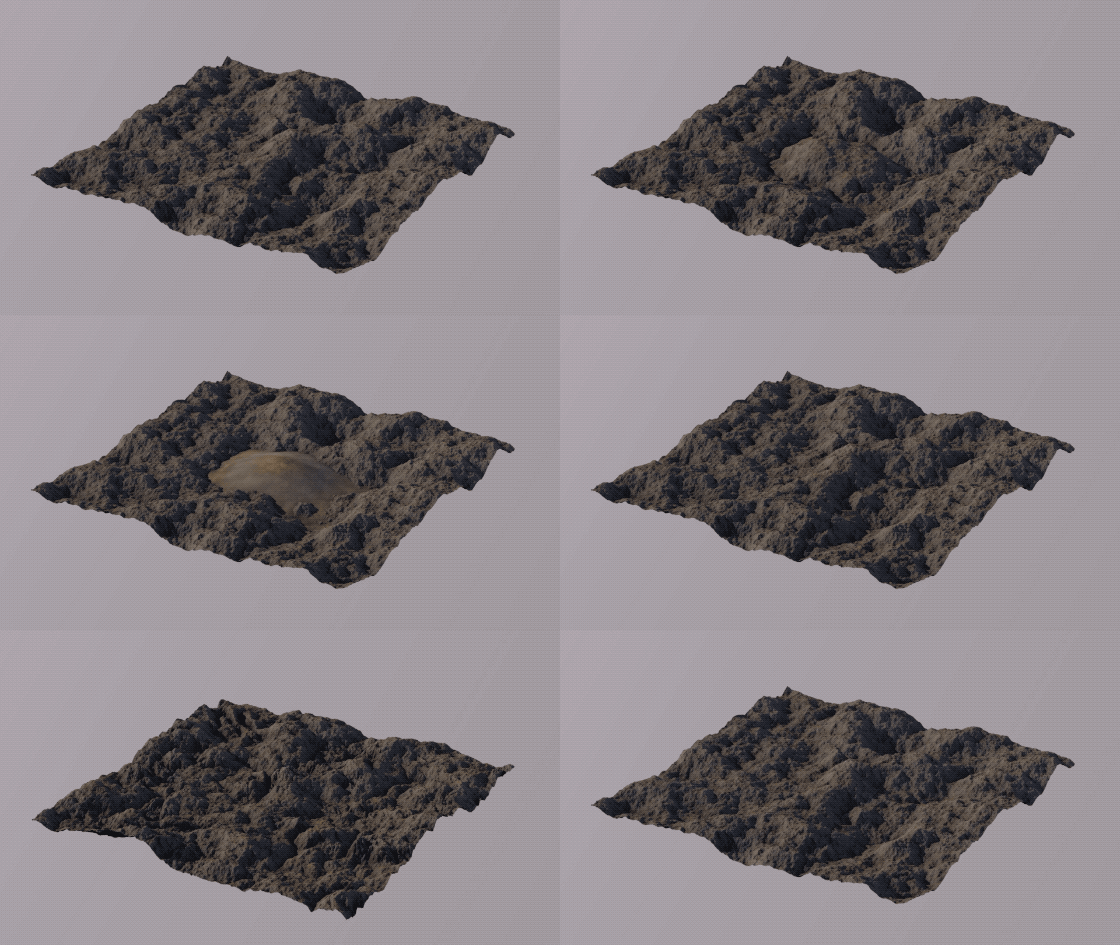
The following list describes the available blend modes. Note that some of the blend modes are commutative, while others aren't.
-

Blend mode ‘Normal’  Normal
The height field is simply layered on top of the underlying height field. The Intensity slider acts as a simple crossfade between the two.
-
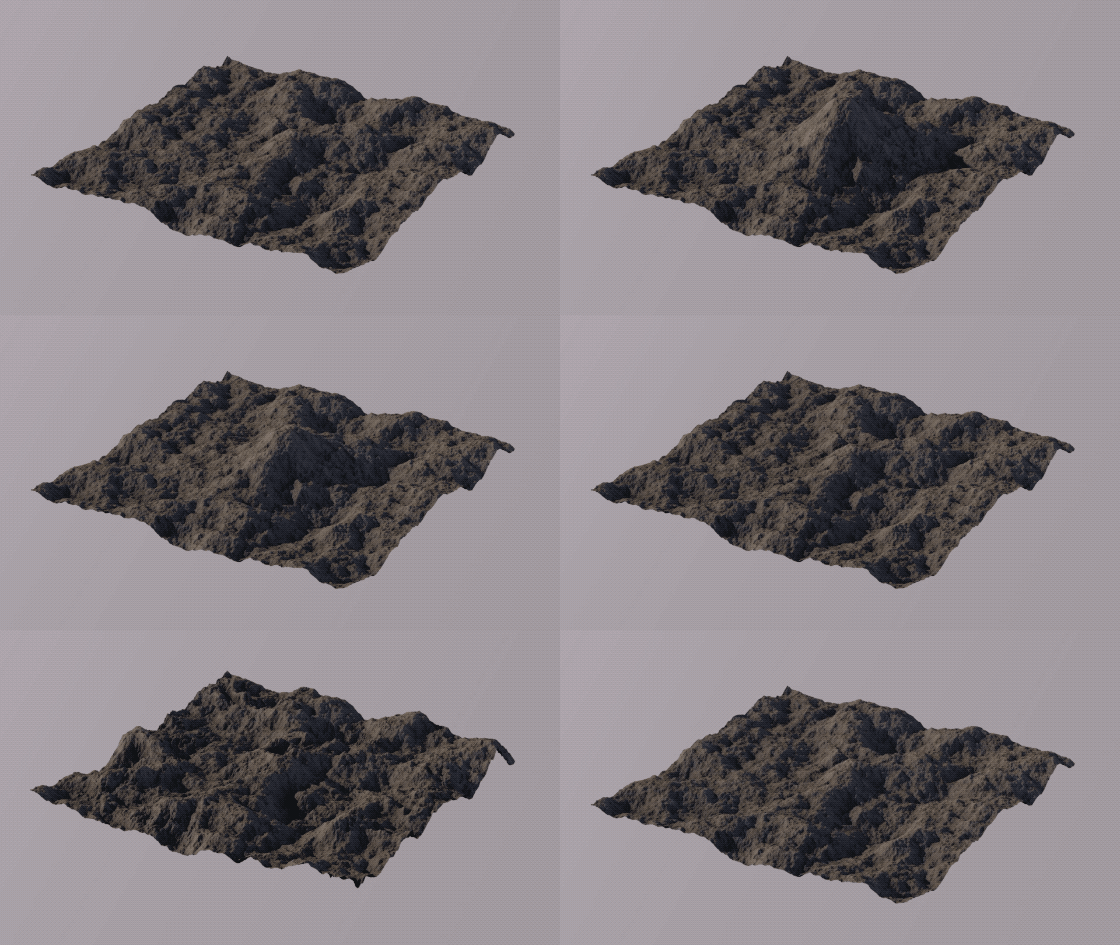
Blend mode ‘Add’  Add
AddThe two height fields are added together. This is the mode you will probably use most often, as it's ideal for adding details layer by layer.
This blend mode is commutative, the operators' order is irrelevant.
-
Blend mode ‘Subtract’  Subtract
The two height fields will be subtracted from one another. Subtracting an operator with high mountains will create valleys.
This blend mode is not commutative, changing the operators' order will change the result.
-
Blend mode ‘Difference’  Difference
This blend mode calculates the absolute difference between two height fields. Using it with two identical height fields will result in a completely flat plane. Slightly offsetting two identical height fields from each other will create a kind of edge-finding effect. And with two completely different height fields this blend mode can create interesting effects.
This blend mode is commutative, the operators' order is irrelevant.
-
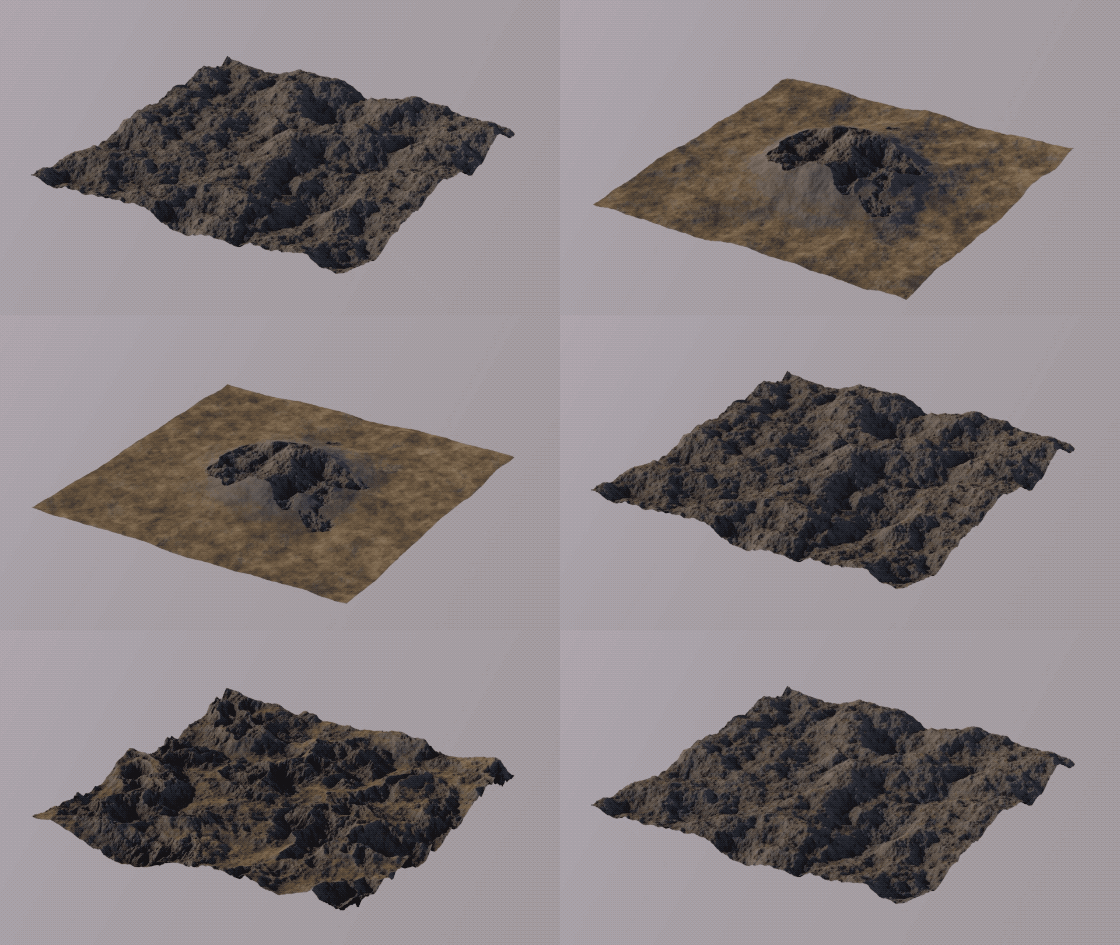
Blend mode ‘Phoenix Low’  Phoenix Low
This blend mode gives results similar to Lowest mode, but preserves the structure of the underlying height field. It works well for making craters, ravines, sinkholes, etc.
This blend mode is not commutative, changing the operators' order will change the result.
-
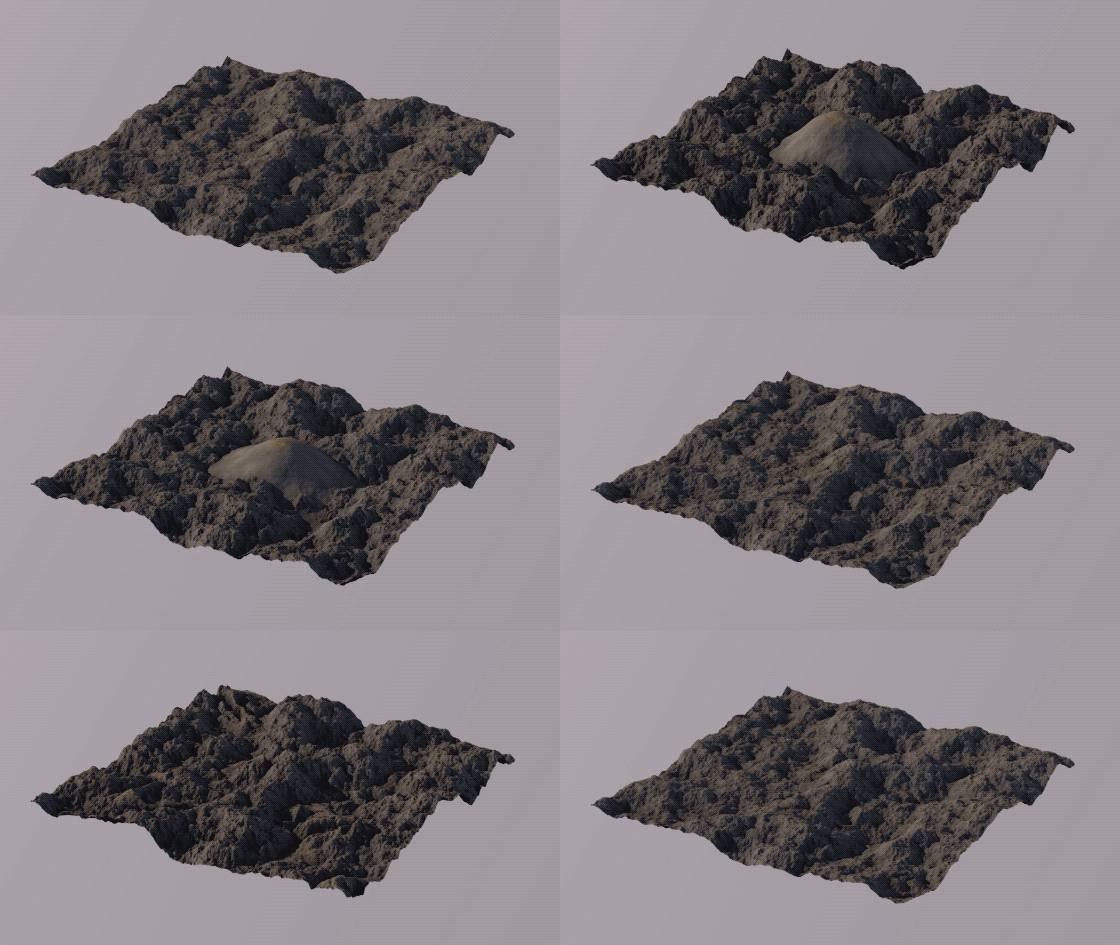
Blend mode ‘Phoenix High’  Phoenix High
This blend mode is the inverse of Phoenix Low. It behaves similarly to Highest mode, while still preserving the structure of the underlying height field. Potentially a good choice for adding mountains to an otherwise flat landscape.
This blend mode is not commutative, changing the operators' order will change the result.
-
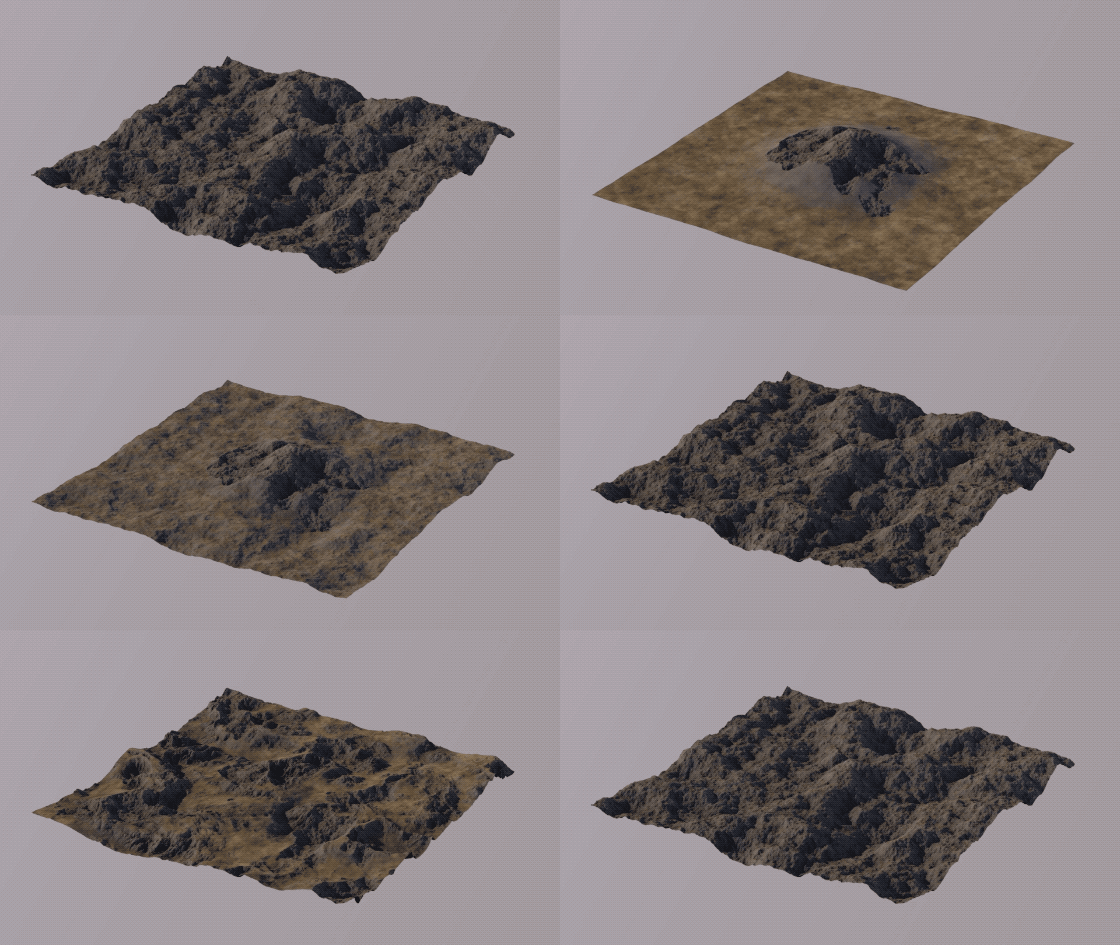
Blend mode ‘Lowest’ 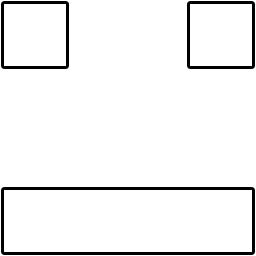 Lowest
This blend mode simply chooses the lower value of the two height fields. It’s ideal for cutting off mountain tops, or tearing deep ravines into a terrain.
This blend mode is commutative, the operators' order is irrelevant.
-

Blend mode ‘Highest’ 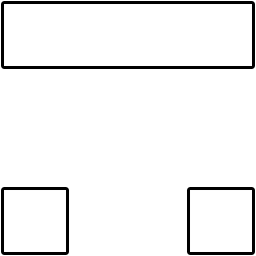 Highest
This blend mode chooses the higher value of the two height fields. Very useful for adding mountains to a plain without altering the whole terrain.
This blend mode is commutative, the operators' order is irrelevant.
-
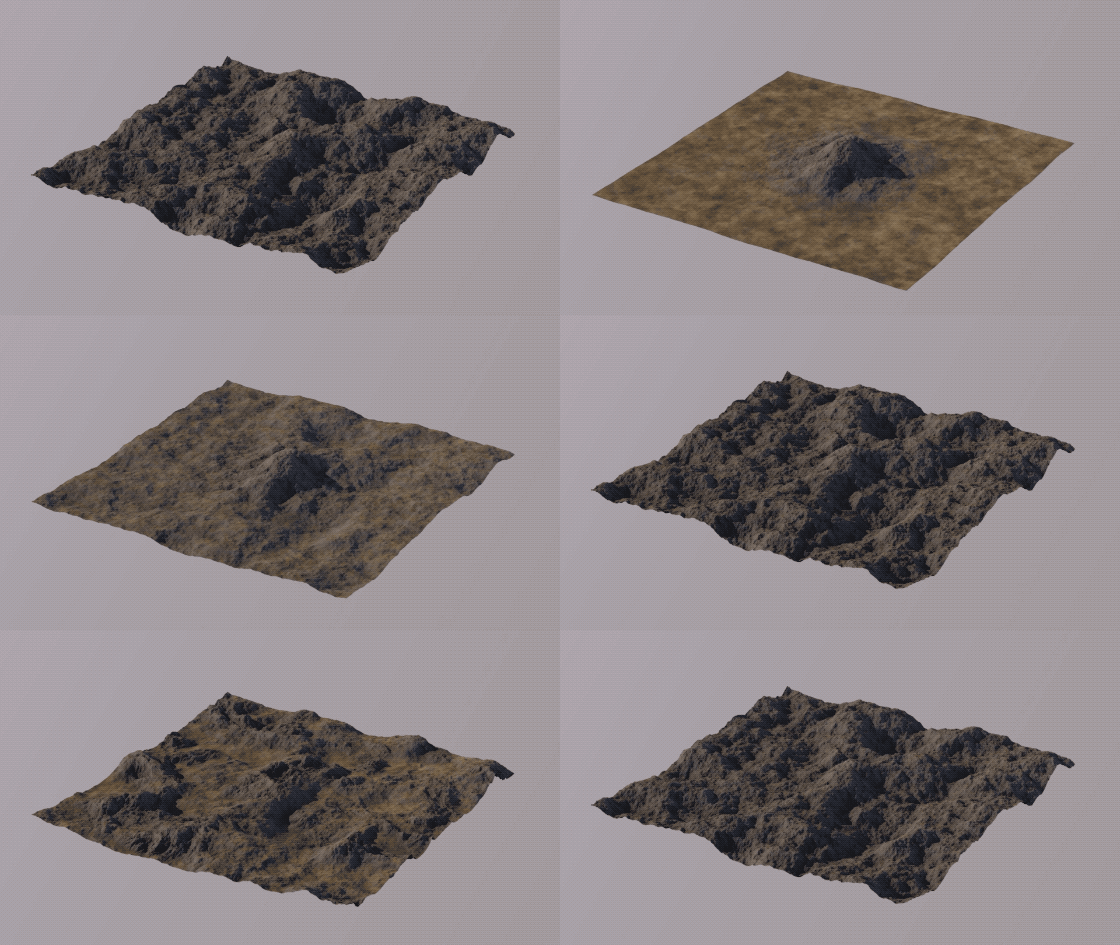
Multiply  Multiply
The two height fields are multiplied with each other.
Tip: Adding a Noise Operator above a Gradient set to Multiply with a Gain value of 1.0 or more, is a simple method of constraining the noise to the radius of the gradient. Now, try clicking on the Gradient Operator and moving it around the terrain. Voilà, masking without using Masking!
This blend mode is commutative, the operators' order is irrelevant.
-
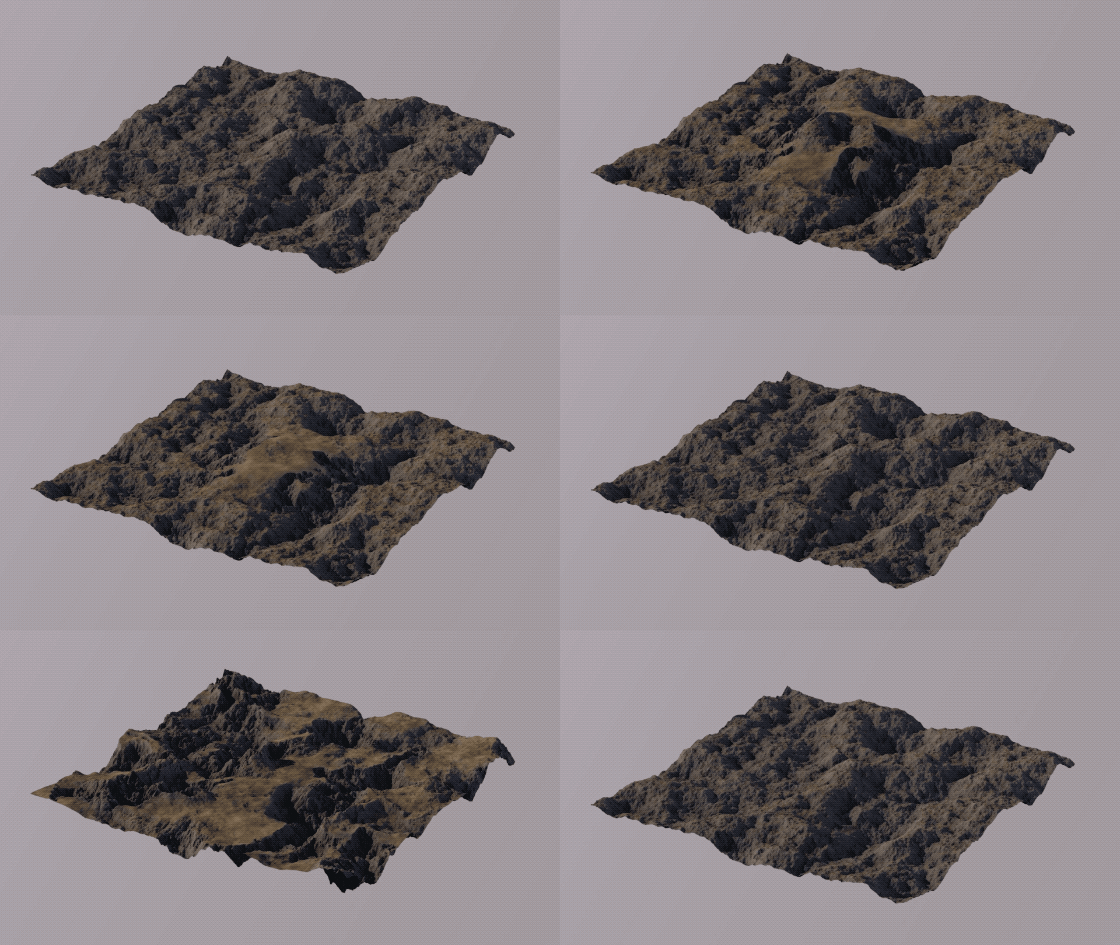
Blend mode ‘Overlay’  Overlay
This blend mode is a combination of Screen blending and Multiply. It combines two height fields in an interesting way, preservig lots of detail from both operators.
This blend mode is not commutative, changing the operators' order will change the result.
-

Blend mode ‘Negation’  Negation
This blend mode mirrors one height field on the other. As a result, you get crater landscapes that resemble the ones from the Fold Operator.
This blend mode is not commutative, changing the operators' order will change the result.
-
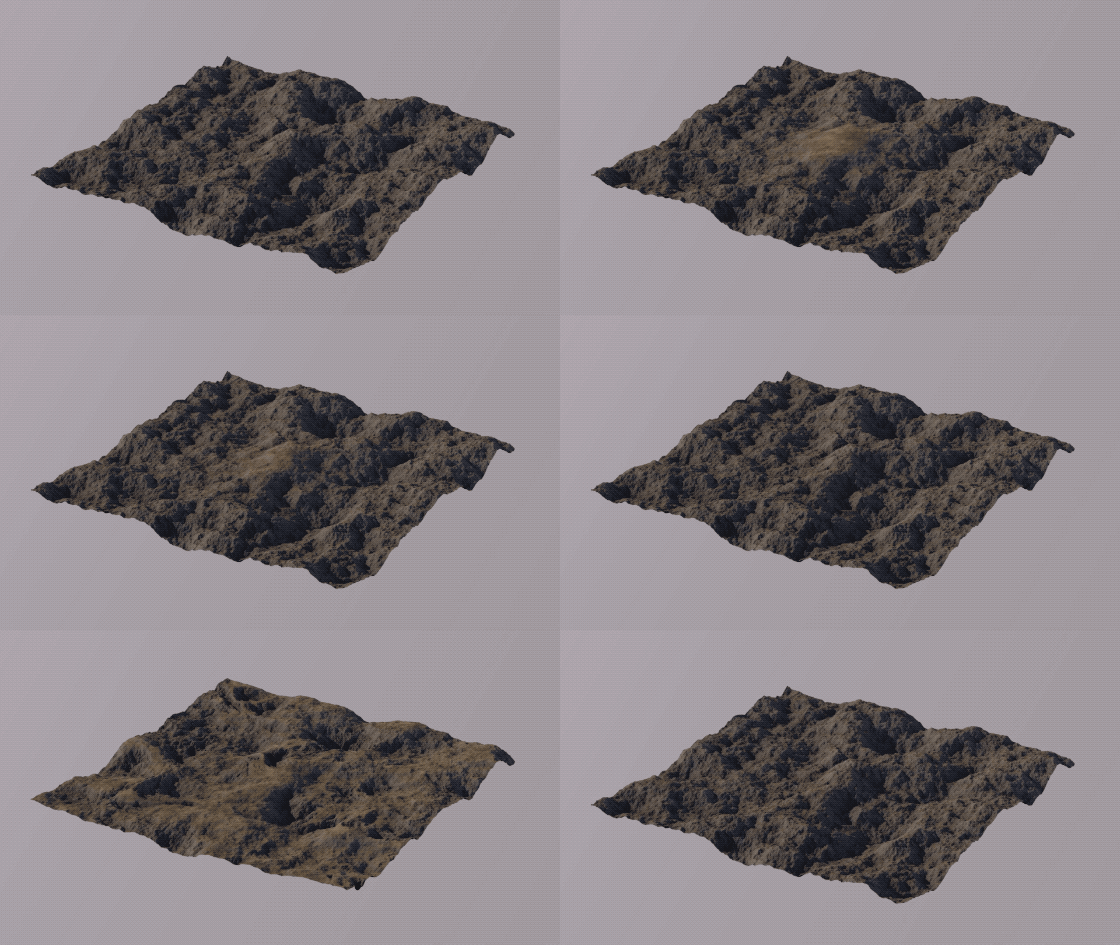
Blend mode ‘Screen’  Screen
This blend mode is a bit similar to Add. The resulting height field is always higher than the input height fields. However, it has a different look than Add: Higher areas of the second operator are more present.
This blend mode is not commutative, changing the operators' order will change the result.
-
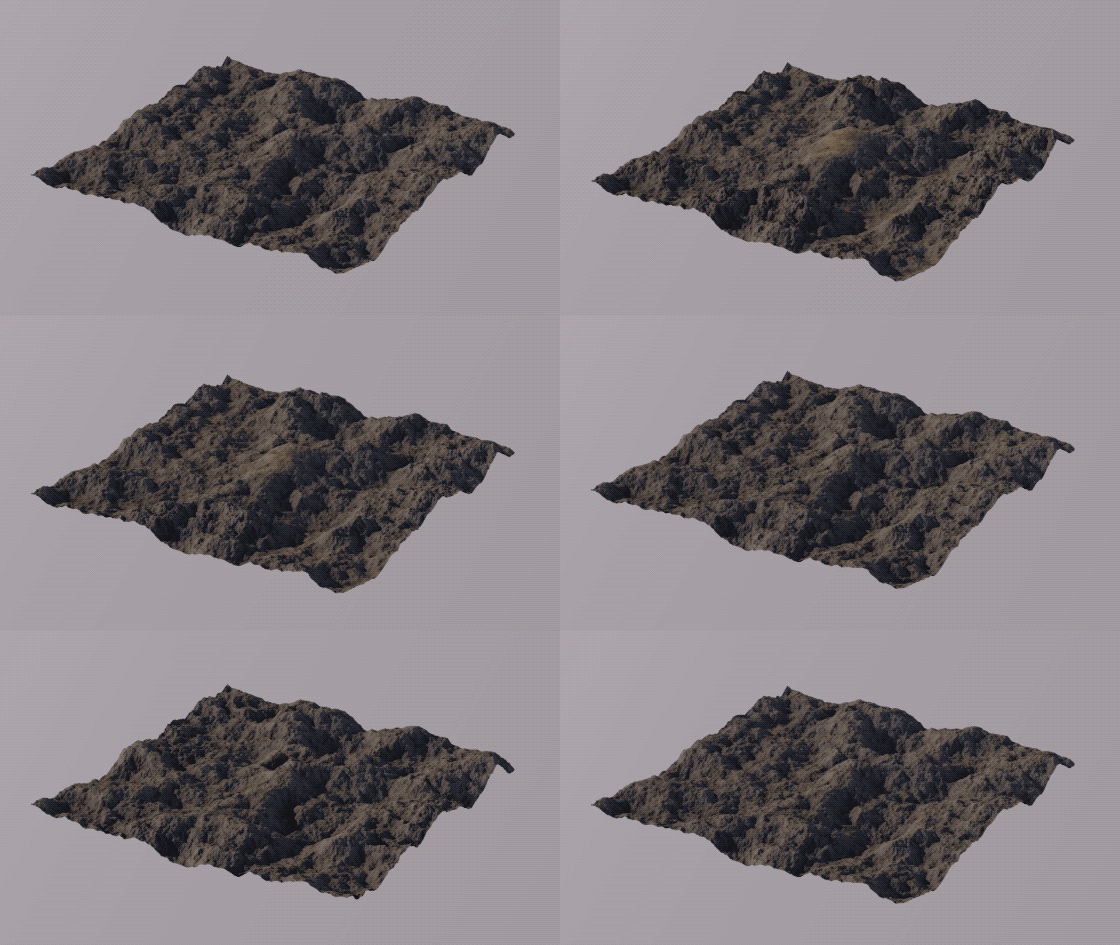
Blend mode ‘Soft Light’  Soft Light
Soft Light is pretty much like Overlay. It lowers low areas, and heightens high areas, but in a more subtle way. You can think of Soft Light as a more gentle version of Overlay without the harsh contrast.
This is also the slowest blend mode to calculate.
This blend mode is not commutative, changing the operators' order will change the result.
-
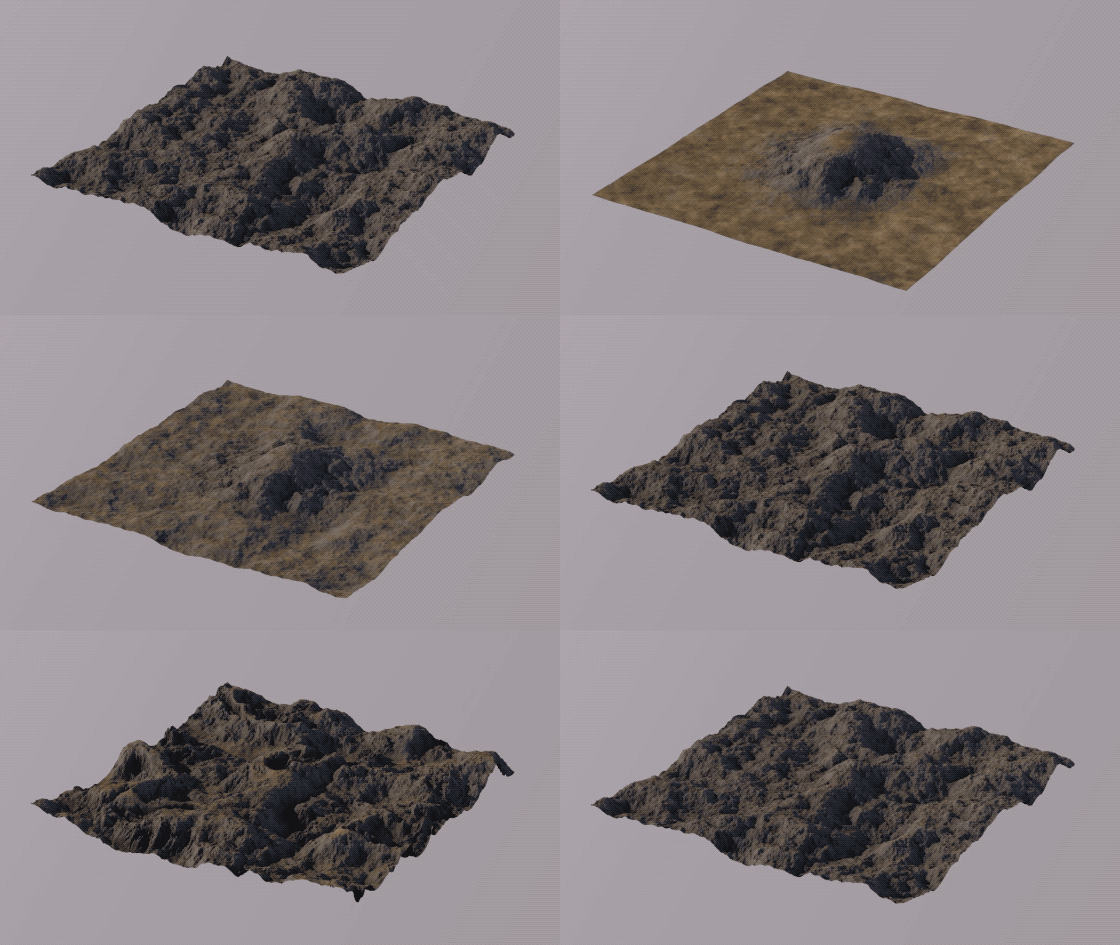
Blend mode ‘Hard Light’  Hard Light
Hard Light combines the Multiply and Screen blend modes using the altitude values of the second operator to make its calculations. High and low areas of the second oprator are more present.
This blend mode is not commutative, changing the operators' order will change the result.
Gain
Only Generators have this attribute!
This control is possibly the most important for all generating operators: it acts like a multiplier, controlling the amplitude of the operator’s results.
It's up to you whether you create molehills or mountains!
Offset
Only Generators have this attribute!
This control moves the operator's result up and down. Use it to keep the terrain ‘down to earth’ when adding a lot of operators.
Tip: Experiment with Gain and Offset values in conjunction with the different modes!
Tab ‘Masking’
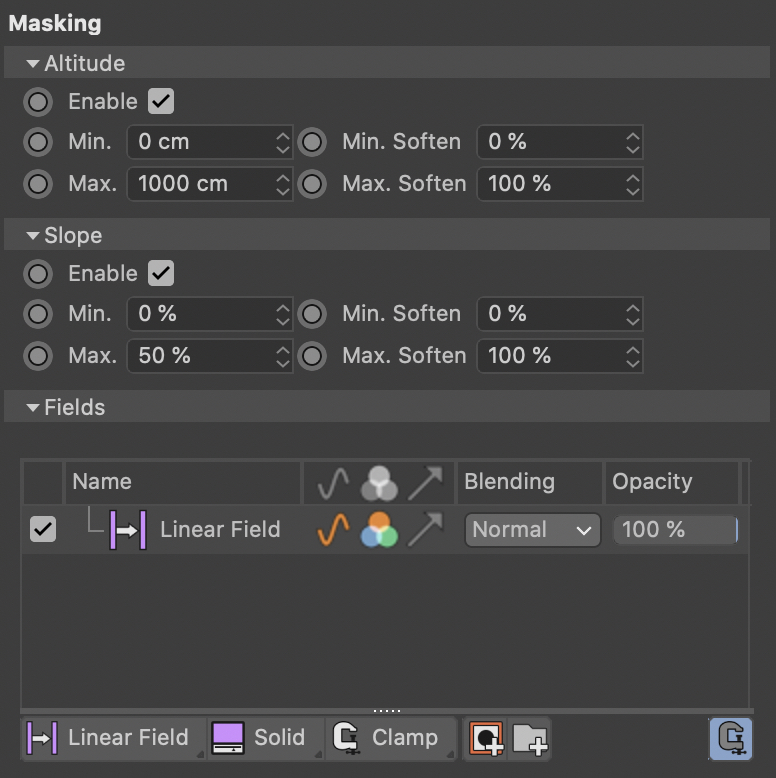
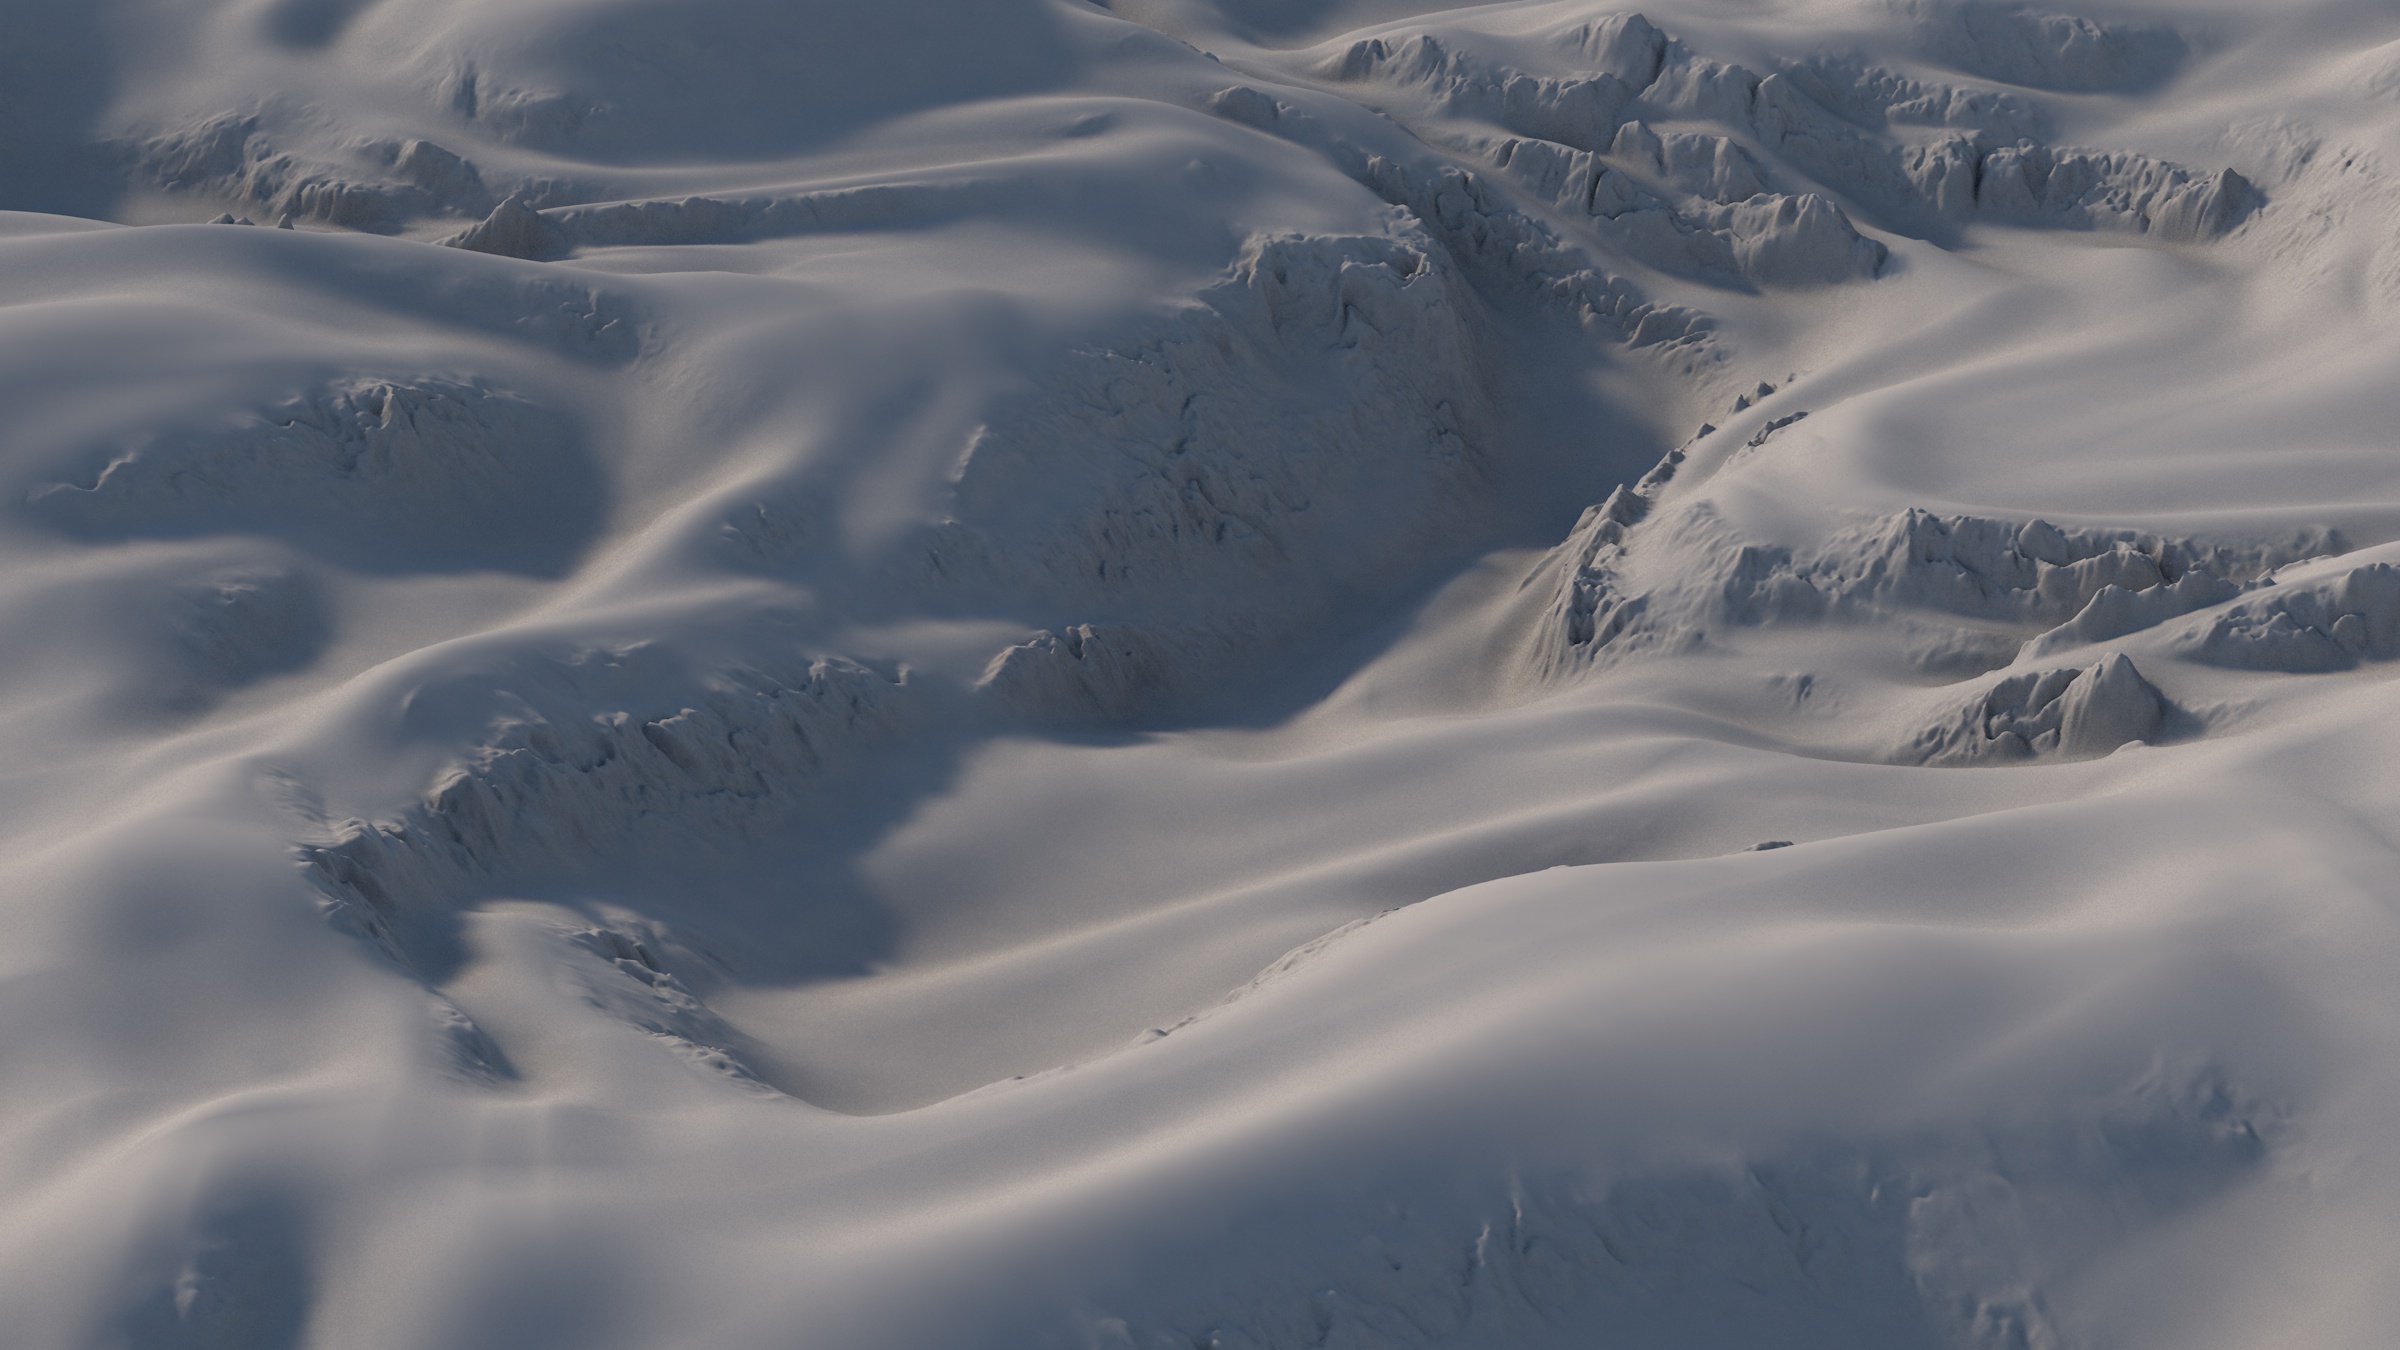
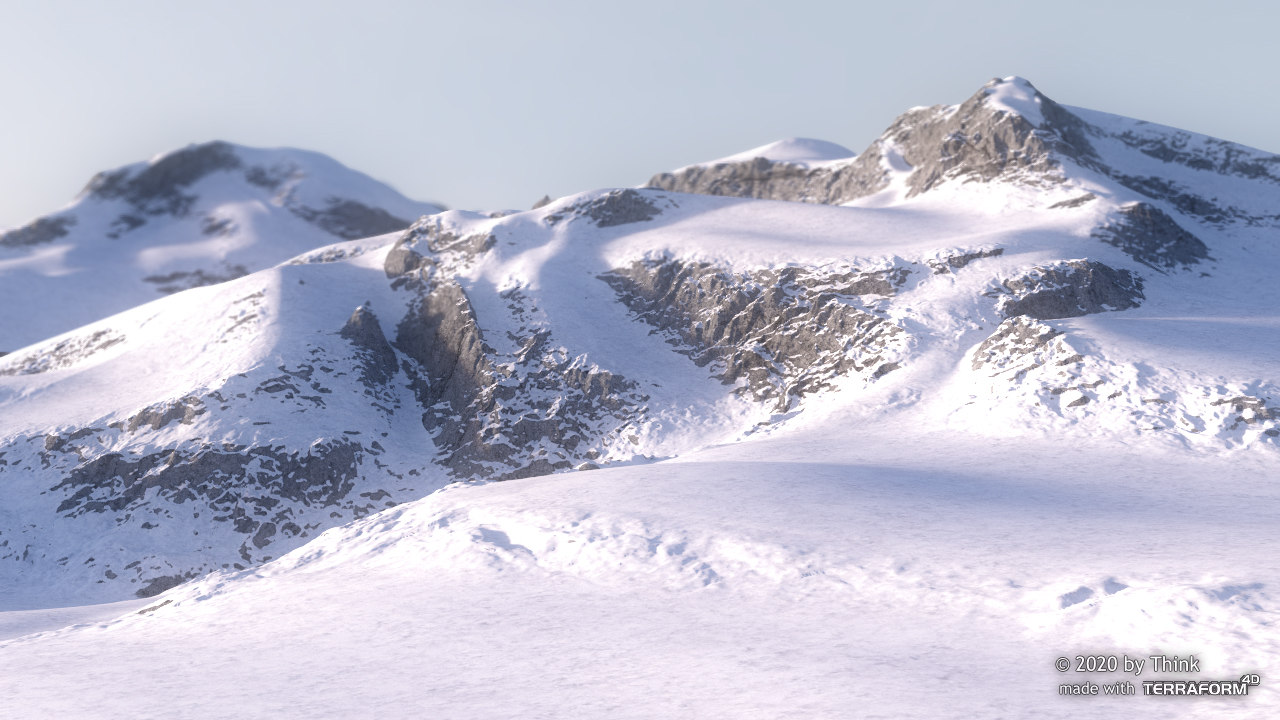
Any operator can be masked using the attributes in this tab. With masking, you can constrain the influence of an operator to just certain parts of the terrain - for example, adding noise only to the hills, while keeping the valleys smooth.
Note: masking is only enabled on an Operator that has another Operator above it in the stack.
The masking tab offers Topological Masking, which is masking based on the underlying terrain, and support for Fields, offering location and falloff-based masking.
Tip: Try experimenting with two Noise Operators - set the upper one to a large scale, say 500% with Octaves at 1 or 2, and set the lower one to a 50% scale with Octaves at 5 or more. Now enable Altitude Masking on the lower Operator, then increase the Min. values and decrease the Max. values to see what happens!
Altitude
Mask by altitude level. You can constrain the operator to certain altitude levels of the underlying terrain.
For example, you can constrain a rocky structure to only appear on higher mountains, but not in valleys.
Enable
Enable masking by altitude.
Min.
Minimum altitude. Below this level, the operator will be masked out.
Min. Soft
Soften the minimum to make it look less sharp.
Max.
Maximum altitude. Above this level, the operator will be masked out.
Max. Soft
Soften the maximum to make it look less sharp.
Slope
Mask by slope steepness. You can constrain the operator to certain slope angles of the underlying terrain.
For example, you can constrain a rocky structure to appear only on steeper slopes, while keeping the remaining areas soft. This will give you a kind of erosion-like look, like rocks peeking through sand.
Enable
Enable masking by slope.
Min.
Minimum slope. On flatter plains, the operator will be masked out.
Min. Soft
Soften the minimum to make it look less sharp.
Max.
Maximum slope. On steeper areas, the operator will be masked out.
Max. Soft
Soften the maximum to make it look less sharp.
Fields
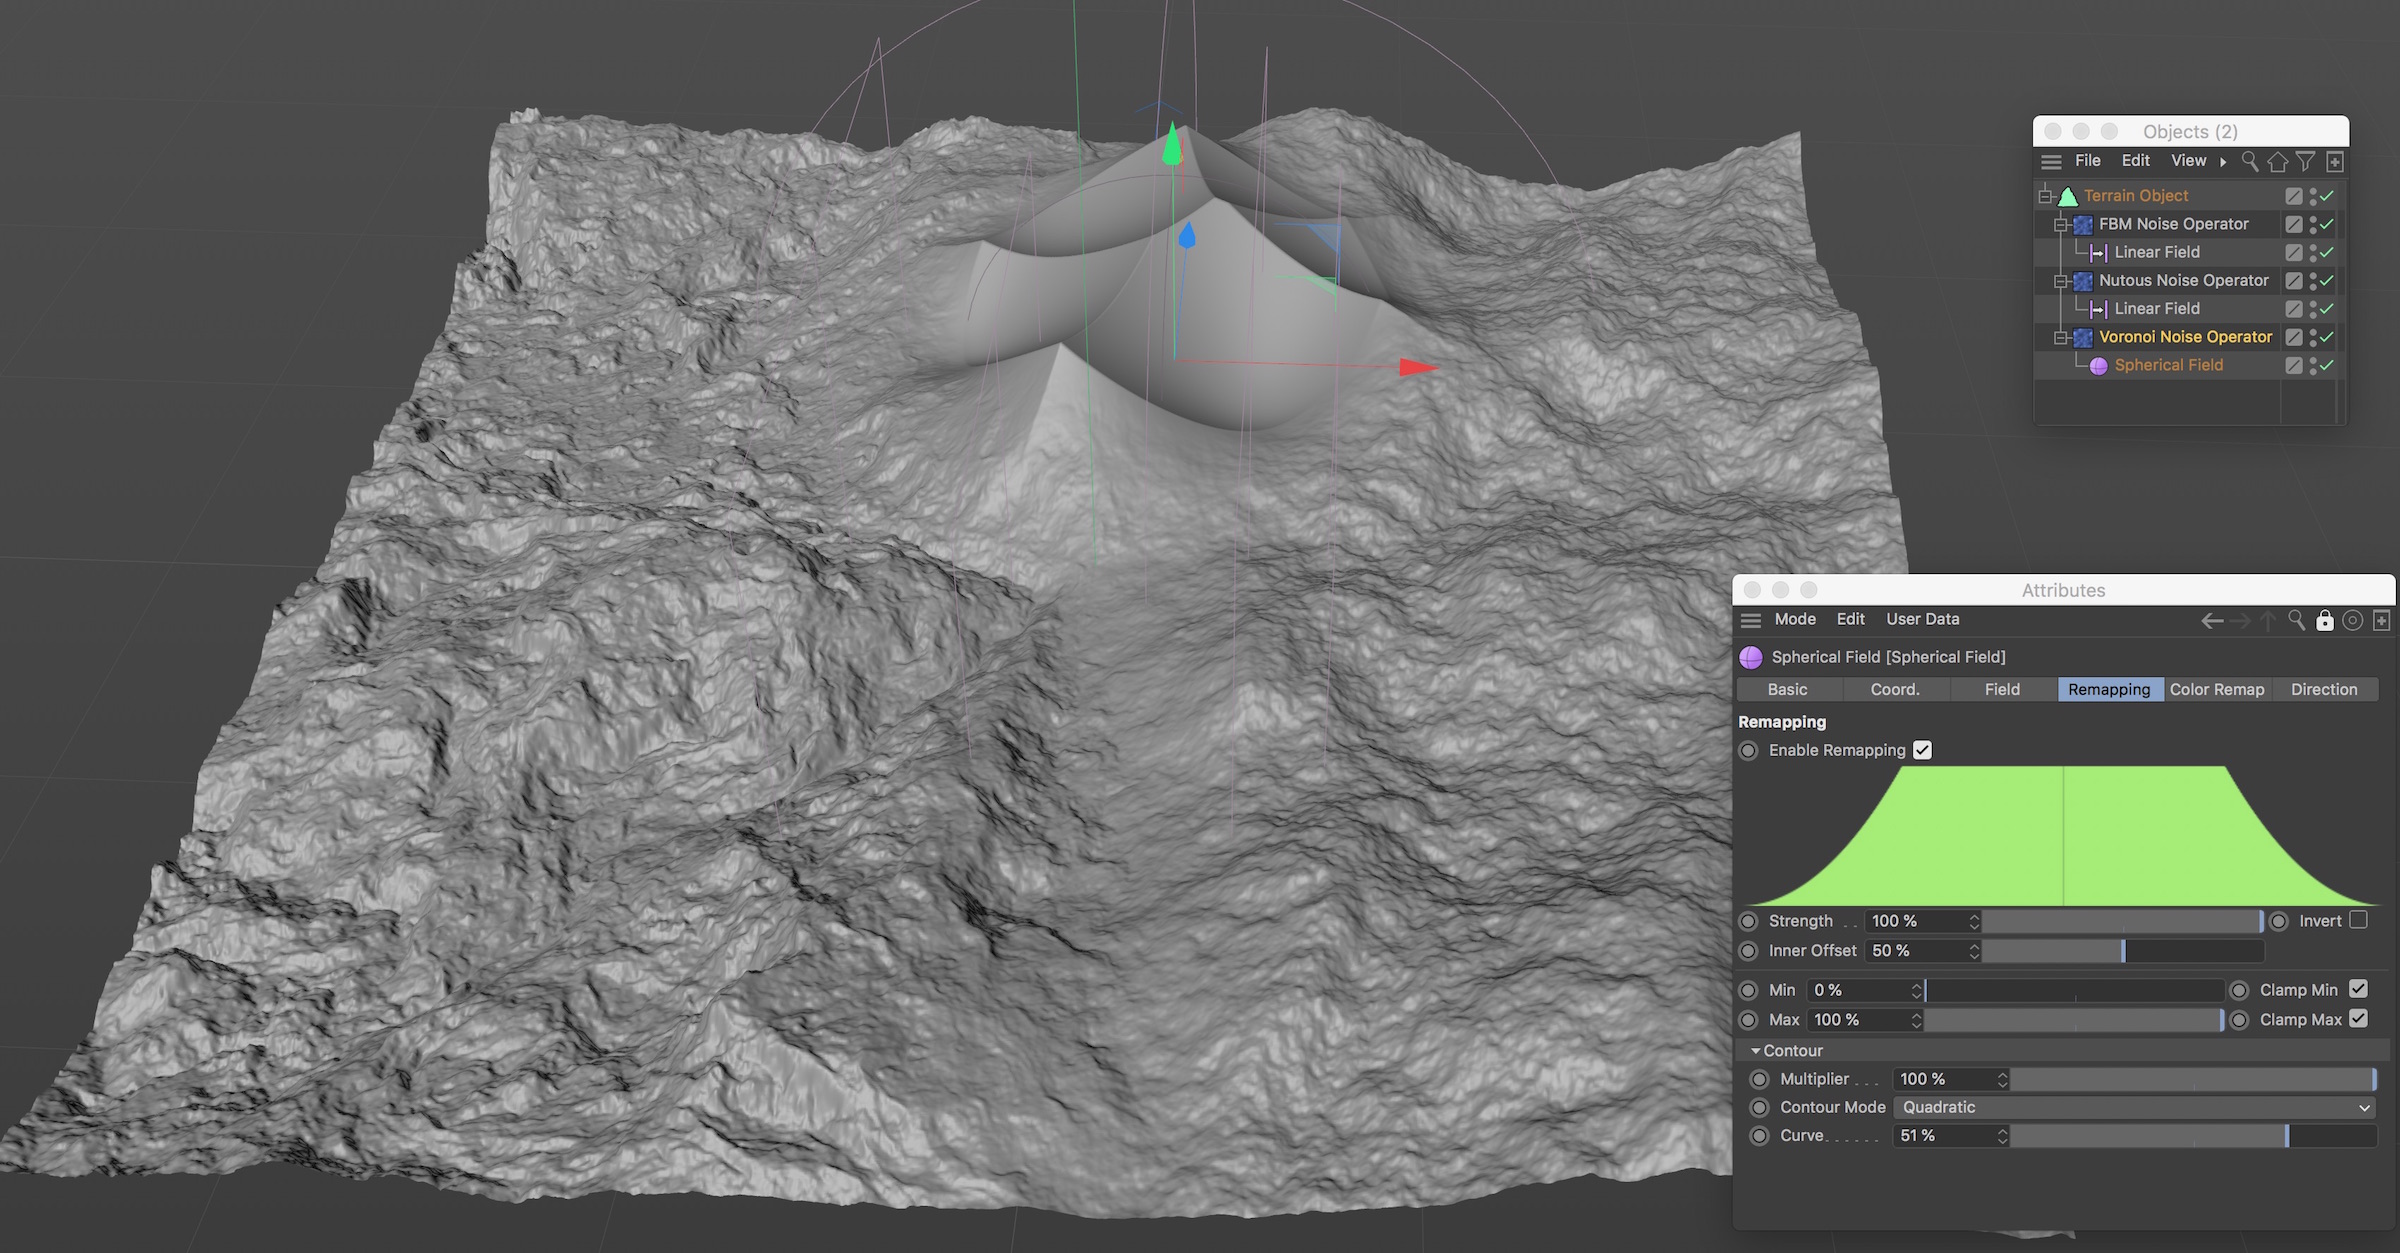
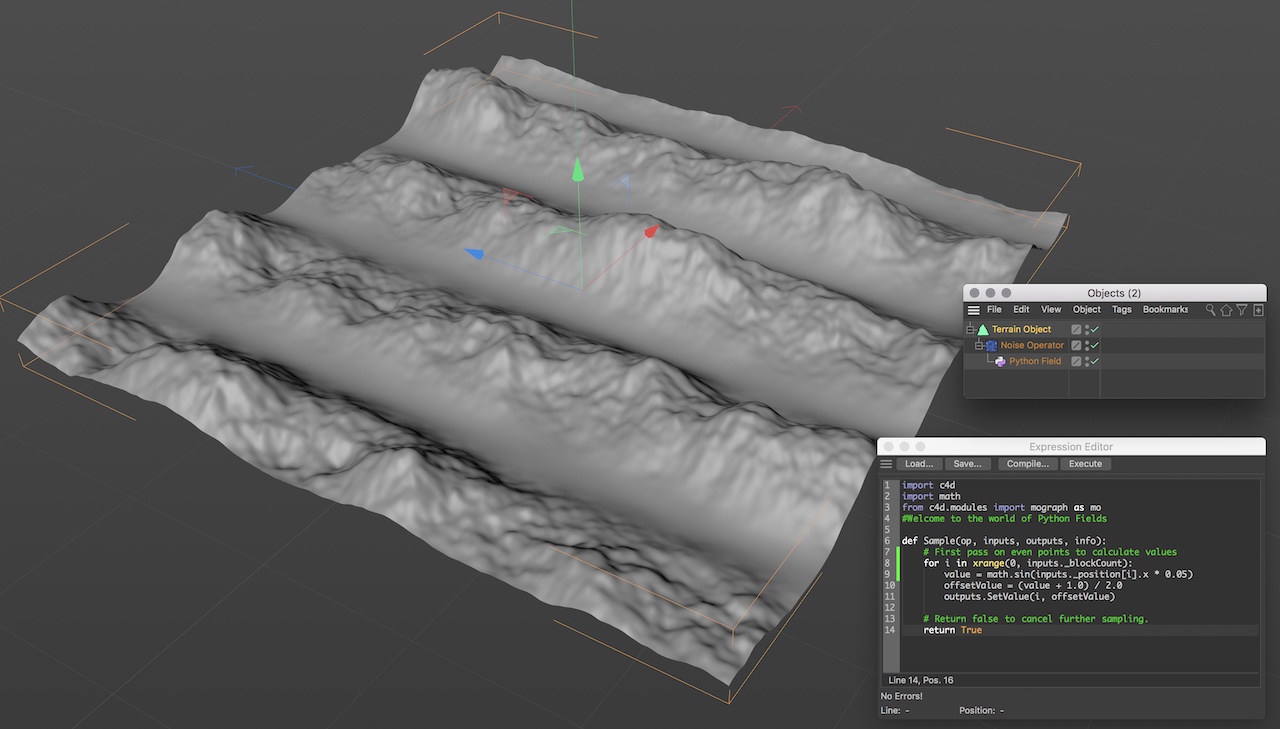
Mask by Fields. This gives you precise location and falloff-based masking, which is very art-directable.
With Fields, it's easy to have mountainous areas fall off into soft plains, or sandy deserts change into billowy prairies.
Field List
Organize your Fields here.
Note: You can use the ‘Set as Default...’ option in the Attribute Manager to store a Field as default for that type of Field. However, the default object will only be respected when creating a Field from the ‘Create’ menu, or icon palette.
Creating a Field object from an operator's Field List will always create a Field with standard settings. This, unfortunately, cannot be changed, as it's a confirmed bug in Cinema 4D.
