 Spline Operator


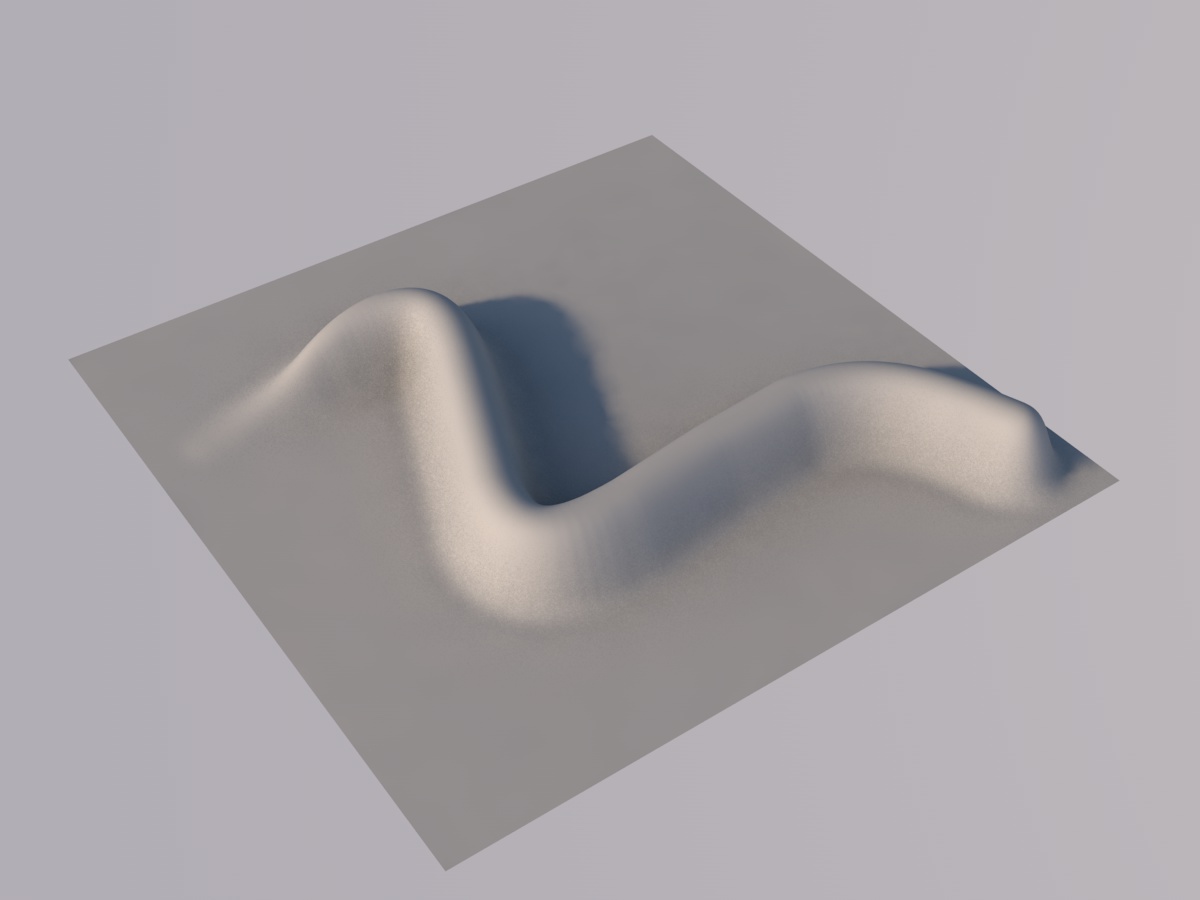
The Spline Operator lets you create chains of mountains, or river beds by generating a height field using samples along a linked spline.
The spline is considered a brush stroke on the terrain surface, allowing you to use spline curve controls to shape profile, gain and radius along the spline.
The Spline Operator uses a KDTree, which makes applying large numbers of spline samples to high-detail terrains quite fast. However, building the tree needs some time: Changing the terrain resolution (or the LOD) will cause the KDTree to rebuild... you will then see a status message about this in the status bar. Stay tuned, once the tree is built, the speed is back.
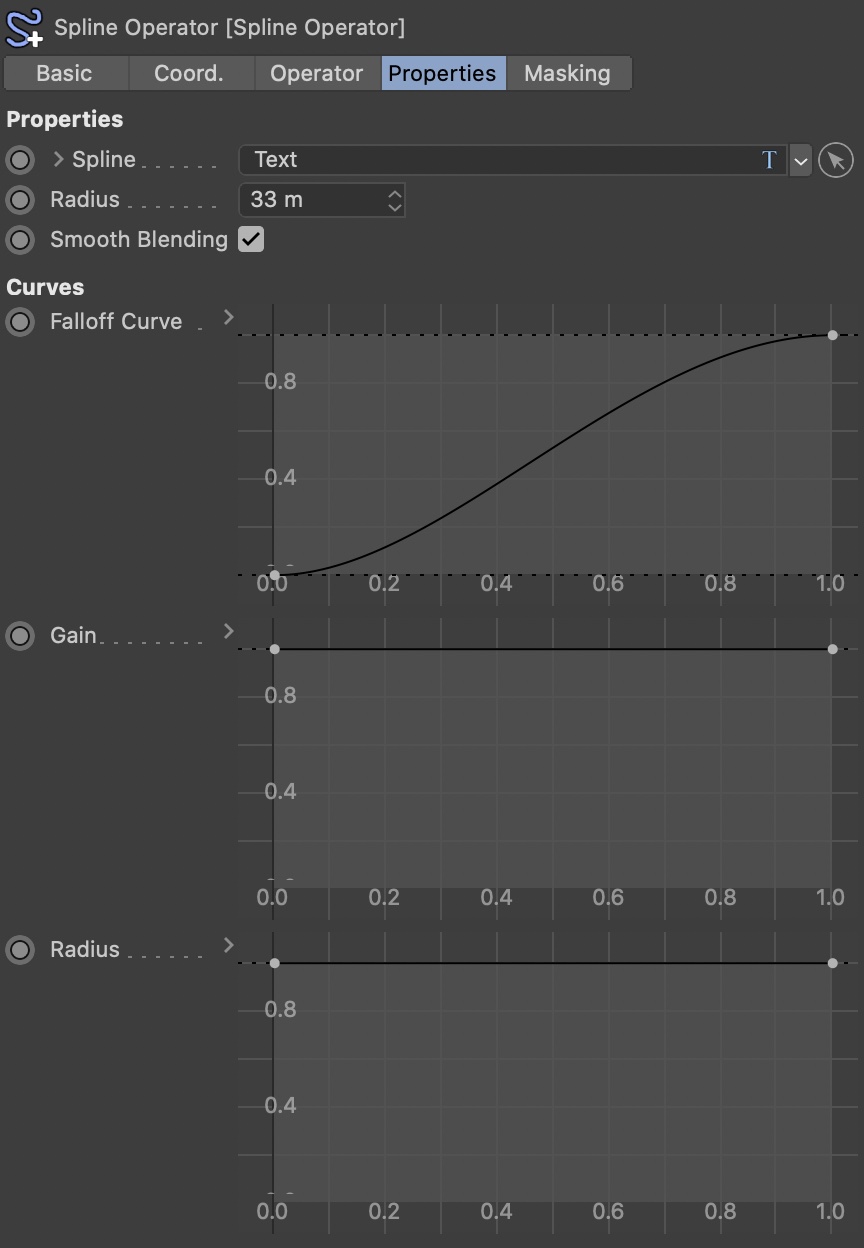
Spline
Link your spline object here. Segmented splines are also supported.
Tip: To control the amount of samples and their distribution, simply change the "Intermediate Points" attributes in the linked spline object.
Try to achieve an even distribution with not too few and not too many samples.
Radius
Radius around the spline. The terrain this radius will be affected by the spline.
Smooth Blending
Activating this will smoothly blend the spline samples together, while deactivating it gives them a more distinct look (often requiring a higher number of samples to look smooth).
With this option deactivated, the spline samples will also have the exact height as defined with the Gain parameter.
Curves
Some curves to change the look.
Falloff Curve
This is the profile of the spline samples. It basically works like the profile curve in the Gradient Operator.
Gain
This curve controls the gain over the course the spline. A curve value of 100% corresponds to the operator Gain.
Radius
This curve controls the radius over the course the spline. A curve value of 100% corresponds to the Radius value set above.

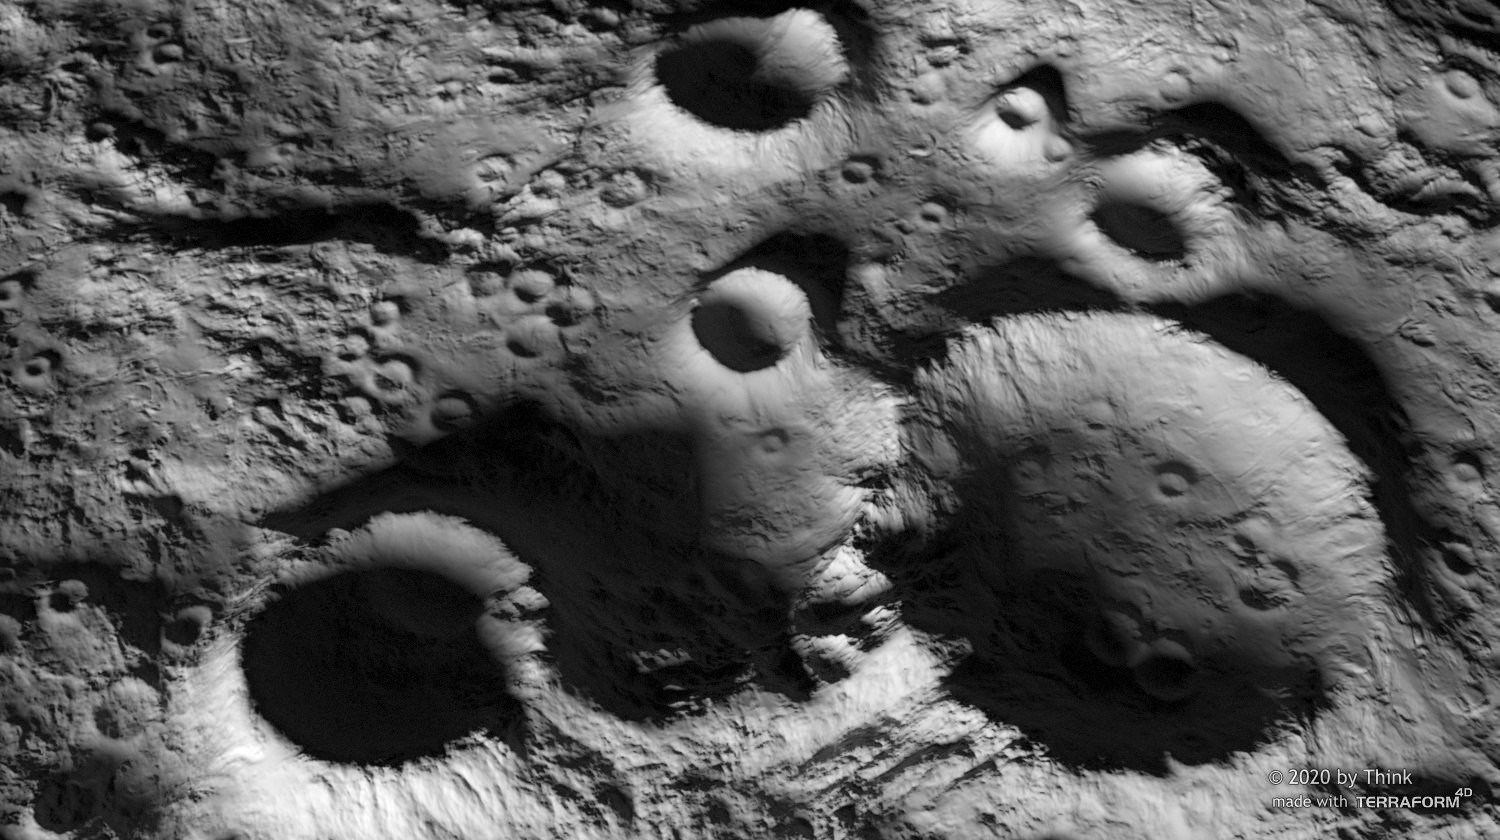
© by Think

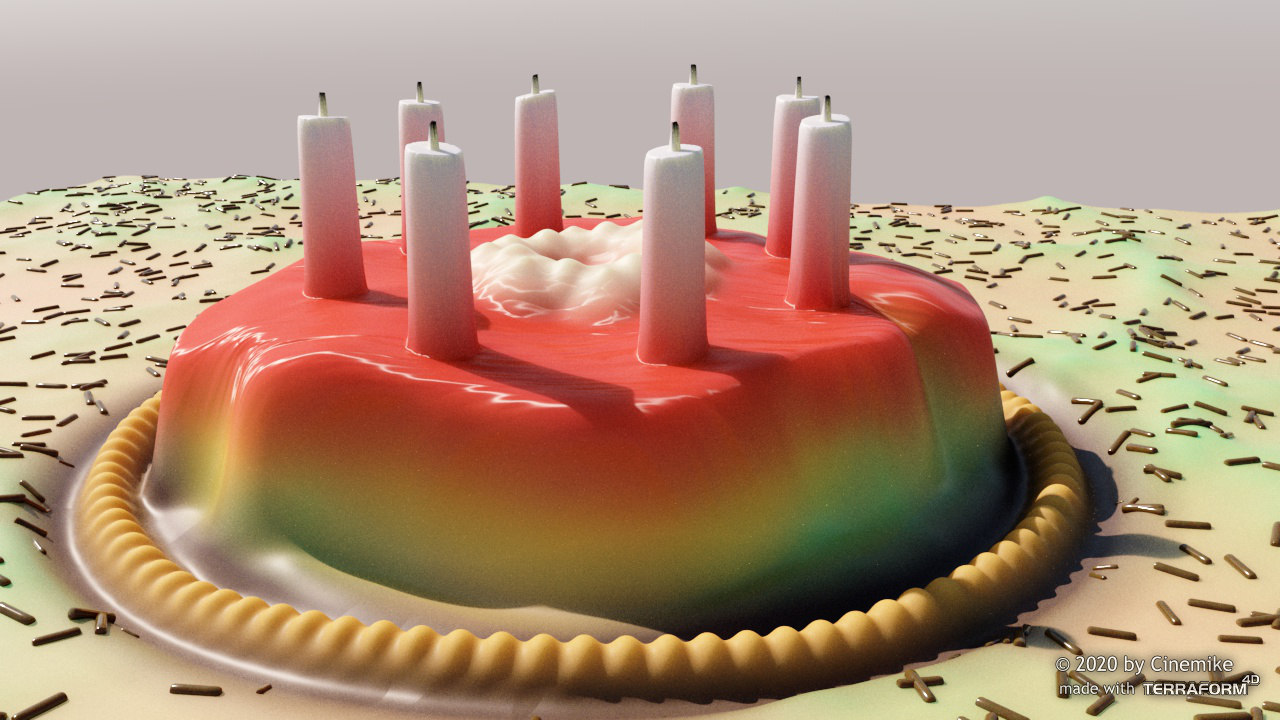
© by Cinemike